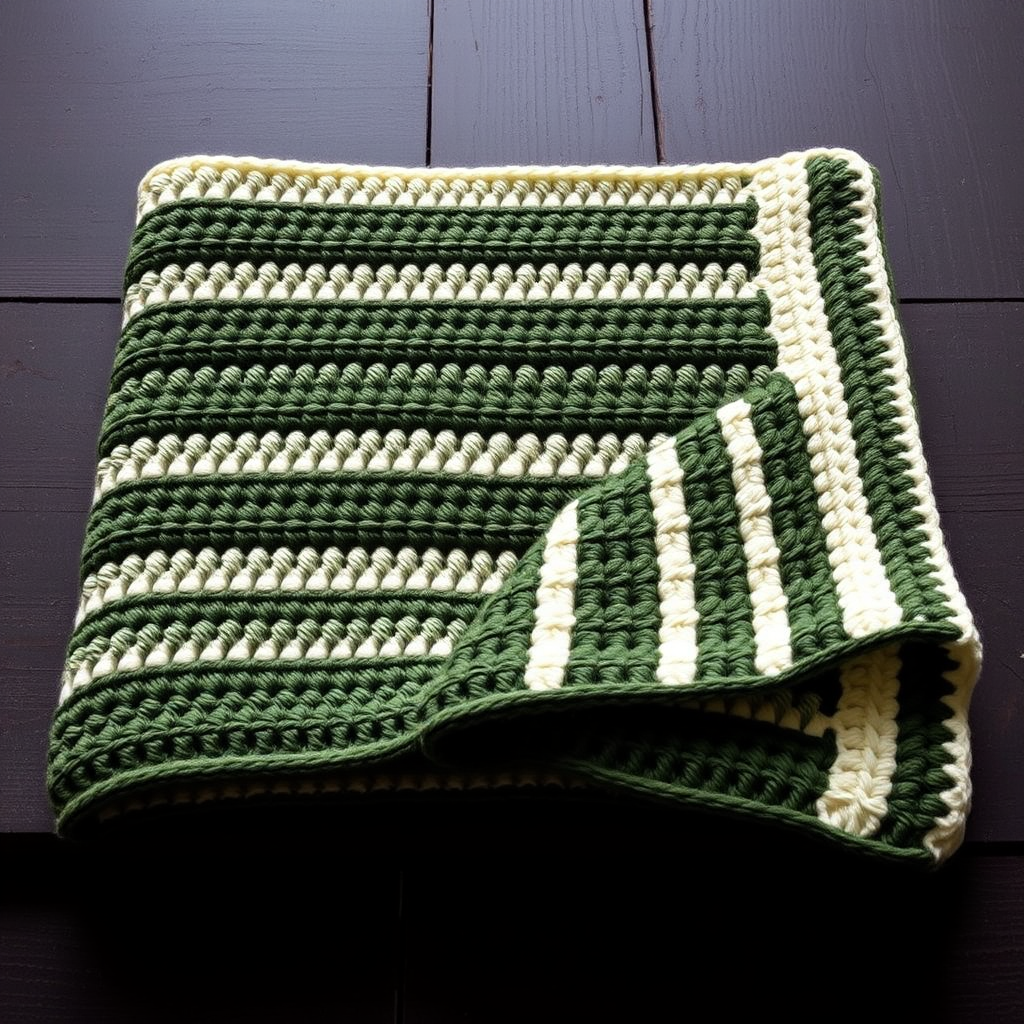
Aurora Bloom Corner-to-Corner Crochet Blanket Free Pattern

Wrap Yourself in a Twilight Sky: The Aurora Bloom Corner-to-Corner Crochet Blanket
Imagine wrapping yourself in a gradient sunset—soft pastels melting into deep twilight hues. That's the magic of the Aurora Bloom Corner-to-Corner Crochet Blanket. This modern take on the classic C2C technique creates a mesmerizing diamond mosaic that feels both cozy and artistic. Whether you're a seasoned crocheter or a brave beginner ready for a rewarding project, this pattern will guide you through creating a stunning, textured heirloom piece. The symmetrical color transitions from cream to blush pink, soft peach, lavender, and deep teal evoke a dreamy, ethereal sky that will elevate any room.
This pattern is perfect for those who love repetitive, meditative crochet with a visually stunning payoff. The corner-to-corner method is surprisingly simple once you grasp the basic "block" concept, and the result is a thick, squishy, and beautifully textured blanket. Let's dive into creating your own Aurora Bloom.
Materials Needed
Before you begin, gather your materials. This project uses simple, readily available supplies:
- Yarn: Worsted weight yarn in 5 colors. You will need approximately 1800 yards total. Here's the color breakdown:
- Color A (Cream): For the border and starting/ending gradient.
- Color B (Blush Pink): For the second gradient band.
- Color C (Soft Peach): For the middle gradient band.
- Color D (Lavender): For the fourth gradient band.
- Color E (Deep Teal): For the center of the blanket.
- Crochet Hook: 5.5 mm (I-9) crochet hook. This size is crucial for achieving the correct gauge and drape.
- Other Tools: Yarn needle for weaving in ends, scissors, and stitch markers (optional, but helpful for counting).
Gauge: 4 C2C blocks = 4 inches (10 cm) square. This gauge is essential for ensuring your blanket turns out the correct size. If your gauge is off, adjust your hook size accordingly.
Step-by-Step Instructions
This blanket is worked diagonally from corner to corner using the C2C technique. Each "block" is a cluster of 3 double crochets. You will increase on each row until the widest point, then decrease. Don't be intimidated—we'll break it down into manageable steps.
Understanding the C2C Block
Before starting, it's helpful to understand the anatomy of a C2C block. A block consists of a ch-3 space (which acts as the first double crochet) followed by 3 double crochets worked into that same space. When you see "3 dc in ch-3 space," it means you are creating a new block.
Foundation Row (Row 1)
- Chain 6.
- Double crochet (dc) in the 4th chain from your hook. The first 3 chains count as your first double crochet.
- Dc in the next 2 chains. You have now completed your first block. (1 block total)
Increase Rows (Rows 2-30)
In the increase phase, you add one new block at the beginning of each row. This creates the diagonal expansion.
Row 2:
- Chain 6. This creates the base for your new block.
- Dc in the 4th chain from your hook, dc in the next 2 chains. This is your new block.
- Slip stitch (sl st) into the ch-3 space of the previous row's first block. This connects your new block to the existing row.
- Chain 3. This counts as the first dc of your next block.
- Work 3 dc in that same ch-3 space. You have now completed your second block. (2 blocks total)
Row 3:
- Chain 6, dc in the 4th ch from hook, dc in next 2 ch. (New block)
- Sl st into the ch-3 space of the next block.
- Ch 3, 3 dc in that same space. (Second block)
- Sl st into the ch-3 space of the next block.
- Ch 3, 3 dc in that space. (Third block)
Continue increasing in this manner, adding one block per row. Each row will have one more block than the previous row. Follow the color chart below to create the gradient pattern.
Color Chart for Gradient
To achieve the beautiful, symmetrical gradient, you will work in bands of color. Each band consists of 2 rows of the same color.
- Rows 1-2: Color A (Cream)
- Rows 3-4: Color B (Blush Pink)
- Rows 5-6: Color C (Soft Peach)
- Rows 7-8: Color D (Lavender)
- Rows 9-10: Color E (Deep Teal)
- Rows 11-12: Color D (Lavender)
- Rows 13-14: Color C (Soft Peach)
- Rows 15-16: Color B (Blush Pink)
- Rows 17-18: Color A (Cream)
Continue this sequence, repeating the 2-row color bands until you reach the widest point.
Increasing to Full Width
Continue increasing rows until you have 30 blocks across the diagonal. This is the widest point of your blanket. Count your blocks carefully on the longest row to ensure accuracy.
Decrease Rows (Rows 31 and beyond)
Once you've reached the widest point, it's time to start decreasing. This will create the opposite corner of your square blanket.
Row 31 (and all subsequent decrease rows):
- Chain 3, turn. (Do NOT chain 6. This is the key to decreasing.)
- Sl st into the ch-3 space of the previous block. This skips the first block and starts your row on the second block.
- Ch 3, 3 dc in that same space. (First block of this row)
- Continue across, working one block in each ch-3 space. Sl st into each ch-3 space, then ch 3 and 3 dc.
- At the end of the row, do NOT make a new block. Instead, simply turn your work.
- Begin the next row by working into the first ch-3 space. (Ch 3, turn, sl st into the first ch-3 space, ch 3, 3 dc.)
This will decrease the row by one block each time. Continue decreasing in this manner, following the color chart in reverse order (starting with Color A, then B, C, D, E, D, C, B, A) until you have only 1 block left.
Fasten off and weave in all ends. Use your yarn needle to carefully hide all loose yarn tails within the stitches of the blanket.
Border
The border gives your blanket a polished, finished look.
- With Color A (Cream), attach your yarn to any corner of the blanket.
- Round 1: Work a round of single crochet (sc) around the entire blanket. In each corner, work 3 sc in the corner stitch to ensure the corners lie flat and don't curl.
- Round 2: Work another round of sc around the entire blanket, again working 3 sc in each corner.
- Round 3: Work a round of reverse sc (crab stitch) for a finished, decorative edge. To do this, work sc from left to right (instead of right to left). This creates a twisted, rope-like edge.
Fasten off and weave in all ends. Your Aurora Bloom blanket is complete!
This project is a labor of love, but the result is a stunning, heirloom-quality blanket that you'll cherish for years. The rhythmic repetition of C2C is incredibly relaxing, and watching the colors bloom across your work is deeply satisfying. Happy crocheting!