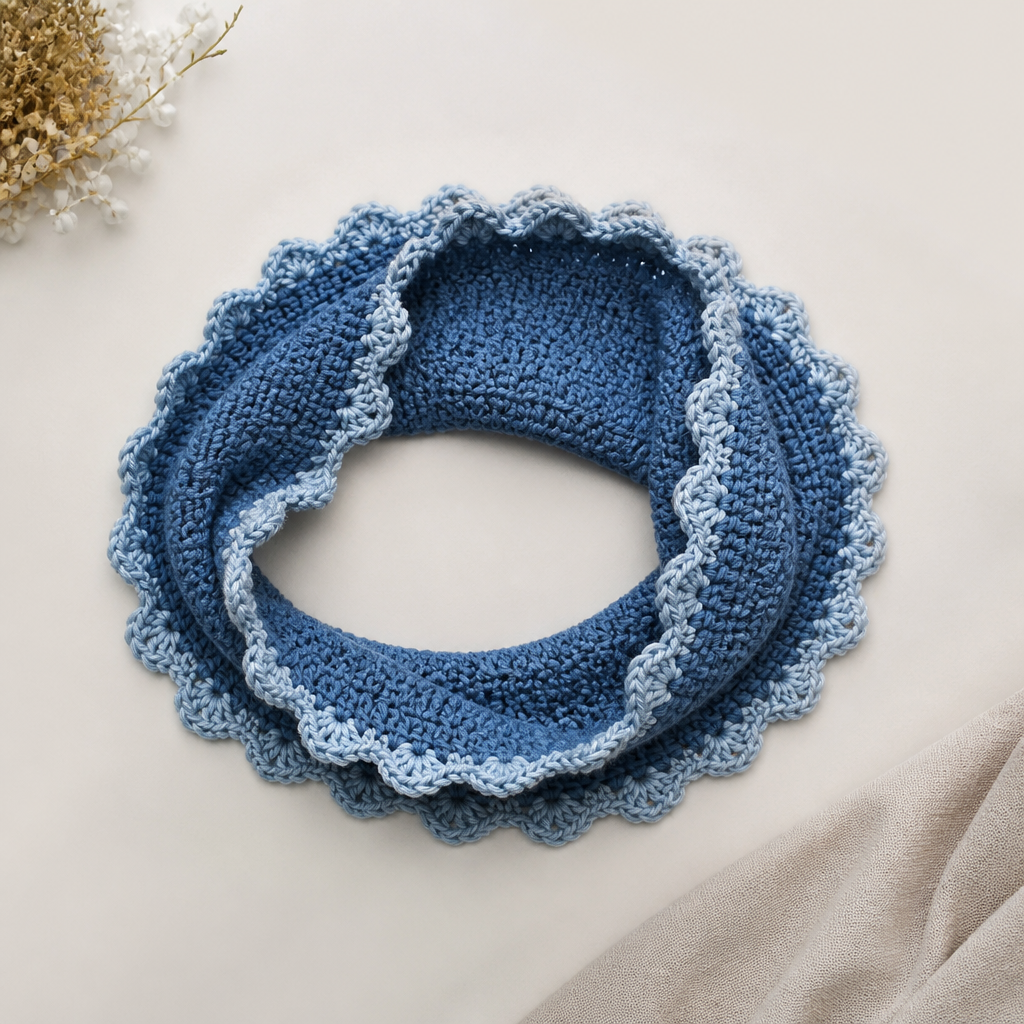
Yuletide Harvest Basket Free Pattern – A Knitted Cozy Cornucopia

Yuletide Harvest Basket Free Pattern – A Knitted Cozy Cornucopia
Wrap your holiday gifts in the warmth of hand-knit charm with this textured basket, perfect for holding treats or small treasures. Its rustic, earthy palette and sturdy stitch pattern make it a seasonal heirloom you'll use year after year. This pattern is designed with beginners in mind, using simple knit and purl stitches to create a rich, textured fabric that feels as cozy as it looks. Whether you're crafting for a Christmas gift exchange or adding a handmade touch to your own mantel, this basket is a delightful project that comes together quickly.
Materials Needed
Before you begin, gather the following supplies to ensure a smooth knitting experience:
- Yarn: Worsted weight cotton or cotton-blend yarn in three colors:
- Color A: Cream (approximately 100g)
- Color B: Forest Green (approximately 75g)
- Color C: Cranberry Red (approximately 75g)
- Needles: US 7 (4.5mm) knitting needles, or size needed to obtain gauge.
- Notions: Tapestry needle for finishing, scissors, and a measuring tape.
- Gauge: 18 stitches and 24 rows = 4 inches in Stockinette stitch, after blocking. Always knit a swatch to ensure your tension matches for the correct finished size.
Step-by-Step Instructions
This basket is knitted flat in one piece, then seamed and felted slightly for structure. The pattern uses a combination of garter, stockinette, and seed stitch to create a rich, textured fabric. Follow along carefully, and you'll have a beautiful basket in no time.
Basket Body (Worked Flat, Back and Forth)
Row 1 (RS): With Color A, cast on 40 stitches using a long-tail cast-on method. This will be the bottom edge of your basket.
Row 2 (WS): Knit all stitches. This row creates a garter stitch base, giving the bottom a sturdy, non-curling edge.
Row 3: Knit 2, purl 2, repeat to end of row. This establishes the seed stitch border pattern.
Row 4: Purl 2, knit 2, repeat to end of row. This is the reverse of Row 3, creating the classic seed stitch texture.
Rows 5-8: Repeat Rows 3 and 4 twice more. You should now have a seed stitch border that is 8 rows deep. This border will frame the bottom of your basket beautifully.
Begin Main Textured Pattern
Row 9 (RS): Switch to Color B (Forest Green). Knit all stitches. This begins the stockinette section.
Row 10 (WS): Purl all stitches. You are now working in stockinette stitch, which creates a smooth, flat surface.
Row 11: Knit all stitches.
Row 12: Purl all stitches. You have completed 4 rows of Forest Green stockinette.
Row 13: Switch to Color C (Cranberry Red). Knit all stitches.
Row 14: Purl all stitches.
Row 15: Knit all stitches.
Row 16: Purl all stitches. You have completed 4 rows of Cranberry Red stockinette.
Rows 17-24: Repeat Rows 9-16 once more. This creates two wide stripes of Forest Green and Cranberry Red, each with a smooth stockinette texture. Your basket body is now taking shape with beautiful, bold color blocks.
Add a Textured Diamond Motif
Row 25 (RS): Switch to Color A (Cream). Knit 4, *purl 2, knit 6, purl 2, knit 4*, repeat from * to * across the row. You will have a total of 40 stitches. This row begins the diamond pattern.
Row 26 (WS): Purl 4, *knit 2, purl 6, knit 2, purl 4*, repeat from * to * across the row. This is the reverse of Row 25, working the purls as knits and the knits as purls.
Row 27: Knit 4, *purl 2, knit 2, purl 2, knit 2, purl 2, knit 4*, repeat from * to * across. This row narrows the purl section, starting to form the diamond shape.
Row 28: Purl 4, *knit 2, purl 2, knit 2, purl 2, knit 2, purl 4*, repeat from * to * across. Again, this is the reverse of Row 27.
Row 29: Knit 4, *purl 2, knit 6, purl 2, knit 4*, repeat from * to * across. This row widens the purl section again, completing the diamond's widest point.
Row 30: Purl 4, *knit 2, purl 6, knit 2, purl 4*, repeat from * to * across. This is the reverse of Row 29.
Rows 31-34: Repeat Rows 25-30 once more. This creates a subtle diamond pattern in the center of the basket, adding a delicate, woven effect that elevates the design.
Top Border
Row 35: Switch to Color A (Cream). Knit 2, purl 2, repeat to end of row. This starts the top seed stitch border.
Row 36: Purl 2, knit 2, repeat to end of row.
Rows 37-40: Repeat Rows 35 and 36 twice more. You now have a matching seed stitch border at the top of the basket, mirroring the bottom.
Bind Off
Bind off: Bind off all stitches in pattern (knit the knits, purl the purls). This ensures a neat, stretchy edge that matches the seed stitch texture. Cut your yarn, leaving a long tail (about 12 inches) for seaming.
Finishing
Now that your knitting is complete, it's time to assemble and shape your basket. Follow these steps carefully for a professional finish.
- Fold the rectangle: Fold the knitted rectangle in half with the right sides together, matching the cast-on and bind-off edges. The seed stitch borders should align at the top and bottom.
- Sew the side seams: Using your tapestry needle and the long yarn tail, sew the side seams using a mattress stitch or whip stitch. Start from the bottom and work your way up, leaving the top open. The mattress stitch creates an invisible seam, while a whip stitch is quicker and more visible—choose based on your preference. Make sure to secure your stitches firmly at both ends.
- Turn right side out: Carefully turn the basket right side out through the open top. Use your fingers to gently push out the corners for a crisp shape.
- Felt the basket (optional but recommended): To give the basket structure, lightly felt it by hand-washing in hot water with a little soap. Gently agitate the fabric for a few minutes, then rinse in cold water. This will tighten the stitches and make the basket more rigid. Be careful not to over-felt, as you want to maintain the stitch definition.
- Shape and dry: Once felted, shape the basket over a bowl or box to dry. This will help it hold its form. Allow it to dry completely, which may take 24-48 hours depending on humidity.
- Weave in ends: Once dry, weave in all loose ends using your tapestry needle. Trim any excess yarn.
Optional: Add a Knitted Handle
If you'd like to make your basket easier to carry, consider adding a handle. Cast on 10 stitches with Color A and work in garter stitch (knit every row) for 12 inches. Bind off and sew the handle to the inside of the basket on opposite sides, using a whip stitch for durability. This adds a functional and charming touch.
Your Yuletide Harvest Basket is now complete! This sturdy, textured basket is perfect for holding holiday treats, small gifts, or even as a decorative storage piece. The combination of cream, forest green, and cranberry red makes it a festive addition to any Christmas decor, and its felted structure ensures it will last for years to come. Happy knitting, and enjoy your handmade creation!