Whispering Willow Baby Booties Free Pattern

Whispering Willow Baby Booties: A Free Knitting Pattern for Heirloom-Quality Gifts
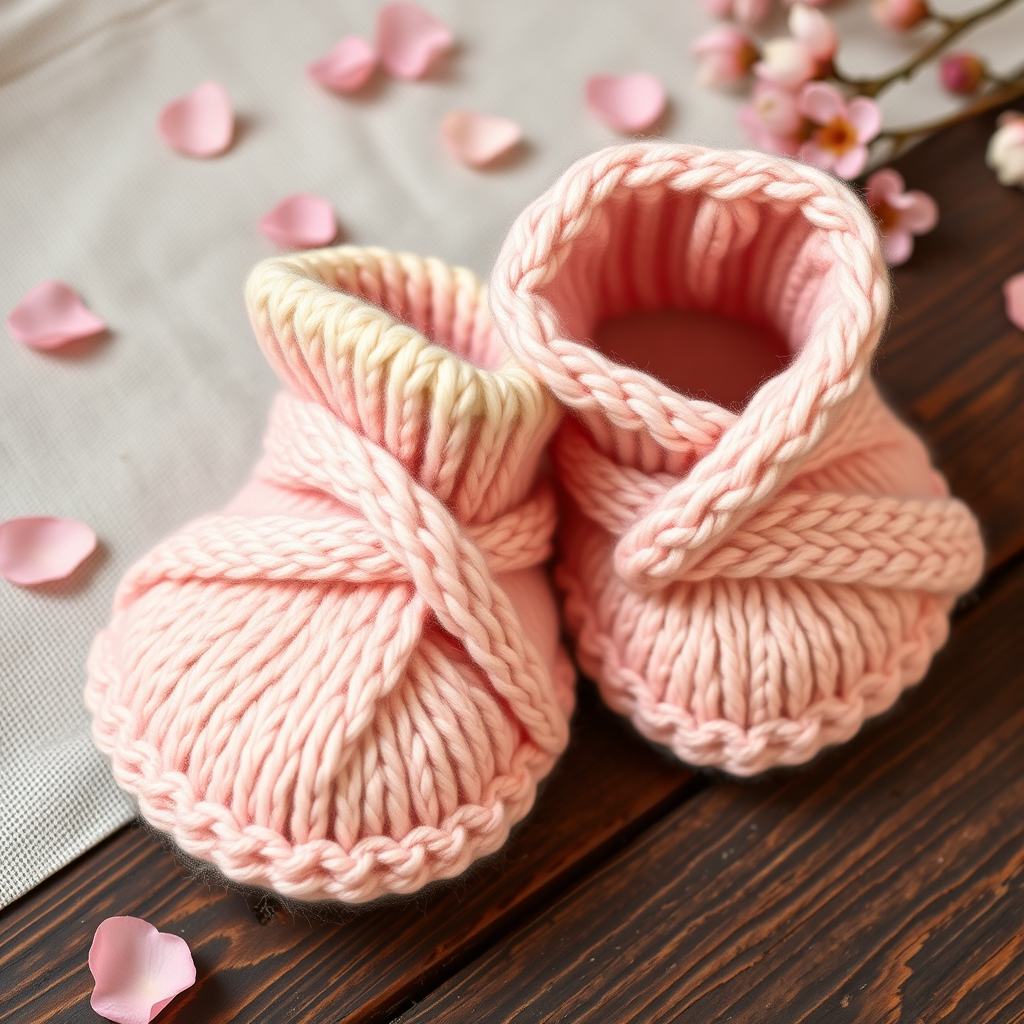
There is something truly magical about creating a handmade gift for a new arrival. The Whispering Willow Baby Booties capture that magic perfectly—delicate, hand-knitted booties featuring a charming leaf-like stitch pattern that wraps tiny toes in the softest embrace. Whether you're a seasoned knitter or a brave beginner ready for a rewarding project, this free pattern will guide you through creating an heirloom-quality piece that will be treasured for years to come.
These booties are designed for newborns (0-3 months) and make an unforgettable baby shower gift. The muted sage green color evokes calm and natural nursery aesthetics, while the subtle lace pattern adds just the right touch of elegance. Let's dive into this delightful project!
Materials Needed
Before you begin, gather these essential supplies:
- Yarn: Fingering weight yarn (approximately 50g) in a soft sage green or buttery yellow. Choose a high-quality, soft yarn suitable for baby skin—merino wool or a wool-blend works beautifully.
- Needles: US Size 2 (2.75 mm) double-pointed needles (or a circular needle if you prefer the magic loop method)
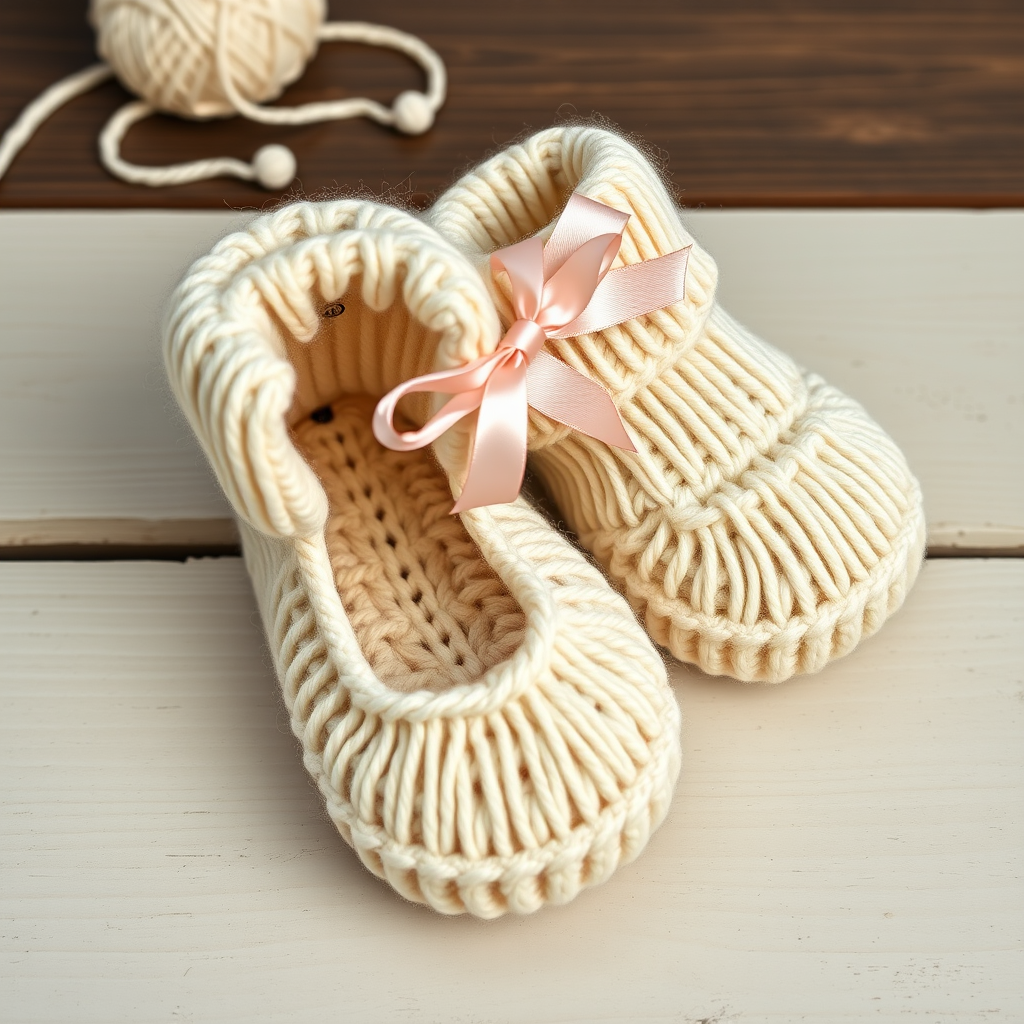
- Notions: Stitch markers (at least 2), tapestry needle for weaving in ends, and a thin satin ribbon (approximately 24 inches) in a complementary color like pale yellow or white
- Gauge: 28 stitches and 36 rows = 4 inches in stockinette stitch (after blocking). Important: Always check your gauge before starting to ensure the correct finished size.
Understanding Your Pattern
This pattern creates booties that fit newborns (0-3 months) with a foot length of approximately 3.5 (4) inches. The design features a ribbed cuff, a delicate eyelet row for ribbon, a leaf-patterned instep, and a smoothly shaped foot and toe.
Abbreviations You'll Need
- CO: Cast on
- K: Knit
- P: Purl
- K2tog: Knit two together (right-leaning decrease)
- SSK: Slip slip knit (left-leaning decrease)
- YO: Yarn over (creates an eyelet hole)
- PM: Place marker
- SM: Slip marker
- St(s): Stitch(es)
- RS: Right side
- WS: Wrong side
Step-by-Step Instructions
Follow these detailed instructions carefully, and you'll have a beautiful pair of booties in no time. The pattern is worked from the cuff down to the toe.
Part 1: The Cuff
Cast On: CO 36 (40) stitches. Distribute them evenly across 3 or 4 double-pointed needles (12 or 10 stitches per needle, depending on your preference). Join in the round, being very careful not to twist your stitches. Place a marker at the beginning of the round to track your progress.
Rounds 1-8: Work K1, P1 ribbing across all stitches. This creates a stretchy, snug cuff that will keep the bootie securely on tiny feet. Continue for all 8 rounds.
Part 2: The Leg and Eyelet Row
Round 9: Knit all stitches. This plain round separates the ribbing from the decorative section.
Round 10 (Eyelet Row): *K2, YO, K2tog, K1*; repeat from * to * to the end of the round. This creates a series of small holes that will later hold your ribbon. The YO adds a stitch while the K2tog removes one, keeping your stitch count consistent.
Rounds 11-12: Knit all stitches. Your leg section is now complete.
Part 3: The Instep (Leaf Pattern)
Now you'll work back and forth on only the first 14 (16) stitches to create the top of the foot with its beautiful leaf-like pattern. The remaining 22 (24) stitches will be held for the sole.
Setup: Transfer the first 14 (16) stitches to one needle. Place the remaining 22 (24) stitches on a stitch holder or leave them on your DPNs, out of the way.
Row 1 (RS): K1, *YO, K2tog, K1*; repeat from * to * until 1 stitch remains, K1. (You'll maintain 14 or 16 stitches throughout—the YO and K2tog balance each other out.)
Row 2 (WS): Purl all stitches.
Row 3: K2, *YO, K2tog, K1*; repeat from * to * until 2 stitches remain, K2.
Row 4: Purl all stitches.
Repeat Rows 1-4 until the instep measures approximately 1.5 (1.75) inches from the start of the instep section, always ending with a wrong-side row (Row 2 or 4). This creates the delicate, staggered leaf-like lace pattern along the top of the foot.
Part 4: Joining for the Foot
Now you'll bring all stitches back together to work in the round for the foot section.
Step 1: Knit across your 14 (16) instep stitches.
Step 2: Pick up and knit 10 (12) stitches along the left side edge of the instep. Insert your needle under the edge stitch loops and knit them—this creates a clean, seamless join.
Step 3: Place a marker (this is your first side marker).
Step 4: Knit across the 22 (24) held sole stitches.
Step 5: Place a second marker (your second side marker).
Step 6: Pick up and knit 10 (12) stitches along the right side edge of the instep.
You should now have a total of 56 (64) stitches on your needles, with markers at each side of the foot.
Part 5: Shaping the Foot
Round 1: Knit all stitches around.
Round 2 (Decrease Round): *K1, SSK, knit to 3 stitches before the marker, K2tog, K1, SM*; repeat from * to * once more. This decreases 4 stitches total (2 on each side of the foot). The SSK at the beginning and K2tog at the end create neat, mirrored decreases.
Repeat Rounds 1-2 until you have 28 (32) stitches remaining. This shaping narrows the foot to fit snugly around baby's heel and arch.
Part 6: Toe Shaping
Round 1: *K2tog*; repeat from * to * to the end of the round. (You'll now have 14 (16) stitches.)
Round 2: Knit all stitches.
Round 3: *K2tog*; repeat from * to * to the end of the round. (You'll now have 7 (8) stitches.)
Cut your yarn, leaving a 6-inch tail. Thread the tail through a tapestry needle, then pass it through the remaining stitches on your knitting needle. Slip the stitches off the needle and pull the yarn tight to gather the toe closed. Secure with a small knot and weave in the end.
Part 7: Finishing Touches
Weave in Ends: Using your tapestry needle, carefully weave in all loose ends on the inside of the bootie. Make sure they're secure so they won't come loose with wear.
Add the Ribbon: Cut your satin ribbon into two equal pieces (about 12 inches each). Starting at the front center of the bootie, thread the ribbon through the eyelet row, weaving it in and out of the holes. Leave equal lengths on both sides.
Tie the Bow: Tie a neat, small bow at the front of the bootie. Trim the ribbon ends at an angle to prevent fraying.
Block Gently: To give your booties a professional finish, wet block them. Soak in lukewarm water with a drop of gentle soap, then gently squeeze out excess water (never wring). Shape the booties and lay flat to dry on a towel. This evens out the stitches and enhances the lace pattern.
Repeat for the Second Bootie
Simply follow the same instructions to create the matching bootie. For best results, keep notes on which row you ended with on the first bootie so both match perfectly.
Final Thoughts
These Whispering Willow Baby Booties are more than just footwear—they're a labor of love. The delicate leaf pattern and soft, natural colors make them a beautiful keepsake that families will treasure long after baby has outgrown them. Whether you pair them with a matching baby blanket or present them alone in a gift box with a sprig of dried lavender, these booties are sure to bring joy.
Remember, knitting takes practice. If you make a mistake, don't be discouraged—simply unravel and try again. The process is part of the gift. Happy knitting!