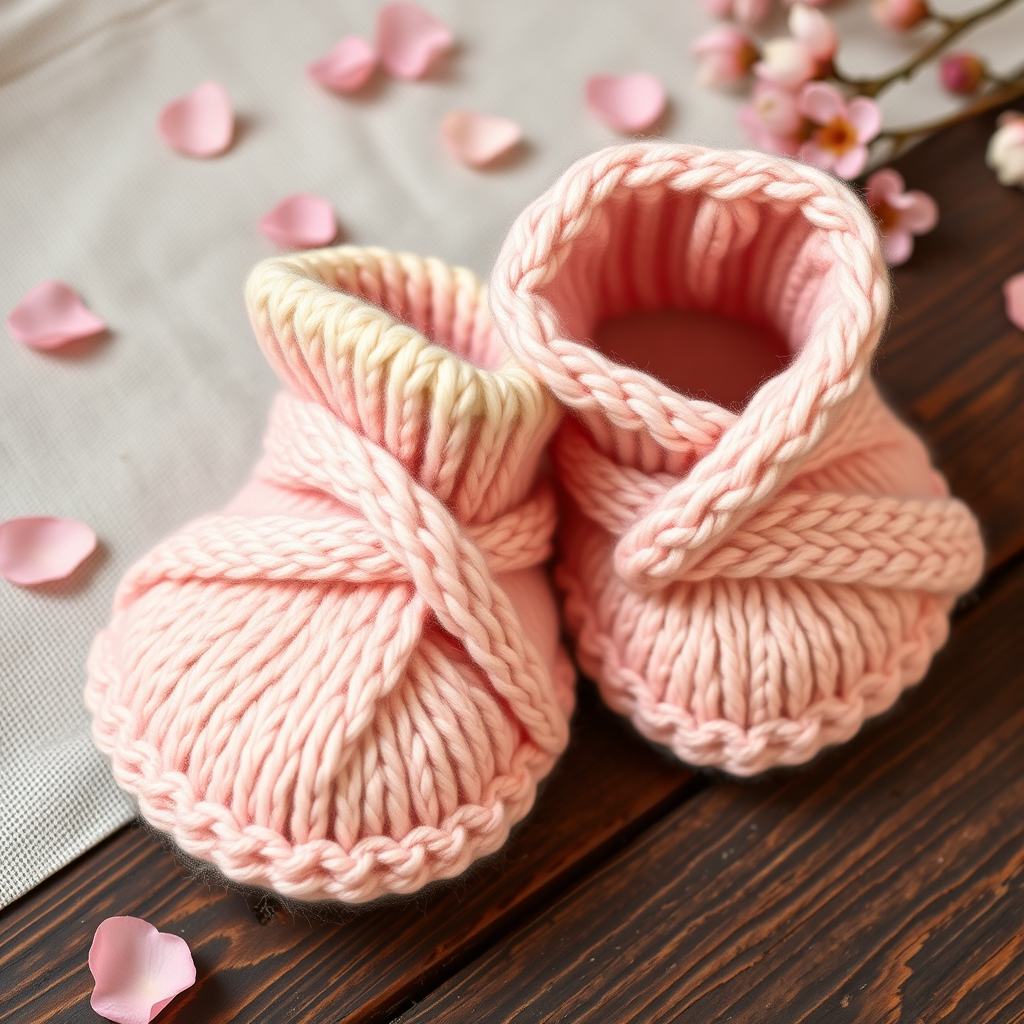
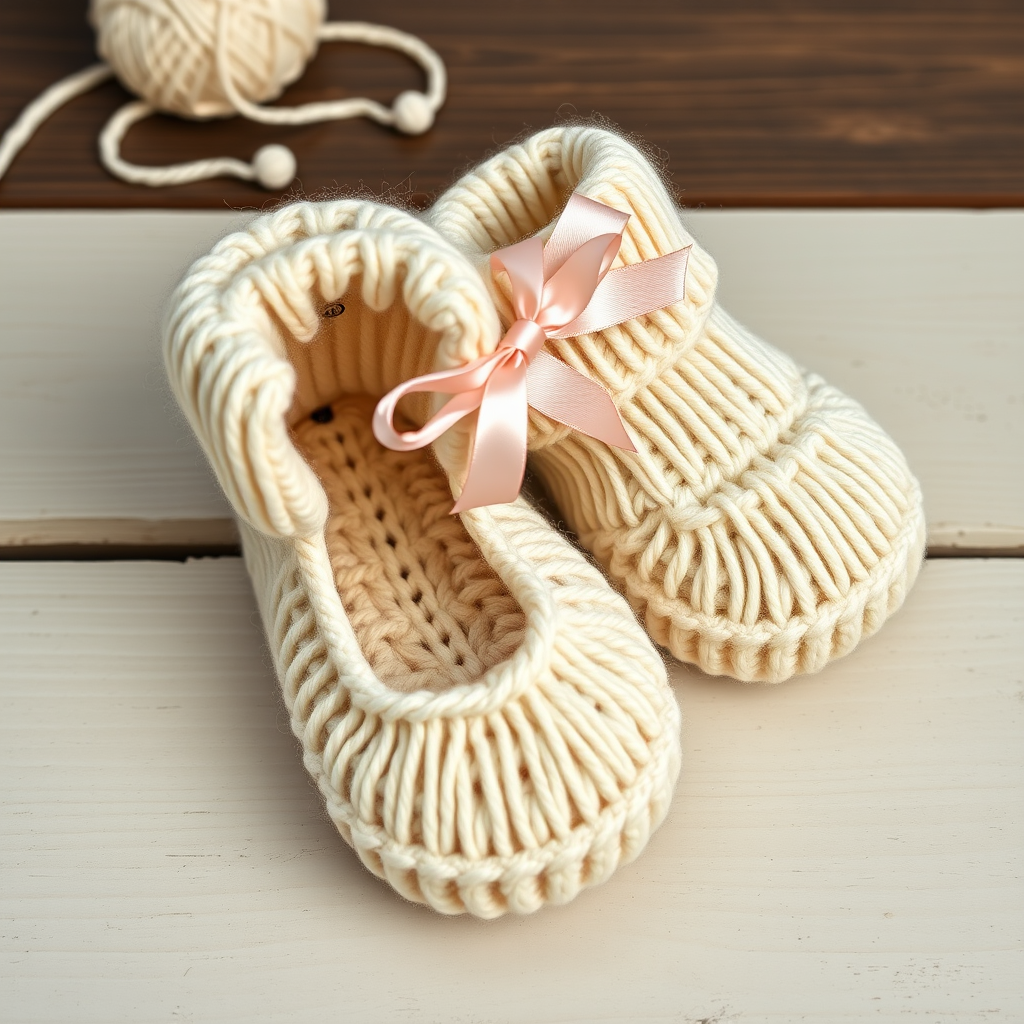
Heirloom Lace-Up Baby Sneakers Free Pattern – A Knitted Vintage Classic

A Timeless Treasure: Knitting the Heirloom Lace-Up Baby Sneakers
There is something profoundly special about creating a garment that carries the weight of tradition. These Heirloom Lace-Up Baby Sneakers are more than just footwear; they are a miniature work of art, designed to be passed down and cherished. With their delicate lace-up fronts, soft vintage silhouette, and breathable cotton construction, this pattern captures the charm of a bygone era while providing the comfort modern babies need. Whether you are a seasoned knitter looking for a meaningful project or a beginner eager to tackle your first pair of booties, this free pattern offers a rewarding journey into heirloom-quality craftsmanship. Let's pick up our needles and create a keepsake that will be treasured for generations.
Gathering Your Materials: What You'll Need
Before we begin, let's ensure you have everything required to bring these little sneakers to life. The beauty of this project lies in its simplicity and the quality of its materials. Here is the complete list of supplies you will need:
- Yarn: Worsted weight cotton yarn (e.g., Lion Brand 24/7 Cotton). You will need two colors: a main color (cream) for the soles and sides, and a contrasting color (soft rose) for the cuffs and laces. A single 50g ball of each color is more than sufficient for a pair.
- Knitting Needles: US Size 5 (3.75 mm) knitting needles. You will need a pair of straight needles for the soles and cuffs, and a set of double-pointed needles (DPNs) or a circular needle for working the sides in the round.
- Crochet Hook: A small crochet hook (size E/4 or similar) for creating the lace-up ties, or you can use a knitting needle to make an I-cord.
- Notions: A tapestry needle for weaving in ends and sewing pieces together, a stitch marker, and scissors.
Gauge: 20 stitches and 28 rows = 4 inches in stockinette stitch. Achieving the correct gauge is crucial for ensuring the booties fit the intended size, so take a moment to knit a test swatch before you begin.
Step-by-Step Instructions: Crafting Your Heirloom Sneakers
This pattern is written for two sizes: Newborn (0-3 months) with a sole length of 3.5 inches, and 3-6 months with a sole length of 4 inches. Instructions for the larger size are provided in parentheses. We will work through each component methodically, from the foundation sole to the final charming assembly.
Part 1: Knitting the Sole (Make 2)
The sole is the foundation of our sneaker, worked flat in a simple garter stitch with increases to create the rounded toe and heel shape. We will begin with the cream yarn.
Abbreviations: K = knit, P = purl, K2tog = knit two together, SSK = slip slip knit, YO = yarn over, St(s) = stitch(es), RS = right side, WS = wrong side.
- Cast On: Cast on 8 (10) stitches in cream.
- Row 1 (RS): K1, YO, K to the last stitch, YO, K1. You will now have 10 (12) stitches.
- Row 2 (and all even rows): Purl all stitches.
- Row 3 (RS): K1, YO, K to the last stitch, YO, K1. You will now have 12 (14) stitches.
- Row 5 (RS): K1, YO, K to the last stitch, YO, K1. You will now have 14 (16) stitches.
- Row 7 (RS): K1, YO, K to the last stitch, YO, K1. You will now have 16 (18) stitches.
- Work Even: Now, work in stockinette stitch (knit on the RS, purl on the WS) for 12 (14) more rows, ending with a WS row. This creates the flat middle section of the sole.
- Shape the Heel (Row 1, RS): K1, SSK, K to the last 3 stitches, K2tog, K1. You will now have 14 (16) stitches.
- Next Row (WS): Purl all stitches.
- Repeat Decreases: Repeat the last two rows 2 more times. You will now have 10 (12) stitches.
- Final Decrease Row (RS): SSK, K to the last 2 stitches, K2tog. You will now have 8 (10) stitches.
- Bind Off: Bind off all stitches on the WS. Weave in the yarn end securely. Repeat this entire process to create the second sole.
Part 2: Knitting the Sides (Make 2)
Now we will build the body of the sneaker by picking up stitches around the sole and working them in the round. This creates a seamless, professional-looking side wall.
- Pick Up Stitches: With the cream yarn and your DPNs or circular needle, pick up and knit 28 (32) stitches evenly around the edge of the sole. Place a stitch marker at the center of the heel to mark the beginning of the round.
- Round 1: Knit all stitches.
- Round 2: Purl all stitches. This purl round will create a beautiful, subtle ridge that defines the sole from the side wall.
- Switch to Rose Yarn: Cut the cream yarn and join the soft rose yarn.
- Rounds 3-6: Knit all stitches. This will create the smooth, stockinette side wall of the sneaker.
- Round 7 (Eyelet Row): This is where the laces will thread through. *K2tog, YO, K2; repeat from * to the end of the round. This creates a series of small holes around the top of the side.
- Rounds 8-10: Knit all stitches.
- Bind Off: Bind off all stitches loosely to ensure the opening remains stretchy enough for a baby's foot. Weave in all ends.
Part 3: Knitting the Cuff (Make 2)
The cuff is a simple ribbed band that wraps around the ankle, giving the sneaker its classic sock-like finish. We will use the rose yarn for this piece.
- Cast On: With the rose yarn, cast on 20 (22) stitches.
- Row 1 (RS): K1, P1, repeat to the end of the row.
- Row 2 (WS): P1, K1, repeat to the end of the row. This creates a 1x1 ribbing pattern.
- Repeat: Repeat Rows 1 and 2 until the cuff measures approximately 6 (8) rows total.
- Bind Off: Bind off in pattern (knit the knits and purl the purls). Weave in the ends.
Part 4: Creating the Lace-Up Ties (Make 2)
These delicate cords are what give the sneakers their signature vintage look. You have two easy options for creating them.
- Option 1 (Crochet): Using the cream yarn and a small crochet hook, make a chain of 30 (36) inches. Fasten off and weave in the ends.
- Option 2 (Knitted I-Cord): Using two DPNs, cast on 3 stitches. Knit across, then slide the stitches to the other end of the needle without turning. Knit across again. Repeat this process until the cord measures 30 (36) inches. Bind off.
Part 5: Assembly and Finishing Touches
Now for the most satisfying part—bringing all the pieces together to form the finished sneaker.
- Attach the Cuff: Position the cuff over the top of the side piece, aligning the bound-off edge of the cuff with the eyelet row of the side. The cuff should wrap around the ankle opening. Sew the cuff securely to the side piece using a whip stitch or mattress stitch.
- Thread the Laces: Starting at the bottom eyelet, thread the lace-up tie through the holes in a crisscross pattern, just like a shoelace. Work your way up to the top.
- Tie the Bow: Tie a neat, small bow at the top of the laces. This completes the charming look.
- Add a Personal Touch (Optional): For extra heirloom charm, you can sew a small knitted flower or a vintage-style button at the top of the lace, just above the bow.
- Final Finishing: Gently block the sneakers to shape them. This helps even out the stitches and gives them a professional finish. Ensure all yarn ends are securely woven in to prevent unraveling.
Repeat the entire process for the second sneaker, and you will have a beautiful, handmade pair of heirloom baby sneakers ready to be gifted and adored. These booties are not just a project; they are a piece of history, lovingly crafted by your hands.