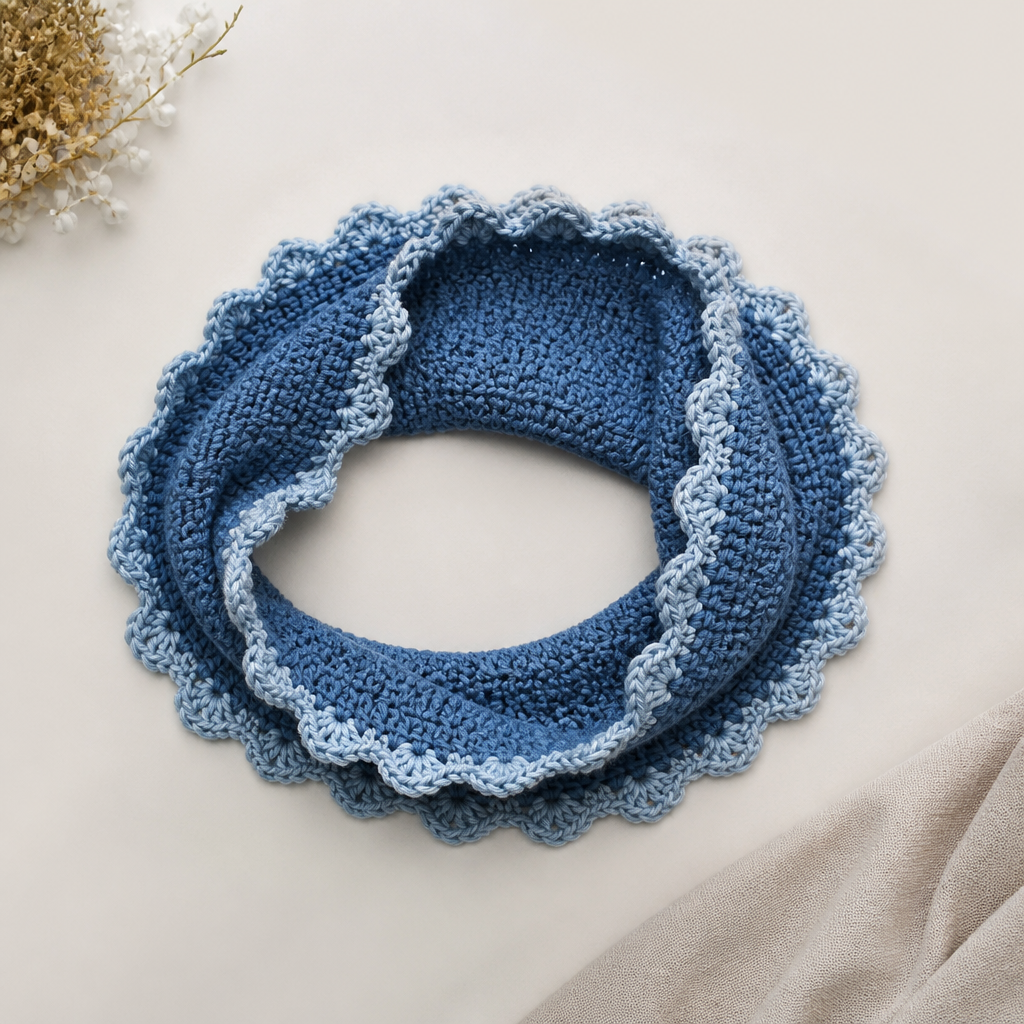
Sun-Kissed Citrus Tea Cozy Free Pattern – A Knitted Summer Fruit Garden

Sun-Kissed Citrus Tea Cozy Free Pattern – A Knitted Summer Fruit Garden
Bring a burst of summer to your tea table with this charming knitted tea cozy shaped like a ripe orange slice, complete with a leafy green top. It's a delightful, functional project that keeps your pot warm while adding a pop of citrusy color to your kitchen. Whether you're an experienced knitter looking for a quick weekend project or a beginner ready to tackle your first colorwork piece, this pattern is designed to be both enjoyable and rewarding. The vibrant stripes of orange, white, and yellow mimic the juicy segments of a citrus fruit, making every tea time feel like a sunny afternoon.
This tea cozy is not just a practical kitchen accessory—it's a statement piece. The bright, cheerful colors will instantly lift your mood, and the soft cotton yarn is gentle on your hands and perfect for insulating your teapot. Plus, it makes a wonderful handmade gift for tea lovers, housewarmings, or anyone who appreciates a touch of whimsy in their home decor. Let's dive into this delightful project!
Materials Needed
Before you begin, gather the following materials. Having everything ready will make your knitting experience smooth and enjoyable.
- Yarn: Worsted weight cotton yarn in the following colors:
- MC (Main Color): Orange – approximately 120 yards
- CC1 (Contrast Color 1): White – approximately 80 yards
- CC2 (Contrast Color 2): Yellow – approximately 80 yards
- CC3 (Contrast Color 3): Green – approximately 10 yards (for the leaves)
- Needles: US 6 (4.0 mm) knitting needles – either double-pointed needles (DPNs) or a circular needle (16-inch) for knitting in the round. A set of DPNs is recommended for the decreasing rounds at the top.
- Notions: Tapestry needle for weaving in ends and sewing the leaves, stitch marker for the beginning of the round, scissors.
- Gauge: 20 stitches and 26 rows = 4 inches in stockinette stitch. Always check your gauge to ensure the cozy fits your teapot properly.
Step-by-Step Instructions
This tea cozy is knitted in the round from the top down, then split for the spout and handle openings. It features a segmented orange pattern and a knitted leaf on top. Follow these detailed instructions carefully, and you'll have a beautiful citrus cozy in no time.
Abbreviations
- CO: Cast on
- K: Knit
- P: Purl
- K2tog: Knit two together (decrease)
- SSK: Slip, slip, knit (decrease)
- St(s): Stitch(es)
- Rnd(s): Round(s)
- MC: Main color (orange)
- CC1: White
- CC2: Yellow
- CC3: Green
Top Leaf (Make 2)
We'll start with the adorable leaves that will adorn the top of your cozy. These are quick to knit and add the perfect finishing touch.
- Cast on: With CC3 (green), CO 5 stitches.
- Row 1 (Wrong Side): Purl all stitches.
- Row 2: K1, K2tog, K2. (You now have 4 stitches)
- Row 3: Purl all stitches.
- Row 4: K1, K2tog, K1. (You now have 3 stitches)
- Row 5: Purl all stitches.
- Row 6: K1, K2tog. (You now have 2 stitches)
- Row 7: P2tog (purl two together). Fasten off by cutting the yarn and pulling it through the remaining loop. Leave a long tail (about 8 inches) for sewing the leaf onto the cozy.
Pro Tip: To create a central vein on the leaf, you can embroider a simple line down the middle with a contrasting green yarn after sewing it on. This adds a lovely detail!
Cozy Body
Now for the main event – the cozy body itself. We'll knit this in the round, creating a seamless tube that will fit snugly over your teapot.
Getting Started
- Cast on: With MC (orange), CO 60 stitches. Join in the round, being very careful not to twist your stitches. Place a stitch marker to indicate the beginning of the round.
- Rounds 1-4: Knit all stitches. This creates a smooth stockinette base for the pattern to begin.
Creating the Citrus Segments
This is where the magic happens! We'll be working with multiple colors to create the striped orange segment effect. Important: When changing colors, always twist the yarns around each other on the wrong side of the work to prevent holes.
First Orange-to-White Transition:
- Rnd 5: *K5 MC, K1 CC1* repeat to end. (You'll have 10 white stitches evenly spaced)
- Rnd 6: *K4 MC, K3 CC1* repeat to end.
- Rnd 7: *K3 MC, K5 CC1* repeat to end.
- Rnd 8: *K2 MC, K7 CC1* repeat to end.
- Rnd 9: *K1 MC, K9 CC1* repeat to end.
- Rnd 10: *K10 CC1* (all white).
White-to-Yellow Transition:
- Rnd 11: *K9 CC1, K1 CC2* repeat to end.
- Rnd 12: *K7 CC1, K3 CC2* repeat to end.
- Rnd 13: *K5 CC1, K5 CC2* repeat to end.
- Rnd 14: *K3 CC1, K7 CC2* repeat to end.
- Rnd 15: *K1 CC1, K9 CC2* repeat to end.
- Rnd 16: *K10 CC2* (all yellow).
Yellow-to-Orange Transition:
- Rnd 17: *K9 CC2, K1 MC* repeat to end.
- Rnd 18: *K7 CC2, K3 MC* repeat to end.
- Rnd 19: *K5 CC2, K5 MC* repeat to end.
- Rnd 20: *K3 CC2, K7 MC* repeat to end.
- Rnd 21: *K1 CC2, K9 MC* repeat to end.
- Rnd 22: *K10 MC* (all orange).
Second Orange-to-White Transition (for the second segment):
- Rnd 23: *K9 MC, K1 CC1* repeat to end.
- Rnd 24: *K7 MC, K3 CC1* repeat to end.
- Rnd 25: *K5 MC, K5 CC1* repeat to end.
- Rnd 26: *K3 MC, K7 CC1* repeat to end.
- Rnd 27: *K1 MC, K9 CC1* repeat to end.
- Rnd 28: *K10 CC1* (all white).
Second White-to-Yellow Transition:
- Rnd 29: *K9 CC1, K1 CC2* repeat to end.
- Rnd 30: *K7 CC1, K3 CC2* repeat to end.
- Rnd 31: *K5 CC1, K5 CC2* repeat to end.
- Rnd 32: *K3 CC1, K7 CC2* repeat to end.
- Rnd 33: *K1 CC1, K9 CC2* repeat to end.
- Rnd 34: *K10 CC2* (all yellow).
Second Yellow-to-Orange Transition:
- Rnd 35: *K9 CC2, K1 MC* repeat to end.
- Rnd 36: *K7 CC2, K3 MC* repeat to end.
- Rnd 37: *K5 CC2, K5 MC* repeat to end.
- Rnd 38: *K3 CC2, K7 MC* repeat to end.
- Rnd 39: *K1 CC2, K9 MC* repeat to end.
- Rnd 40: *K10 MC* (all orange).
Congratulations! You've completed the beautiful segmented pattern. Now we'll shape the top of the cozy.
Shaping the Top (Decreases)
Now we'll decrease stitches to close the top of the cozy, creating a rounded dome shape that fits over your teapot's lid.
- Rnd 41: *K8 MC, K2tog* repeat to end. (You now have 54 stitches)
- Rnd 42: *K7 MC, K2tog* repeat to end. (You now have 48 stitches)
- Rnd 43: *K6 MC, K2tog* repeat to end. (You now have 42 stitches)
- Rnd 44: *K5 MC, K2tog* repeat to end. (You now have 36 stitches)
- Rnd 45: *K4 MC, K2tog* repeat to end. (You now have 30 stitches)
- Rnd 46: *K3 MC, K2tog* repeat to end. (You now have 24 stitches)
- Rnd 47: *K2 MC, K2tog* repeat to end. (You now have 18 stitches)
- Rnd 48: *K1 MC, K2tog* repeat to end. (You now have 12 stitches)
- Rnd 49: *K2tog* repeat to end. (You now have 6 stitches)
Finishing the top: Cut the yarn, leaving a long tail (about 10 inches). Thread the tail onto a tapestry needle and pass it through the remaining 6 stitches. Pull tight to close the hole, and fasten off securely. Weave in this end on the inside of the cozy.
Spout and Handle Openings
The cozy is worked as a tube, so it naturally has an opening at the bottom. To create openings for the spout and handle, you have a couple of options. We'll go with the simplest and most effective method for a beginner.
Option 1 (Recommended for this pattern): The I-cord Tie
This method allows you to cinch the bottom of the cozy around the teapot, ensuring a snug fit while leaving the spout and handle free.
- After finishing the body, turn the cozy upside down. The bottom edge will be the top of the teapot. The spout and handle will protrude from the bottom opening.
- To secure the cozy in place, we'll add a simple I-cord tie that you can cinch and tie in a bow.
Making the I-cord Tie:
- With MC (orange), CO 3 stitches onto a double-pointed needle.
- Knit the I-cord: *Knit 3 stitches. Do not turn your work. Slide the stitches back to the right end of the needle. Repeat from * until the cord measures about 20 inches.
- Bind off: Bind off the 3 stitches. Cut the yarn, leaving a tail to weave in.
- Thread the tie: Using a tapestry needle, thread the I-cord through the bottom edge stitches of the cozy, about 1 inch from the edge. Go in and out of the stitches all the way around.
- Finishing: Place the cozy over your teapot, pull the I-cord to cinch it gently around the base, and tie a neat bow. This will keep the cozy in place while allowing the spout and handle to stick out freely.
Option 2 (Alternative): Sewn Openings
If you prefer a more tailored fit without a tie, you can sew running stitches to create openings.
- Place the cozy over your teapot and mark where the spout and handle hit the bottom edge.
- With matching yarn and a tapestry needle, sew a running stitch around the bottom edge, about 2 inches from the bottom, on opposite sides where the spout and handle will go.
- Pull gently to cinch, creating two distinct openings for the spout and handle. Secure the yarn and weave in the ends.
Finishing Touches
- Sew on the leaves: Position the two knitted leaves onto the top center of the cozy (the cast-on edge) using the long tails you left earlier. Arrange them to look like a citrus leaf cluster, slightly overlapping or fanning out. Sew them securely, weaving the tails through the stitches on the inside of the cozy.
- Weave in all ends: Use your tapestry needle to weave in any remaining loose ends on the inside of the cozy. Make sure they are secure so they don't unravel with use.
- Block gently: To shape your cozy and even out the stitches, lightly wet-block it. Soak the cozy in lukewarm water with a drop of mild soap, gently squeeze out excess water (do not wring), and lay it flat to dry on a towel. Shape it as it dries to ensure it fits your teapot nicely.
And there you have it—a beautiful, functional, and cheerful Sun-Kissed Citrus Tea Cozy! This project is perfect for using up scrap yarn, practicing colorwork, and adding a handmade touch to your kitchen. The bright colors and playful design are sure to bring a smile to your face every time you brew a cup of tea.
Happy knitting, and enjoy your summer fruit garden on your tea table!