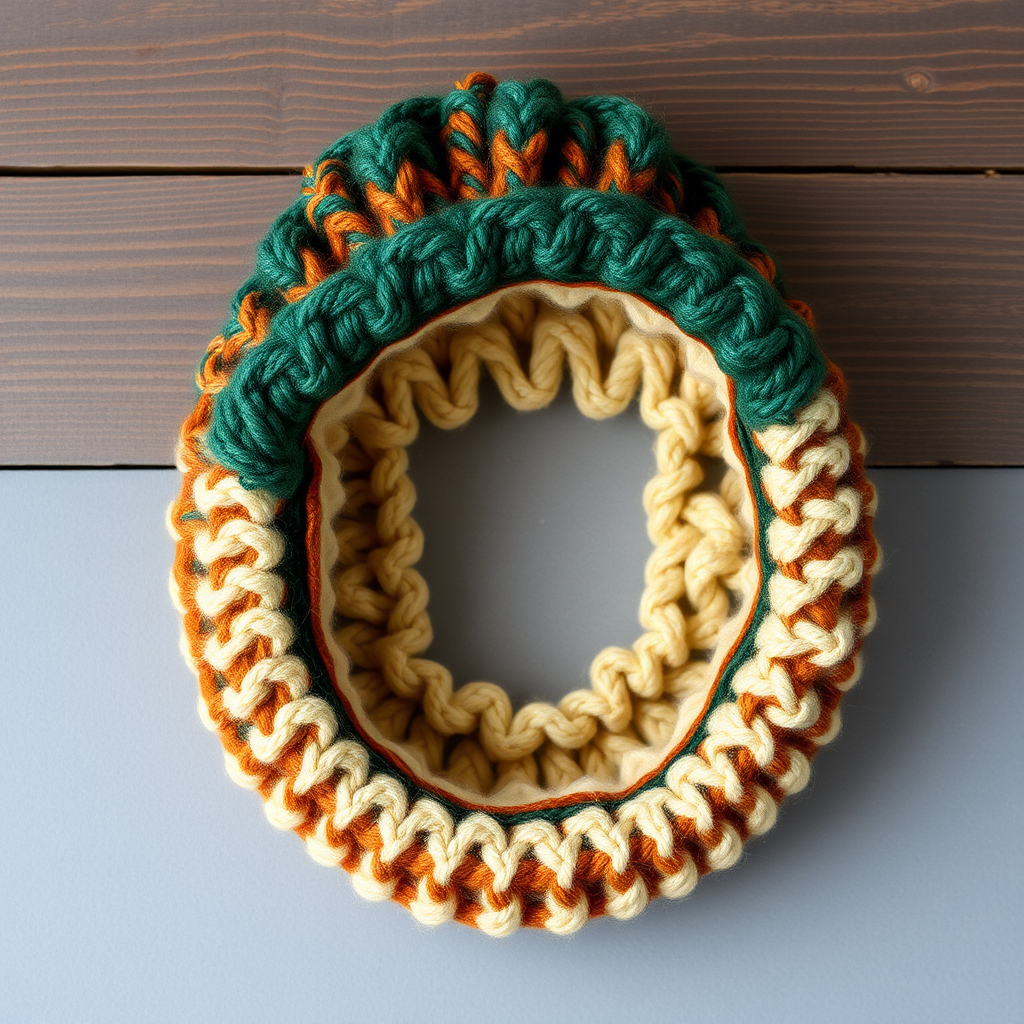
Knitted Hat Patterns
Snowy Peaks Christmas Stocking Cap Free Pattern
Anonymous
•
July 18, 2026

Snowy Peaks Christmas Stocking Cap Free Pattern
Introduction
Embrace the festive spirit with this Snowy Peaks Christmas Stocking Cap! This delightful hat features intricate cable patterns and a warm, cozy design, making it the perfect accessory for the holiday season. Whether you're looking to keep warm during winter festivities or searching for a handmade gift, this pattern is ideal for knitters of all skill levels, especially beginners. Let’s get started on creating your very own festive masterpiece!
Materials Needed
- Yarn: Bulky weight yarn in red, white, and green
- Needles: US 10 (6.0 mm) circular needles
- Gauge: 14 stitches and 20 rows = 4 inches in stockinette stitch
Step-by-Step Instructions
- Cast On: Begin by casting on 80 stitches using the red yarn. Make sure to use a long-tail cast-on method for a stretchy edge.
- Join in the Round: Carefully join the stitches in the round, ensuring that you do not twist the stitches. Place a stitch marker to indicate the beginning of the round.
- Ribbing: Work in a k2, p2 ribbing pattern for 2 inches. This creates a snug and stretchy brim for your hat.
- Switch Yarn: After completing the ribbing, switch to the white yarn to begin the cable pattern.
- Cable Pattern:
- Rounds 1-4: *k4, p2; repeat from * to end of the round.
- Round 5: *C4F (slip 2 stitches to a cable needle and hold in front, knit 2, then knit the 2 stitches from the cable needle), p2; repeat from * to end of the round.
- Repeat Cable Pattern: Continue repeating rounds 1-5 until the piece measures 10 inches from the cast-on edge.
- Switch to Green Yarn: Once you reach the desired length, switch to the green yarn and work in stockinette stitch (knit every round) for 2 inches.
- Begin Decreasing for the Crown:
- Round 1: *k8, k2tog; repeat from * to end of the round.
- Round 2: Knit all stitches.
- Round 3: *k7, k2tog; repeat from * to end of the round.
- Round 4: Knit all stitches.
- Continue this pattern, decreasing one less stitch between k2togs every other round until you have 8 stitches remaining.
- Finish the Hat: Cut the yarn, leaving a long tail. Thread the tail through the remaining stitches and pull tight to close the top of the hat.
- Weave in Ends: Use a tapestry needle to weave in all loose ends for a clean finish.
- Add a Pom-Pom: Create a fluffy pom-pom using the white yarn and attach it to the top of the hat for a festive touch.
Congratulations! You’ve successfully created your very own Snowy Peaks Christmas Stocking Cap. Enjoy wearing it during the holiday season or gift it to someone special!