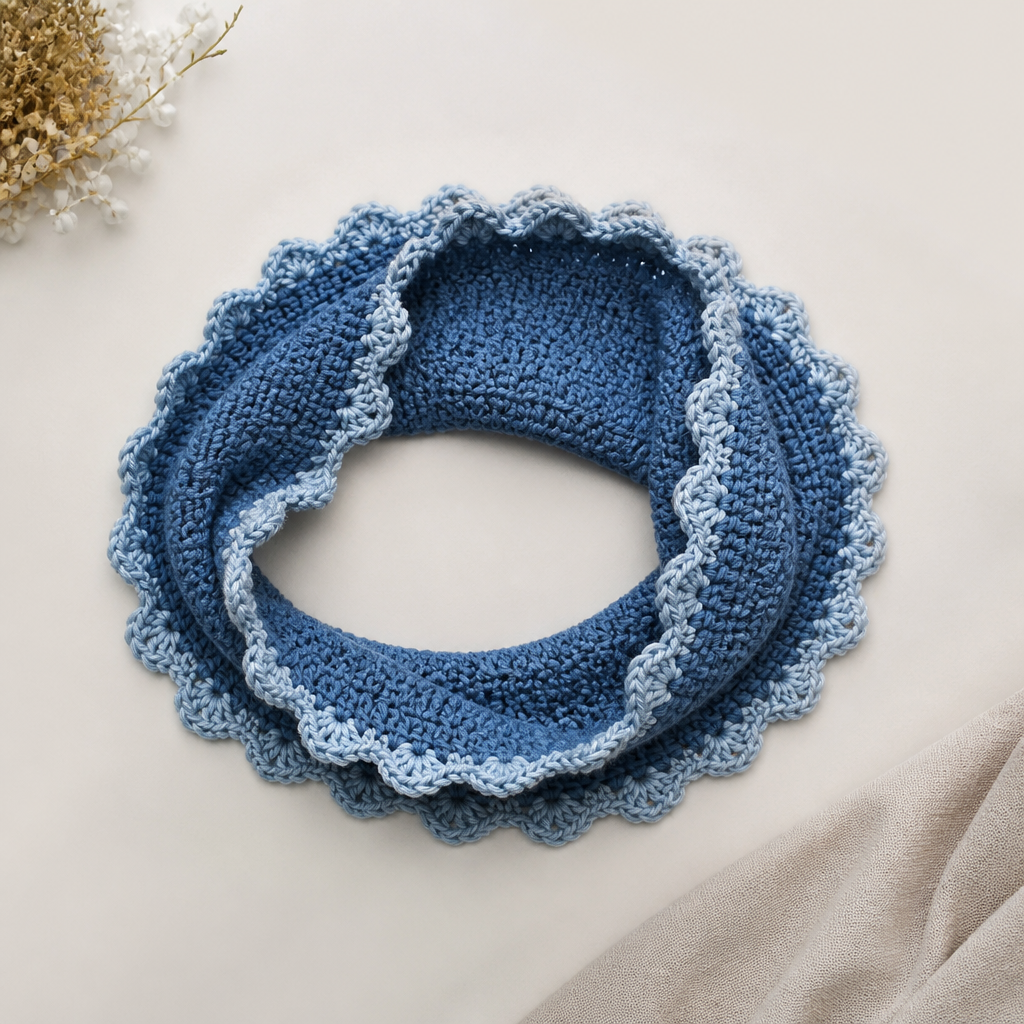
Rosette Royale Bow Clutch Free Pattern – A Knitted Floral Evening Bag

Rosette Royale Bow Clutch Free Pattern – A Knitted Floral Evening Bag
Carry a bouquet of softness with this knitted clutch, where a sculptural rose bow meets a structured envelope silhouette. This romantic, handmade accessory elevates any outfit with its plush texture and delicate charm. Whether you're heading to a wedding, a dinner date, or simply want to add a touch of handmade elegance to your everyday style, the Rosette Royale Bow Clutch is the perfect project. Best of all, it's a free pattern designed with beginners in mind, so you can create a stunning statement piece with confidence.
Materials Needed
Before you begin, gather the following materials. Having everything ready will make your knitting experience smooth and enjoyable.
- Yarn: Worsted weight cotton or cotton-blend yarn in blush pink (MC) and cream (CC). You will need approximately 200g of the main color (MC) and 50g of the contrast color (CC).
- Knitting Needles: US 7 (4.5mm) knitting needles.
- Crochet Hook: US G/6 (4.0mm) crochet hook for the edging and rose motif.
- Gauge: 20 stitches and 26 rows = 4 inches in stockinette stitch. Always check your gauge to ensure the correct finished size.
- Notions: Yarn needle for sewing, scissors, and a small snap button or magnetic clasp for closure.
Step-by-Step Instructions
Follow these detailed instructions carefully. The pattern is broken down into sections: the clutch body, the bow, the rose motif, and assembly. Take your time and enjoy the process.
Clutch Body (Knit Flat in One Piece)
This section creates the main envelope shape of the clutch. You will knit a rectangle, then shape the flap.
- Cast On: With your main color (MC) yarn and US 7 needles, cast on 40 stitches.
- Stockinette Stitch:
- Row 1 (Right Side): Knit all stitches.
- Row 2 (Wrong Side): Purl all stitches.
- Continue: Repeat Rows 1 and 2 until the piece measures 12 inches from the cast-on edge. Ensure you end with a wrong-side (purl) row. This forms the main body of the clutch.
Flap Shaping
Now we will create the gently tapered flap that folds over the front of the clutch.
- Decrease Row (Right Side): Knit 20 stitches, knit 2 together (k2tog), then knit to the end of the row. You will now have 39 stitches.
- Next Row (Wrong Side): Purl all stitches.
- Repeat: Repeat these two rows (the decrease row and the purl row) until you have 25 stitches remaining. Always end with a wrong-side row. This creates a beautiful, tapered point for the flap.
- Bind Off: Bind off all 25 stitches loosely. Do not cut the yarn yet; you will use this tail for sewing.
Assembly of the Clutch Body
This step transforms your flat knitting into a three-dimensional clutch.
- Fold: Lay your knitted piece flat with the right side facing up. Fold the cast-on edge up 4 inches to form the front of the clutch. The remaining 8 inches will become the flap.
- Sew Side Seams: Using your yarn needle and the tail from the bind-off (or a new piece of MC yarn), sew the side seams using the mattress stitch. This creates an invisible, sturdy seam. Sew from the bottom fold up to where the flap begins.
- Weave in Ends: Weave in any loose ends from the cast-on and bind-off edges.
Bow (Knit in Two Pieces)
The bow is made of two identical loops and a center knot. We'll use the cream color (CC) for a beautiful contrast.
Left Loop
- Cast On: With CC yarn, cast on 12 stitches.
- Knit: Work in stockinette stitch (knit one row, purl one row) for 3 inches.
- Bind Off: Bind off all stitches.
- Form Loop: Fold the knitted rectangle in half lengthwise, bringing the cast-on and bind-off edges together. Sew the short ends together to form a loop. Set aside.
Right Loop
- Repeat: Repeat the exact same steps to create a second identical loop. Set aside.
Center Knot
- Cast On: With CC yarn, cast on 6 stitches.
- Knit: Work in stockinette stitch for 2 inches.
- Bind Off: Bind off all stitches. This small rectangle will wrap around the loops to form the knot.
Rose Motif (Crochet)
This beautiful crocheted rose sits on top of the bow, adding a romantic floral touch. Use your main color (MC) yarn and the G/6 crochet hook.
- Magic Ring: Make a magic ring with MC yarn.
- Round 1: Chain 1 (does not count as a stitch). Work 6 single crochet (sc) into the ring. Join with a slip stitch (sl st) to the first sc. (6 stitches)
- Round 2: Chain 1. Work 2 sc in each stitch around. Join with a sl st. (12 stitches)
- Round 3: Chain 1. *Work 2 sc in the next stitch, sc in the next stitch.* Repeat from * to * around. Join with a sl st. (18 stitches)
- Round 4: Chain 1. *Work 2 sc in the next stitch, sc in the next 2 stitches.* Repeat from * to * around. Join with a sl st. (24 stitches)
- Round 5: Chain 1. *Work 2 sc in the next stitch, sc in the next 3 stitches.* Repeat from * to * around. Join with a sl st. (30 stitches)
- Fasten Off: Cut the yarn, leaving a long tail (at least 12 inches) for sewing.
- Form the Rose: Starting from the center, roll the crocheted circle into a spiral rose shape. The increases will naturally create a ruffled edge that resembles rose petals. Use the long tail and a yarn needle to sew through the base of the rose, securing the spiral shape firmly.
Attach Bow to Flap
Now we bring the bow and rose together on the clutch flap.
- Position Loops: Place the two knitted loops side by side on the center of the flap, about 1 inch down from the flap's pointed edge. Arrange them so they form a classic bow shape.
- Wrap the Knot: Take the small center knot rectangle and wrap it around the middle of the two loops, covering where they meet.
- Sew Securely: Sew the center knot in place on the back of the bow, catching the loops and the flap fabric. Make sure it is firmly attached.
- Attach the Rose: Sew the crocheted rose on top of the center knot. Stitch through the base of the rose and into the knot underneath to secure it tightly.
Edging (Optional but Recommended)
This step gives your clutch a polished, professional finish.
- Single Crochet Border: With the crochet hook and CC yarn, start at one top corner of the clutch opening. Work a round of single crochet (sc) evenly around the entire opening of the clutch (the top edge of the front and the flap).
- Join: Join with a slip stitch to the first sc. Fasten off and weave in the ends.
Closure
Finally, add a closure to keep your belongings safe.
- Position Clasp: Sew a small snap button or magnetic clasp inside the flap and on the corresponding spot on the front of the clutch. Ensure it is centered for a secure closure.
- Weave in Ends: Weave in all remaining loose ends with your yarn needle.
Congratulations! You've completed your Rosette Royale Bow Clutch. This romantic, plush accessory is sure to become a treasured piece in your wardrobe. Enjoy your beautiful handmade creation!