Nordic Santa Gnome Amigurumi Free Pattern
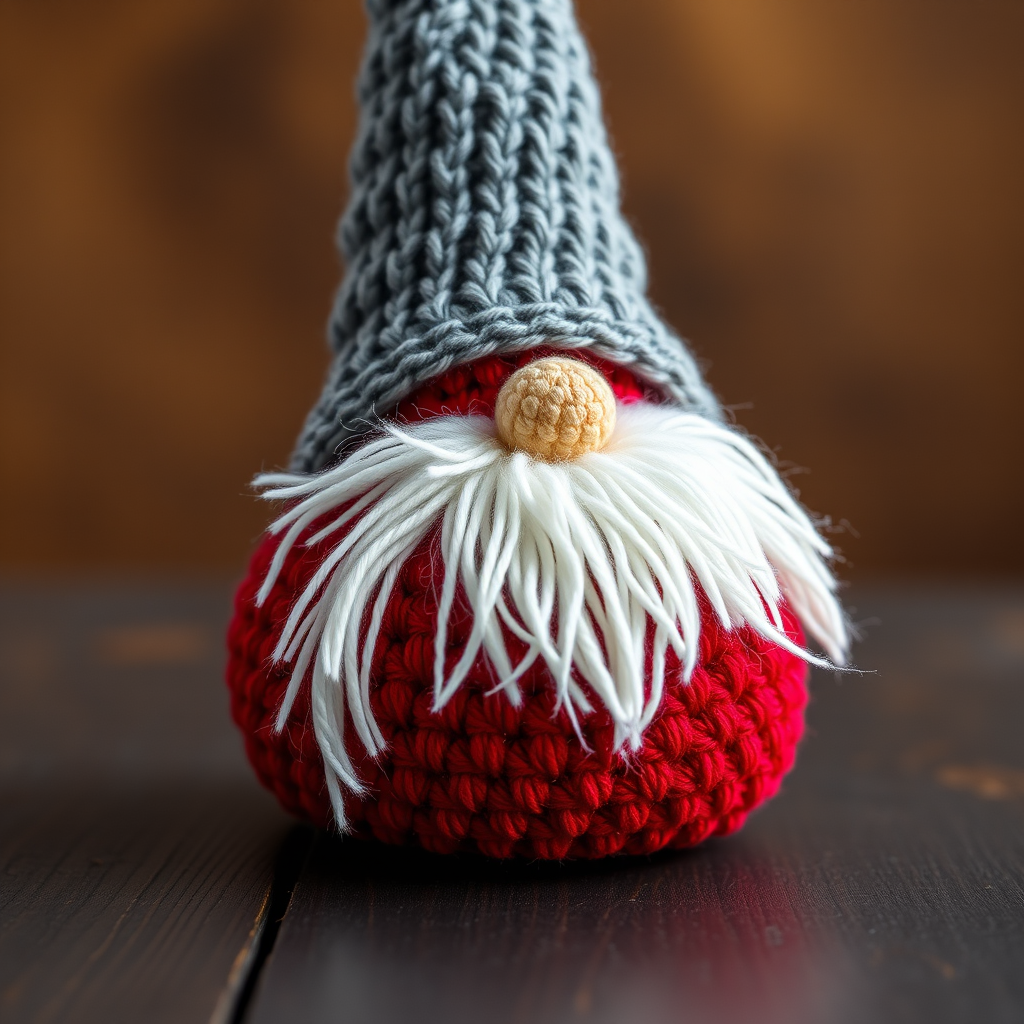
Nordic Santa Gnome Amigurumi Free Pattern
Introduction
Welcome to the world of amigurumi! In this blog post, we will guide you through creating your very own Nordic Santa Gnome. This charming little fellow is perfect for adding a whimsical touch to your holiday decor. With its intricate textures and classic color palette, this gnome captures the magic of the season. Whether you're a seasoned crafter or a beginner, this pattern is designed to be easy to follow, ensuring you can recreate this delightful piece at home.
Materials Needed
- Yarn: Worsted weight yarn in the following colors:
- Red (for the body)
- Grey (for the hat)
- White (for the beard)
- Skin tone (for the nose)
- Hook: 3.5 mm crochet hook
- Other Supplies:
- Scissors
- Tapestry needle (for weaving in ends and sewing pieces together)
Step-by-Step Instructions
1. Create the Body
Using red yarn, follow these steps:
- Rnd 1: Make a magic ring and work 6 single crochets (sc) into the ring. (6 stitches)
- Rnd 2: Increase in each stitch around. (12 stitches)
- Rnd 3: (1 sc, increase) around. (18 stitches)
- Rnd 4: (2 sc, increase) around. (24 stitches)
- Rnd 5-12: Single crochet around for 8 rounds. (24 stitches each round)
2. Create the Hat
Change to grey yarn and continue with the following rounds:
- Rnd 13: (2 sc, decrease) around. (18 stitches)
- Rnd 14: (1 sc, decrease) around. (12 stitches)
- Rnd 15: Decrease around until you have 6 stitches left. Fasten off, leaving a long tail for sewing.
3. Create the Beard
Using white yarn, attach the yarn to the front loop of round 5 of the body:
- Chain 1, then single crochet around. (24 stitches)
- Fasten off and weave in ends.
4. Create the Nose
Using skin tone yarn, follow these steps:
- Rnd 1: Make a magic ring and work 6 single crochets into the ring. (6 stitches)
- Rnd 2: Increase in each stitch around. (12 stitches)
- Fasten off, leaving a tail for sewing.
5. Assemble the Gnome
Now it's time to bring your gnome to life:
- Sew the nose onto the center of the beard using the tail left from the nose.
- Attach the beard to the body, positioning it just below the hat.
- Finally, sew the hat to the top of the body, ensuring it sits snugly on the gnome's head.
6. Finishing Touches
Weave in all ends using your tapestry needle. Your Nordic Santa Gnome is now complete and ready to spread holiday cheer!
Conclusion
We hope you enjoyed this pattern and that your new Nordic Santa Gnome brings joy to your holiday season. Happy crafting!


