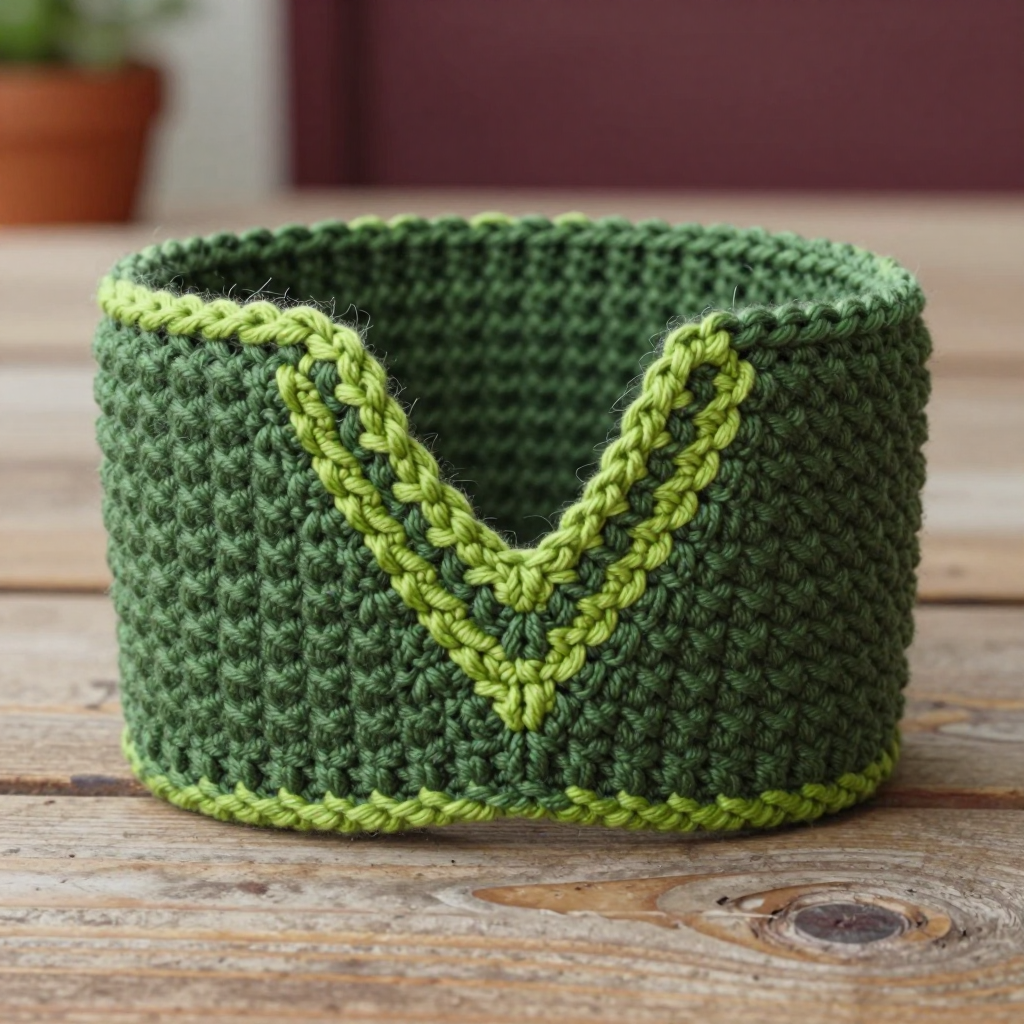
Neon Beetle Bottle Hugger Free Crochet Pattern

Neon Beetle Bottle Hugger: A Free Beginner Crochet Pattern
Introduction
Meet the Neon Beetle Bottle Hugger — a tiny, cheerful tube of acid-green yarn that wraps around your water bottle and keeps it cozy, protected, and a whole lot more fun. This project is perfect for complete beginners because it is made almost entirely from one simple stitch (single crochet) worked in a continuous circle, so you only ever learn one motion before you have a finished object in your hands. The finished cozy looks like a little minimalist beetle: a smooth, dense cylinder about 3 inches wide and 6 inches tall, with four round black spots on the back and two stubby antennae poking up from the top edge. It feels firm and squishy at the same time, slides easily over a standard 500 ml (16.9 oz) bottle, and takes most beginners just one relaxed evening to finish. If you have never held a hook before, take a breath — by the end of this post you will have made something real, and you will know exactly how you did it.
Materials Needed
- Yarn: Worsted weight (category 4) acrylic yarn. You need approximately 90 yards of acid green (neon yellow-green) for the body and antennae, plus about 10 yards of black for the spots and antenna tips.
- Crochet hook: Size H/8 (5.0 mm).
- Stitch marker: 1 (or a scrap of contrasting yarn) to mark the beginning of each round.
- Tapestry needle: A blunt-tipped needle with a large eye, for sewing on the spots and antennae and for weaving in ends.
- Scissors: Any small sharp pair.
- Stuffing: A small amount of fiberfill or yarn scraps to lightly stuff the antennae so they stand up.
- Finished size: Approximately 3 inches (7.6 cm) in diameter and 6 inches (15.2 cm) tall, fitting a standard 16.9 oz (500 ml) water bottle.
Abbreviations and Beginner Glossary
Every abbreviation used in this pattern is listed here. Read this section once before you start — nothing is assumed.
- sc – single crochet. Insert your hook into the stitch, wrap the yarn over the hook, pull up a loop (2 loops on hook), yarn over again, pull through both loops. One loop remains. That is one single crochet.
- sl st – slip stitch. Insert hook into the stitch, yarn over, and pull that loop straight through the loop already on your hook. It makes a nearly invisible joining stitch.
- ch – chain. Yarn over and pull through the loop on your hook. This creates one chain stitch. A "ch 1" at the start of a round is just a small lift, not a real stitch.
- inc – increase. Work 2 single crochet stitches into the same stitch. This adds one stitch and makes the circle grow.
- dec – decrease (also written sc2tog, "single crochet two together"). Insert hook into the first stitch, pull up a loop, insert hook into the next stitch, pull up a loop (3 loops on hook), yarn over, pull through all 3 loops. Two stitches become one.
- st / sts – stitch / stitches.
- rnd – round. One complete circle of stitches worked around.
- magic ring – an adjustable loop of yarn you crochet into to start a circle with no hole in the middle. Make a loop, hold the crossing point, and work your stitches into the loop, then pull the tail tight.
- join – finish the round by working a slip stitch into the first stitch of that round.
- fasten off – cut the yarn, pull the tail all the way through the last loop, and tighten.
- weave in ends – thread a yarn tail onto the tapestry needle and run it back and forth through the fabric so it disappears.
Gauge
Gauge: 4 single crochet x 4.5 rounds = 1 inch (2.5 cm) in single crochet worked in the round.
Gauge simply means "how big your stitches turn out." It matters because the cozy must fit snugly around a bottle: if your stitches are too big, the cozy will slide off; if they are too small, it will not go on at all. To check, crochet a small flat swatch of about 15 single crochet stitches and 15 rows, lay it flat, and measure 1 inch across and 1 inch up, counting your stitches and rows. If you get more than 4 stitches per inch, your tension is tight — try a larger hook. If you get fewer, your tension is loose — try a smaller hook. This pattern is forgiving, so a small difference is fine, but always check before you commit to the whole tube.
Beginner Tips Before You Start
- Mark your first stitch of every round. Place the stitch marker in the very first stitch you make after the ch 1. When you come back around, you will know exactly where to join and you will never lose your place.
- Do not pull the yarn too tight. Beginners often choke the hook. Keep the working yarn relaxed so your hook slides in and out easily — tight stitches make the cozy stiff and hard to work.
- Count out loud. Say the stitch numbers as you go, especially on the increase rounds (Rnds 2–6). Each increase round adds exactly 6 stitches, so the counts are easy to check.
- Keep the ch 1 loose. The ch 1 at the start of each round is only a lift. If you make it tight, the join will pucker.
- Try the cozy on the bottle as you go. After Rnd 6, slip it over the bottle base. It should be snug but not stretched. If it is too loose, go down a hook size; if too tight, go up.
- Work with good light and take breaks. Single crochet in the round is repetitive, and tired hands make uneven stitches.
Step-by-Step Instructions
Body (worked in the round in acid green)
Rnd 1: Make a magic ring, ch 1, work 6 sc into the ring. Join with sl st to the first sc. (6 sc)
Rnd 2: Ch 1, inc in each st around. Join. (12 sc)
Rnd 3: Ch 1, [sc in next st, inc in next st] around. Join. (18 sc)
Rnd 4: Ch 1, [sc in next 2 sts, inc in next st] around. Join. (24 sc)
Rnd 5: Ch 1, [sc in next 3 sts, inc in next st] around. Join. (30 sc)
Rnd 6: Ch 1, [sc in next 4 sts, inc in next st] around. Join. (36 sc)
Rnds 7–27: Ch 1, sc in each st around. Join with sl st to the first sc. (36 sc) Do not fasten off.
Rnd 28 (top edge): Ch 1, sc in each st around. Join with sl st. Fasten off and weave in ends. (36 sc)
Check your math: 21 straight rounds (Rnds 7–27) plus Rnd 28 gives 22 rounds of straight sides. At 4.5 rounds per inch, that is just under 5 inches of side height, plus the 1-inch increase circle at the base — about 6 inches tall in total, exactly as planned.
Antennae (make 2, in acid green with black tips)
Rnd 1: With acid green, make a magic ring, ch 1, work 4 sc into the ring. Join. (4 sc)
Rnd 2: Ch 1, inc in each st around. Join. (8 sc)
Rnds 3–5: Ch 1, sc in each st around. Join. (8 sc)
Rnd 6: Change to black, ch 1, sc in each st around. Join. (8 sc)
Rnd 7: Ch 1, [sc in next 2 sts, dec] around. Join. (6 sc)
Stuff lightly with a small amount of fiberfill or yarn scraps. Fasten off, leaving a 6-inch tail for sewing. Sew one antenna to the top edge of the body about 1 inch from the left side, and the second about 1 inch from the right side, spacing them evenly.
Spots (make 4, in black)
Rnd 1: Make a magic ring, ch 1, work 6 sc into the ring. Join with sl st to the first sc. (6 sc)
Rnd 2: Ch 1, inc in each st around. Join. (12 sc)
Fasten off, leaving a 6-inch tail. Flatten each spot slightly. Sew the four spots evenly spaced across the back of the body, either in a vertical column or a 2x2 grid centered on the back, approximately 1.5 inches apart.
Assembly and Finishing
Seaming the antennae: Thread the 6-inch tail onto your tapestry needle. Hold the antenna against the top edge of the body and, working from the inside of the body so the stitches hide, sew small whip stitches (a simple over-and-over stitch) all the way around the base of the antenna. Pull gently after every few stitches so the join sits flat.
Seaming the spots: Thread a tail onto the needle, place the spot flat against the back of the body, and sew around its edge with small whip stitches, catching only the outer edge of the spot and the surface of the body. Do not pull too hard or the spot will cup. Repeat for all four spots.
Weaving in ends: Thread each remaining tail onto the tapestry needle and run it back and forth through the inside of the fabric for about 1 inch, changing direction once so it cannot work loose. Trim close to the fabric.
Blocking: Lightly steam-block the body by holding a steam iron an inch above the surface (never press it down on acrylic, which can melt). This smooths the stitches and helps the tube hold its shape. Let it dry completely, then slip the cozy over a standard water bottle, making sure the antennae sit upright at the top edge and the spots face the back.
Pro Tips and Variations
- Change the colorway: Swap acid green for any bright worsted yarn — hot pink, electric blue, or orange — and use black or white for the spots. The beetle look comes from the contrast, not the exact color.
- Adjust the size: For a wider bottle, add one more increase round (Rnd 7: [sc in next 5 sts, inc] around = 42 sc) and work the straight rounds until the cozy is 6 inches tall. For a slimmer bottle, stop the increases at Rnd 5 (30 sc).
- Substitute the yarn: Cotton worsted works beautifully and is more absorbent for condensation; just check your gauge again, because cotton behaves differently from acrylic.
- Add texture: Work the straight rounds in the back loop only for a subtle ribbed look, or add a simple sc border in black around the top edge for a bolder beetle outline.