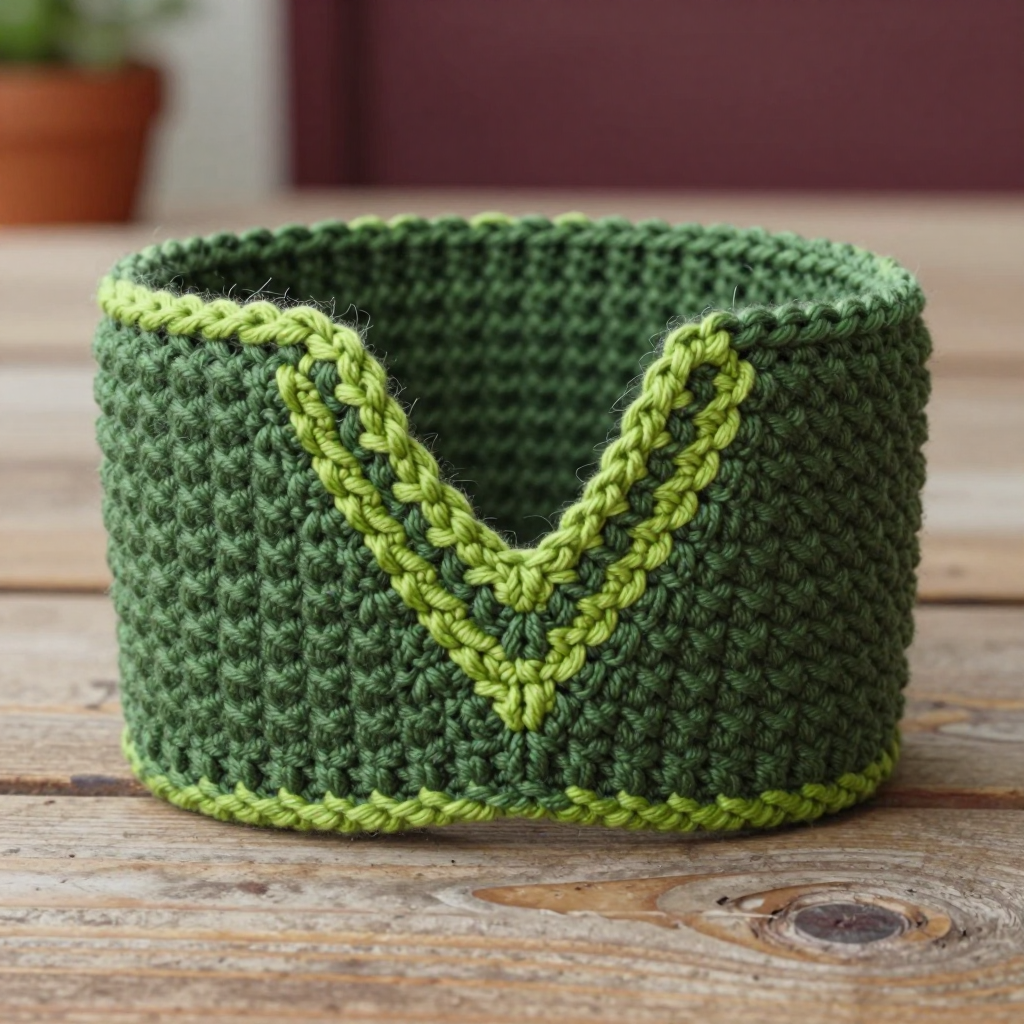
Maple Leaf Hook Roll Free Crochet Pattern: Chocolate & Caramel Crocodile Stitch

Maple Leaf Hook Roll: A Free Beginner Crochet Pattern
Introduction
If you have never held a crochet hook before, this is the perfect first "real" project for you. The Maple Leaf Hook Roll is a flat chocolate-brown mat that rolls up and ties closed, keeping all your hooks cozy and organized, and it is topped with one bold caramel maple leaf worked in the famous crocodile stitch. The mat itself is made entirely of single crochet — the very first stitch most people learn — so you get lots of relaxing practice before you tackle anything fancy. The finished mat feels dense, smooth, and sturdy in your hands, while the leaf's overlapping scales look like tiny roof tiles or flower petals and feel wonderfully bumpy and three-dimensional. It is a small, forgiving project that looks impressive on your desk and makes a beautiful handmade gift for any crafter.
Materials Needed
- Yarn: Worsted-weight (CYC 4) cotton yarn — approximately 220 yd / 200 m chocolate brown (MC) and 60 yd / 55 m caramel (CC). Cotton gives crisp stitch definition and holds the scales' shape.
- Crochet hook: Size H/8 (5.0 mm), or whatever size you need to match gauge.
- Stitch markers: At least 4 (for marking corners and the leaf's anchor pairs).
- Yarn (tapestry) needle: A blunt needle with a large eye for seaming and weaving in ends.
- Scissors for cutting yarn.
- Pins and a towel or blocking mat for blocking the finished pieces.
- Finished measurements: Mat is 9 in wide x 15 in tall (23 x 38 cm) before rolling; rolled it is about 9 in wide and 2.5 in in diameter. Leaf appliqué is about 6 in wide x 6.5 in tall (15 x 16.5 cm). Each tie is about 10 in long.
Abbreviations and Beginner Glossary
- ch – chain: wrap the yarn over your hook and pull it through the loop on your hook. This makes a small "V" of yarn.
- sc – single crochet: insert your hook into the stitch, yarn over, pull up a loop (2 loops on hook), yarn over again, pull through both loops. One loop remains.
- dc – double crochet: yarn over, insert hook into the stitch, yarn over, pull up a loop (3 loops on hook), yarn over, pull through 2 loops, yarn over, pull through the last 2 loops.
- dc2tog – double crochet two together: a decrease that turns two stitches into one. Yarn over, insert hook in the first stitch, pull up a loop, pull through 2 loops; yarn over, insert hook in the next stitch, pull up a loop, pull through 2 loops; yarn over and pull through all 3 remaining loops.
- sl st – slip stitch: insert hook into the stitch, yarn over, and pull the yarn straight through both the stitch and the loop on your hook. It joins without adding height.
- st / sts – stitch / stitches.
- sk – skip: leave the next stitch or chain unworked.
- ch-1 sp – chain-1 space: the little gap under a single chain made in the previous row. You work into the gap, not into the chain itself.
- MC – main color (chocolate brown). CC – contrast color (caramel).
- FO – fasten off: cut the yarn a few inches from your work and pull the tail through the last loop to lock it.
- turn – flip your work over so you can crochet back along the row you just made.
- post – the vertical body of a double crochet stitch. Crocodile stitch wraps around these posts.
Gauge
14 sc x 16 rows = 4 in / 10 cm in single crochet, blocked. Each crocodile-stitch scale measures about 1.25 in / 3 cm wide and 1.5 in / 4 cm tall.
Why gauge matters: gauge is simply how big your stitches turn out. If your stitches are bigger than the pattern's, your mat will be too large and your hooks may slide around; if smaller, the roll may be too snug. How to check: chain 24, work 20 rows of single crochet, block it flat, then lay a ruler across the middle. Count the stitches in 4 inches and the rows in 4 inches. If you have more stitches than 14, try a larger hook; if fewer, try a smaller hook. It is normal to need a different hook than the pattern says — that is why we swatch!
Beginner Tips Before You Start
- Count every row. The mat is 60 identical rows, so place a stitch marker every 10 rows on the side edge to keep your place without recounting.
- Do not pull your yarn too tight. Tension should feel relaxed. Tight stitches make the mat stiff and make the crocodile scales hard to work into.
- Read the whole scale row before you begin it. Crocodile stitch is worked around the posts of a pair of stitches — down one post, then up the other — and it helps to see the full picture first.
- Use stitch markers to mark your anchor pairs on the leaf. Slip a marker into each ch-1 space so you always know where the next scale goes.
- Chain loosely. A tight starting chain is the number one beginner frustration. If your chain feels snug, go up one hook size just for the chain.
- Blocking is magic. Do not skip it — it flattens the mat, opens the scales, and makes your finished piece look professional.
Step-by-Step Instructions
Part 1: The Mat (make with MC)
Row 1: Ch 33. Sc in the 2nd ch from hook and in each ch across. (32 sc)
Row 2: Ch 1, turn. Sc in each st across. (32 sc)
Rows 3–60: Repeat Row 2. (32 sc) Do not fasten off.
Border round: Ch 1, turn. Work 1 round of sc evenly around the entire mat: 32 sc along the top edge, 1 sc in each row end down the side (60 sc), 32 sc along the bottom edge, and 60 sc up the other side, working 3 sc in each corner so the corners lie flat. Join with sl st to the first sc. FO and weave in ends. Block the mat to 9 x 15 in and let it dry fully.
Part 2: Maple Leaf Appliqué (make with CC)
The leaf is worked sideways in crocodile stitch, then a stem is added. Crocodile stitch is worked in pairs of rows: an anchor row of double crochets spaced with ch 1, then a scale row of 5-dc groups worked around each anchor pair.
Row 1 (foundation anchor row): Ch 20. Dc in the 4th ch from hook (this counts as the first dc of a dc2tog pair), dc in the next ch, ch 1, *sk 1 ch, dc in each of the next 2 ch, ch 1; repeat from * to the last 2 ch, dc in each of the last 2 ch. (7 anchor pairs, 6 ch-1 sps)
Row 2 (scale row): Ch 1, turn. Working around the post of the first dc of the first anchor pair: 5 dc down the post, ch 1, 5 dc up the post of the second dc of the same pair (one scale made). *Sk the ch-1 sp, work 5 dc down and 5 dc up around the next anchor pair; repeat from * across. (7 scales)
Row 3 (anchor row): Ch 3 (counts as first dc), turn. Dc in the ch-1 sp between the first two scales, ch 1, *dc in the next ch-1 sp between scales, ch 1; repeat from * across, ending with dc in the last ch-1 sp, then dc in the turning ch of the previous row. (7 anchor pairs)
Row 4 (scale row): Repeat Row 2. (7 scales)
Row 5 (shaping anchor row): Ch 3, turn. Dc2tog over the first ch-1 sp and the next ch-1 sp, ch 1, dc in the next ch-1 sp, ch 1, dc in the next ch-1 sp, ch 1, dc in the next ch-1 sp, ch 1, dc2tog over the last two ch-1 sps. (5 anchor pairs)
Row 6 (scale row): Work scales around each of the 5 anchor pairs as in Row 2. (5 scales)
Row 7 (shaping anchor row): Ch 3, turn. Dc2tog over the first two ch-1 sps, ch 1, dc in the next ch-1 sp, ch 1, dc2tog over the last two ch-1 sps. (3 anchor pairs)
Row 8 (scale row): Work scales around each of the 3 anchor pairs. (3 scales)
Row 9 (point): Ch 3, turn. Dc2tog over the first ch-1 sp and the next ch-1 sp, ch 1, dc in the last ch-1 sp. (2 anchor pairs)
Row 10 (point scale): Ch 1, turn. Work 5 dc down and 5 dc up around the single remaining anchor pair. (1 scale)
Row 11 (edging): Ch 1, turn. Sc evenly around the entire leaf edge (about 60 sc), working 3 sc in the tip and 2 sc in each outer corner so the edge lies flat. Join with sl st. FO, leaving an 18-in tail for sewing.
Stem: With CC, join yarn at the bottom center of the leaf. Ch 8, sl st in the 2nd ch from hook and in each ch across, then sl st to the leaf base. FO and weave in.
Part 3: Ties (make 2 with MC)
Tie 1: Ch 41. Sc in the 2nd ch from hook and in each ch across. (40 sc) FO.
Tie 2: Repeat Tie 1. (40 sc) FO.
Assembly and Finishing
Step 1 — Block the leaf. Pin the leaf flat on a towel or blocking mat, opening each scale with a pin so it fans out. Steam lightly (or spritz with water) and let it dry completely.
Step 2 — Place the leaf. Measure 4.5 in in from each side edge and 4.25 in down from the top edge to place the leaf tip; the stem should sit about 2 in above the bottom edge. Pin the leaf in place.
Step 3 — Sew the leaf. Thread the 18-in tail onto your yarn needle. Whipstitch (small over-and-over stitches) around the entire outer edge of the leaf, catching only the back loops of the leaf's sc border and the surface of the mat so the stitches stay hidden. Secure the stem with 3 small stitches.
Step 4 — Add the ties. Fold the mat in half widthwise to find the roll line, then unfold. Sew Tie 1 to the right side edge at the 4-in mark from the top, and Tie 2 at the 4-in mark from the bottom, stitching each tie firmly through the mat with doubled thread.
Step 5 — Finish. Weave in all remaining ends on the wrong side, running each tail through several stitches before trimming. Roll the mat from the bottom up, wrap the ties around twice, and knot.
Care: Hand wash cold, reshape, and dry flat. Do not wring — pat the scales flat and air-dry so the cotton keeps its shape.
Pro Tips and Variations
- Change the colors: Try a cream mat with a rust leaf, or a charcoal mat with a mustard leaf. Any two contrasting worsted cottons will work beautifully.
- Resize the mat: To make it wider or narrower, add or remove starting chains in multiples of 2 (each 14 chains adds about 4 in). To make it longer, add rows in multiples of 16 (16 rows adds about 4 in).
- Swap the yarn: Worsted acrylic or a cotton-acrylic blend works too, but pure cotton gives the crispest scales. If you substitute, always re-check your gauge.
- Make it a wall hanging: Skip the ties, add a small hanging loop at the top center, and display the mat flat as autumn décor.