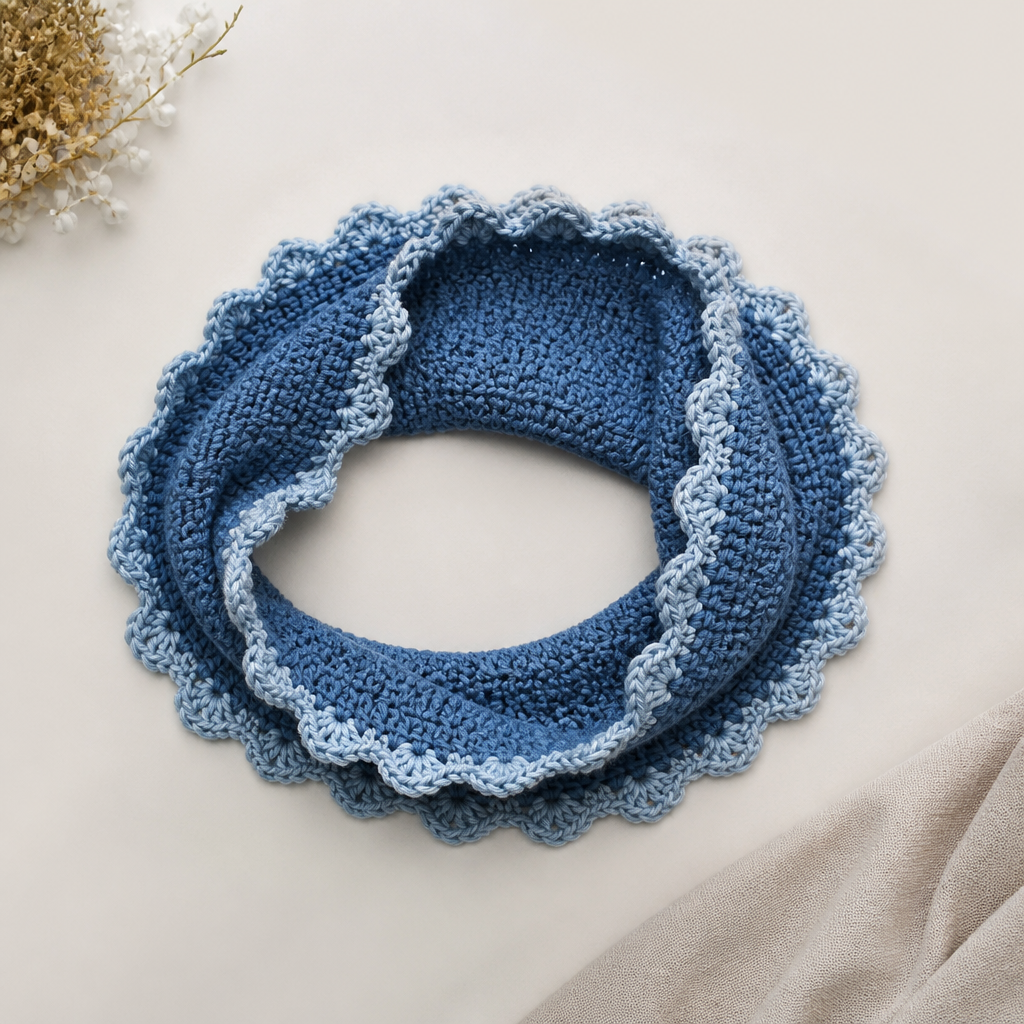
Luminous Trail Reflective Bike Helmet Cover Free Pattern – A Knitted Safety Glow

Luminous Trail Reflective Bike Helmet Cover Free Pattern – A Knitted Safety Glow
Turn your everyday bike helmet into a cozy, high-visibility statement piece with this knitted cover featuring a subtle diamond pattern and reflective yarn accents. Perfect for evening commuters and weekend adventurers who want safety without sacrificing style. This free pattern is designed with beginners in mind, offering clear instructions and a satisfying project that combines practicality with a touch of flair.
Whether you're navigating city streets after dusk or exploring scenic trails at dawn, this helmet cover ensures you're seen from all angles. The vibrant neon yellow base paired with shimmering reflective yarn creates a striking contrast that catches headlights and streetlamps, keeping you safe while adding a handmade touch to your cycling gear. Plus, it's an excellent way to use up yarn from your stash and practice colorwork techniques in a manageable, wearable project.
Materials Needed
Before you begin, gather the following supplies. All items are readily available at craft stores or online retailers.
Yarn
- Main Color (MC): Worsted weight yarn in a bright neon yellow (e.g., Knit Picks Chroma Worsted in 'Lime') – approximately 150-200 yards
- Contrast Color (CC): Reflective yarn (e.g., Red Heart Reflective in 'Silver') – approximately 50-75 yards
Needles & Notions
- US Size 7 (4.5 mm) circular knitting needles, 16-inch cable
- Tapestry needle for weaving in ends
- Stitch markers (at least 9)
- Scissors
- Measuring tape (optional, for checking gauge)
Gauge
20 stitches and 26 rows = 4 inches in stockinette stitch. Always knit a gauge swatch before starting to ensure your cover fits properly. If your gauge is off, adjust your needle size accordingly.
Step-by-Step Instructions
This cover is knitted in the round from the top down, shaped to fit a standard bike helmet (approx. 22-24 inches circumference). The reflective yarn is carried along the edges and in a diamond motif for maximum visibility. Follow along carefully, and you'll have a beautiful, functional accessory in no time.
Abbreviations
- CO: cast on
- K: knit
- P: purl
- K2tog: knit two together (decrease)
- PM: place marker
- SM: slip marker
- St(s): stitch(es)
- Rep: repeat
Ribbed Brim
We'll start with a stretchy ribbed edge that will hug your helmet snugly.
- With neon yellow yarn (MC), CO 96 sts. Join in the round, being careful not to twist. PM at the beginning of the round.
- Rounds 1-6: *K2, P2; rep from * around. (96 sts)
Pro tip: If you're new to knitting in the round, place a locking stitch marker on the right side of your work to help you keep track of your rounds.
Body
Now we'll work the main body of the cover in stockinette stitch, which is simply knitting every round.
- Switch to stockinette (knit every round) and work 4 rounds even.
Reflective Stripe
Time to add your first touch of reflective yarn for visibility.
- Reflective Stripe: Join reflective yarn (CC). Knit 2 rounds with CC, then cut CC, leaving a 6-inch tail, and continue with MC.
Tip: When joining a new yarn, leave a tail long enough to weave in later. You can also hold the old and new yarns together for the first stitch to avoid gaps.
- Work 6 rounds even in stockinette with MC.
Diamond Motif
This is the star of the show! The diamond pattern uses both yarns to create a geometric design that catches light beautifully. We'll work over 12 stitches and 12 rounds, with markers placed every 12 stitches to keep track of the 8 repeats around.
- Diamond Motif: Begin the diamond pattern using CC. Place a marker after every 12 sts to keep track (8 repeats around). You'll have your beginning-of-round marker plus 7 additional markers.
Follow these rounds carefully, switching between CC and MC as indicated:
- Round 1: *With CC, K1, with MC K11; rep from * around.
- Round 2: *With CC, K3, with MC K9; rep from * around.
- Round 3: *With CC, K5, with MC K7; rep from * around.
- Round 4: *With CC, K7, with MC K5; rep from * around.
- Round 5: *With CC, K9, with MC K3; rep from * around.
- Round 6: *With CC, K11, with MC K1; rep from * around.
- Round 7: *With CC, K11, with MC K1; rep from * around.
- Round 8: *With CC, K9, with MC K3; rep from * around.
- Round 9: *With CC, K7, with MC K5; rep from * around.
- Round 10: *With CC, K5, with MC K7; rep from * around.
- Round 11: *With CC, K3, with MC K9; rep from * around.
- Round 12: *With CC, K1, with MC K11; rep from * around.
Helpful hint: When switching colors, always bring the new yarn from underneath the old yarn to prevent holes. Don't pull too tightly, or your work will pucker. Keep your tension consistent for a smooth, professional finish.
- Cut CC, leaving a 6-inch tail. Continue with MC and knit 6 rounds even.
Shaping the Crown
Now we'll decrease stitches to shape the top of the cover so it fits snugly over your helmet's dome.
- Round 1: *K10, K2tog; rep from * around. (88 sts)
- Round 2: Knit even.
- Round 3: *K9, K2tog; rep from * around. (80 sts)
- Round 4: Knit even.
Continue decreasing in this manner (every other round) until 40 sts remain. Here's the pattern to follow:
- Round 5: *K8, K2tog; rep from * around. (72 sts)
- Round 6: Knit even.
- Round 7: *K7, K2tog; rep from * around. (64 sts)
- Round 8: Knit even.
- Round 9: *K6, K2tog; rep from * around. (56 sts)
- Round 10: Knit even.
- Round 11: *K5, K2tog; rep from * around. (48 sts)
- Round 12: Knit even.
- Round 13: *K4, K2tog; rep from * around. (40 sts)
- Next round: *K2tog; rep from * around. (20 sts)
- Cut yarn, leaving a 12-inch tail. Thread tail through remaining sts using your tapestry needle, pull tight, and secure. Weave the tail through the center of the crown to close any gap.
Finishing
Your helmet cover is almost complete! Just a few final touches.
- Weave in all ends using your tapestry needle. Make sure to secure them well so they don't unravel with wear.
- The cover should fit snugly over your helmet. If it's too loose, you can add a drawstring or elastic band at the brim. Simply thread a piece of elastic or a decorative cord through the ribbed brim and adjust to fit.
Optional Embellishment
Add a small loop of yarn at the top for easy hanging. This is perfect for storing your helmet cover when not in use or for quick drying after a rainy ride.
To make the loop: With MC, chain or knit a 4-inch strip, fold it in half, and sew the ends to the top of the cover. Alternatively, you can simply braid three strands of yarn together for a sturdier loop.
Care Instructions
To keep your helmet cover looking its best, hand wash in cold water with a mild detergent and lay flat to dry. Avoid wringing or twisting, as this can distort the shape. Do not machine dry or iron, as the reflective yarn may be heat-sensitive.
Why You'll Love This Project
This pattern is perfect for knitters of all levels. It's a quick project that can be completed in a weekend, making it an excellent gift for cycling enthusiasts or a fun treat for yourself. The colorwork is simple enough for beginners to tackle, yet the result looks impressively intricate.
Beyond the aesthetic appeal, this helmet cover serves a crucial safety purpose. The reflective yarn dramatically increases your visibility in low-light conditions, helping you stay safe on the road. It's a beautiful marriage of form and function that you'll feel good about wearing.
So grab your yarn, settle into your favorite chair, and knit yourself a little extra glow on your next ride. Happy knitting, and safe travels!