Amigurumi Patterns
Free Pattern: Enchanted Forest Fairy Amigurumi
Anonymous
•
June 29, 2026
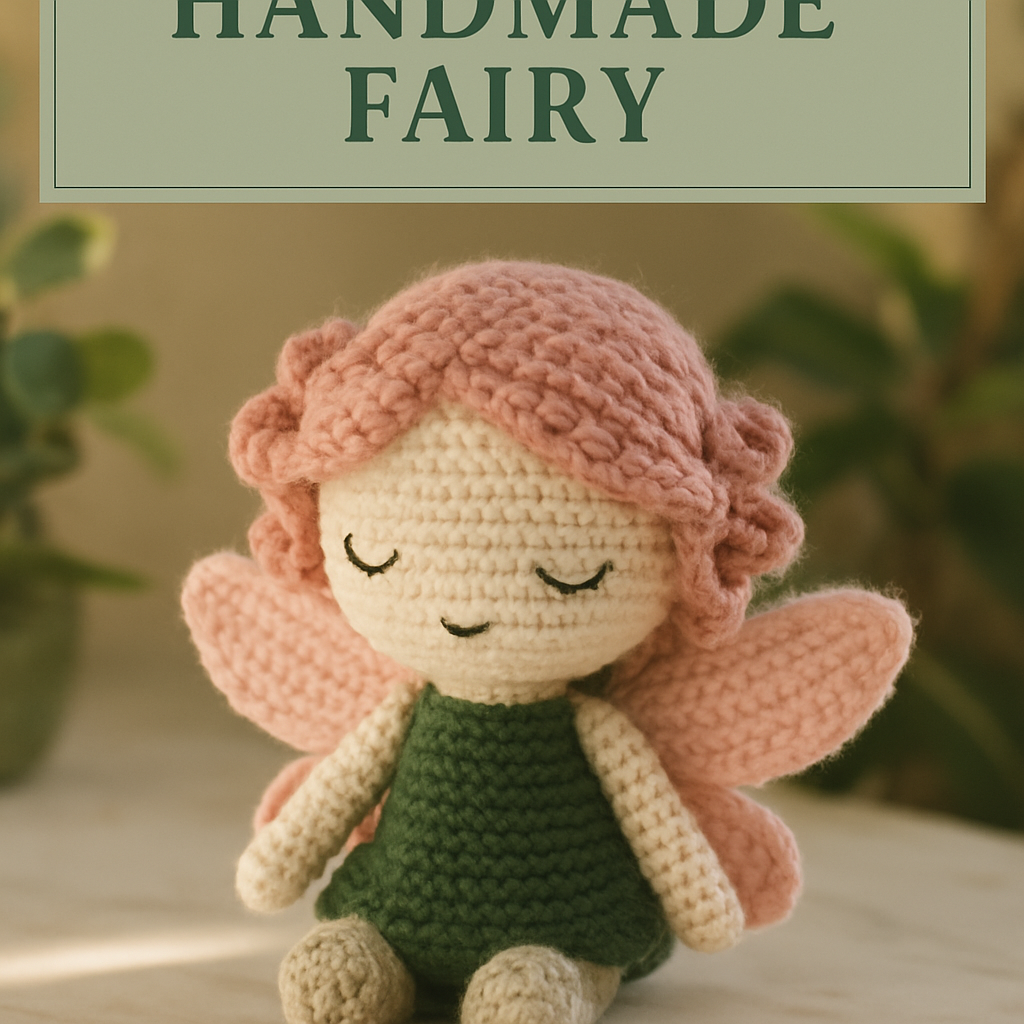
Free Pattern: Enchanted Forest Fairy Amigurumi
Introduction
Welcome to the magical world of crochet! In this blog post, we will guide you through creating your very own Enchanted Forest Fairy amigurumi. This whimsical project is perfect for beginners and will add a delightful touch of magic to your collection. With simple stitches and charming details, you’ll be able to craft a fairy that’s not only beautiful but also a joy to make!
Materials Needed
- Lightweight cotton yarn in the following colors:
- Forest green
- Soft pink
- Cream
- 3.0 mm crochet hook
- Fiberfill stuffing for the head
- Scissors
- Tapestry needle for weaving in ends and sewing pieces together
Step-by-Step Instructions
Head and Body
- Start with a magic ring. Chain 1, then work 6 single crochets (sc) into the ring. Pull the ring tight. (6 sts)
- Round 2: Work 2 sc in each stitch around. (12 sts)
- Round 3: (Sc in next st, 2 sc in next st) repeat around. (18 sts)
- Round 4: (Sc in next 2 sts, 2 sc in next st) repeat around. (24 sts)
- Rounds 5-10: Sc in each stitch around. (24 sts)
- Round 11: (Sc in next 2 sts, sc2tog) repeat around. (18 sts)
- Round 12: (Sc in next st, sc2tog) repeat around. (12 sts)
- Firmly stuff the head with fiberfill.
- Round 13: Sc2tog around. (6 sts)
- Change to forest green yarn for the body.
- Round 14: 2 sc in each stitch around. (12 sts)
- Round 15: (Sc in next st, 2 sc in next st) repeat around. (18 sts)
- Rounds 16-20: Sc in each stitch around. (18 sts)
- Round 21: (Sc in next st, sc2tog) repeat around. (12 sts)
- Round 22: Sc2tog around. (6 sts)
- Fasten off and weave in ends.
Wings
- With soft pink yarn, chain 6. Sc in the 2nd chain from the hook and across. (5 sts)
- Row 2: Chain 1, turn, 2 sc in the first stitch, sc in the next 3 stitches, 2 sc in the last stitch. (7 sts)
- Row 3: Chain 1, turn, sc in each stitch across. (7 sts)
- Row 4: Chain 1, turn, sc2tog, sc in the next 3 stitches, sc2tog. (5 sts)
- Row 5: Chain 1, turn, sc2tog, sc in the next stitch, sc2tog. (3 sts)
- Fasten off.
- Make a second wing and attach both to the back of the body using a tapestry needle.
Arms and Legs
- With cream yarn, start with a magic ring. Work 6 sc into the ring. (6 sts)
- Rounds 2-5: Sc in each stitch around. (6 sts)
- Fasten off, leaving a long tail for sewing.
- Make two arms and two legs. Attach them to the body securely using the long tails.
Hair
- Cut several strands of soft pink yarn, each about 6 inches long.
- Attach the strands to the head using a latch hook technique or simply tie them in place.
- Trim and style the hair as desired to create whimsical curls.
Conclusion
Congratulations on creating your very own Enchanted Forest Fairy! This charming amigurumi is not only a delightful addition to your collection but also a wonderful gift for friends and family. Enjoy the magic of crochet and let your creativity soar!
Also Check Out: We think you'd love this beautiful pattern on our sister site: Elegant Crochet Bruges Lace Table Runner


