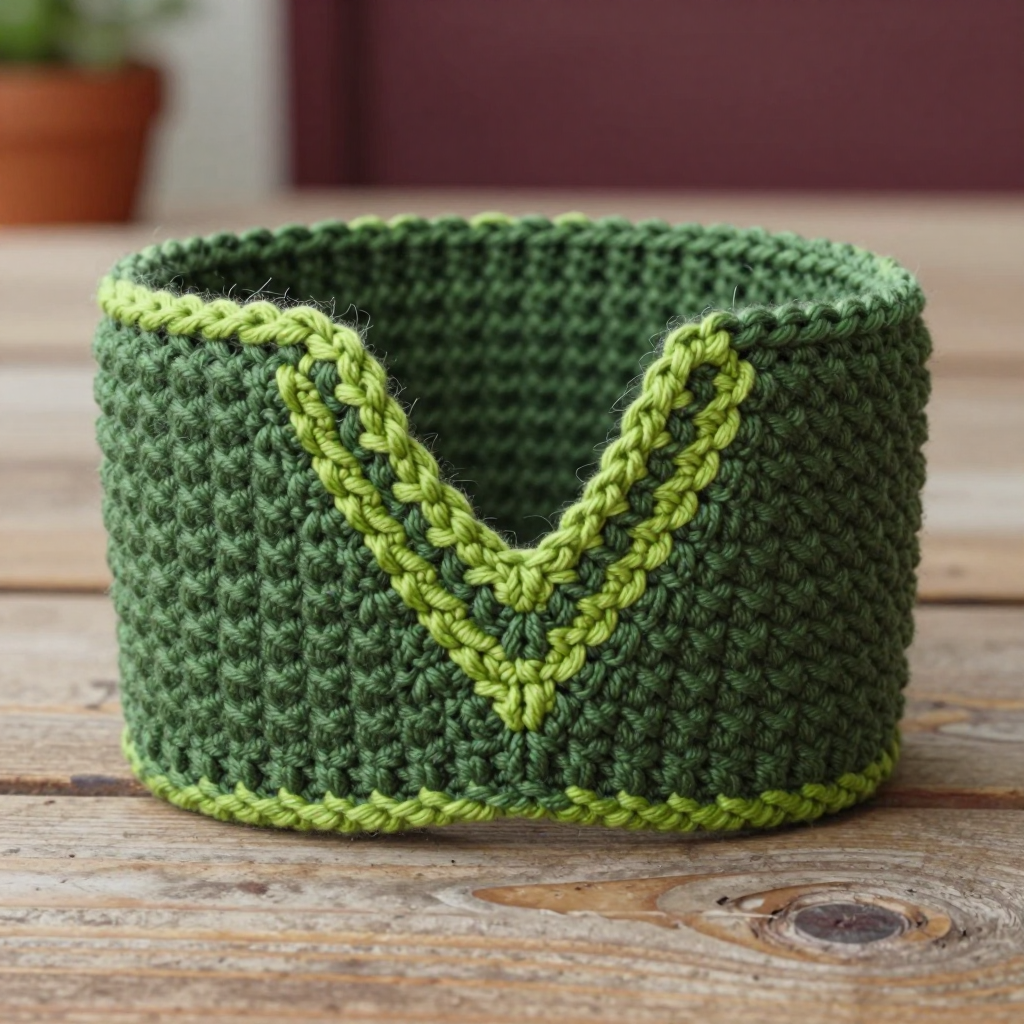
Fern Frond Sleeve Hoodie Free Crochet Pattern: Cottagecore Kids Striped Hoodie with Crocodile Stitch Overlays

Fern Frond Sleeve Hoodie: A Cottagecore Striped Hoodie with Crocodile Stitch Overlays
Introduction
Welcome to the Fern Frond Sleeve Hoodie, a woodland-inspired layering piece that looks far more complicated than it actually is. This cozy kids' hoodie is crocheted as a simple straight tube in soft blush and emerald stripes, then finished with two separate crocodile-stitch fern fronds that drape over the shoulders and down the sleeves. It is perfect for a confident beginner who has mastered the basic stitches and is ready to try a joined-round garment for the first time, or for an experienced crocheter who wants a quick, satisfying gift project. The finished hoodie is boxy and relaxed, with a soft matte acrylic texture, crisp half double crochet stitch definition, and two textured emerald overlays that read as drooping fern fronds. Sizes are given for 2, 4, 6, and 8 years, and every instruction is written out step by step so you never have to guess what comes next.
Materials Needed
- Yarn: Worsted weight (#4) acrylic yarn, approximately 620–780 yards total. Blush (MC): 380 (430, 480, 530) yards. Emerald (CC): 240 (270, 300, 330) yards.
- Main hook: 5.0 mm (US H-8) crochet hook for the body, sleeves, and hood.
- Overlay hook: 5.5 mm (US I-9) crochet hook for the crocodile-stitch fern overlays.
- Stitch markers (at least 4) to mark the beginning of rounds and the underarm points.
- Tapestry needle (blunt-tipped, large eye) for seaming and weaving in ends.
- Scissors for cutting yarn.
- Measuring tape for checking gauge and lengths.
- Finished sizes: 2 (4, 6, 8) years. Finished chest circumference: 24 (26, 28, 30) inches. Finished body length from shoulder: 14 (15.5, 17, 18.5) inches. Sleeve length from underarm: 9 (10.5, 12, 13.5) inches.
Abbreviations and Beginner Glossary
- ch – chain: yarn over the hook, pull the loop through the loop on your hook. This makes a small loop of yarn.
- sl st – slip stitch: insert your hook into the stitch, yarn over, and pull the loop straight through both the stitch and the loop on your hook. It makes an almost invisible joining stitch.
- sc – single crochet: insert hook into stitch, yarn over, pull up a loop (2 loops on hook), yarn over, pull through both loops. One loop remains.
- hdc – half double crochet: yarn over first, insert hook into stitch, yarn over, pull up a loop (3 loops on hook), yarn over, pull through all 3 loops at once.
- dc – double crochet: yarn over, insert hook into stitch, yarn over, pull up a loop (3 loops on hook), yarn over, pull through 2 loops, yarn over, pull through remaining 2 loops.
- hdc2tog – half double crochet two together (a decrease): yarn over, insert hook into first stitch, pull up a loop, yarn over, insert hook into next stitch, pull up a loop (4 loops on hook), yarn over, pull through all 4 loops. Two stitches become one.
- FLO – front loop only: work into just the loop of the stitch closest to you, leaving the back loop unused.
- BLO – back loop only: work into just the loop of the stitch farthest from you, leaving the front loop unused.
- st(s) – stitch(es).
- rep – repeat: do the same instruction again.
- rnd – round: one complete circle of stitches worked in the round.
- MC – main color (Blush). CC – contrasting color (Emerald).
- Right side – the outside of the fabric that will show on the finished hoodie.
Gauge
Body gauge: 14 half double crochet stitches x 12 rows = 4 inches (10 cm) with the 5.0 mm (H-8) hook.
Overlay gauge: one 6-dc crocodile scale = approximately 1.5 inches wide x 1.25 inches tall with the 5.5 mm (I-9) hook.
Why gauge matters: Gauge is how many stitches and rows you get in a set measurement. If your stitches are bigger than the pattern's, the hoodie will come out too large; if smaller, too small. Always make a swatch first.
How to swatch: With the 5.0 mm hook and Blush, chain 22. Work 16 rows of hdc. Lay the swatch flat without stretching and measure a 4-inch square in the middle. Count the stitches across and the rows up. If you have more than 14 stitches, switch to a larger hook; if fewer, switch to a smaller hook. Repeat until you match.
Beginner Tips Before You Start
- Use stitch markers. Place one in the first stitch of every round so you always know where the round begins and ends. Place two more at the underarm points when you divide for the armholes.
- Do not pull your yarn too tight. Tension should be relaxed. Tight stitches make the fabric stiff and shrink the finished size.
- Count every round. The stitch counts in parentheses are your safety net. If a count is off, fix it before moving on.
- Carry your colors loosely. When you change stripes, carry the unused color up the inside of the work without pulling it tight, or fasten off and rejoin. Loose carrying prevents puckering.
- Try on as you go. Because this is a straight tube, you can slip the body over a child's head to check length before dividing for the armholes.
- Practice one crocodile scale on scrap yarn first. The overlay is the only tricky part; one practice scale builds all the confidence you need.
Step-by-Step Instructions
Instructions are written for sizes 2 (4, 6, 8) years. Where only one number is given, it applies to all sizes.
Stripe Sequence
Work stripes in 4-row bands: 4 rows Blush, 4 rows Emerald, repeating throughout the body, sleeves, and hood.
Body (worked as a straight tube from hem to underarm)
With the 5.0 mm hook and Blush, ch 84 (92, 100, 108). Join with a sl st to the first ch, being careful not to twist the chain.
Rnd 1: Ch 1, hdc in each ch around, join with sl st to first hdc. (84, 92, 100, 108 hdc)
Rnds 2–4: Ch 1, hdc in each st around, join. Change to Emerald after Rnd 4. (84, 92, 100, 108 hdc)
Rnds 5–8: With Emerald, ch 1, hdc in each st around, join. Change to Blush after Rnd 8. (84, 92, 100, 108 hdc)
Rnds 9–12: With Blush, ch 1, hdc in each st around, join. Change to Emerald after Rnd 12. (84, 92, 100, 108 hdc)
Rnds 13–16: With Emerald, ch 1, hdc in each st around, join. Change to Blush after Rnd 16. (84, 92, 100, 108 hdc)
Rnds 17–20: With Blush, ch 1, hdc in each st around, join. Change to Emerald after Rnd 20. (84, 92, 100, 108 hdc)
Rnds 21–24: With Emerald, ch 1, hdc in each st around, join. Change to Blush after Rnd 24. (84, 92, 100, 108 hdc)
Rnds 25–28: With Blush, ch 1, hdc in each st around, join. Change to Emerald after Rnd 28. (84, 92, 100, 108 hdc)
Rnds 29–32: With Emerald, ch 1, hdc in each st around, join. Change to Blush after Rnd 32. (84, 92, 100, 108 hdc)
Rnds 33–36: With Blush, ch 1, hdc in each st around, join. Change to Emerald after Rnd 36. (84, 92, 100, 108 hdc)
Rnds 37–40: With Emerald, ch 1, hdc in each st around, join. Change to Blush after Rnd 40. (84, 92, 100, 108 hdc)
Rnds 41–44: With Blush, ch 1, hdc in each st around, join. Change to Emerald after Rnd 44. (84, 92, 100, 108 hdc)
Rnds 45–48: With Emerald, ch 1, hdc in each st around, join. Change to Blush after Rnd 48. (84, 92, 100, 108 hdc)
Rnds 49–52: With Blush, ch 1, hdc in each st around, join. Change to Emerald after Rnd 52. (84, 92, 100, 108 hdc)
Rnds 53–56: With Emerald, ch 1, hdc in each st around, join. Change to Blush after Rnd 56. (84, 92, 100, 108 hdc)
Rnds 57–60: With Blush, ch 1, hdc in each st around, join. Change to Emerald after Rnd 60. (84, 92, 100, 108 hdc)
Rnds 61–64: With Emerald, ch 1, hdc in each st around, join. Change to Blush after Rnd 64. (84, 92, 100, 108 hdc)
Rnds 65–68: With Blush, ch 1, hdc in each st around, join. Change to Emerald after Rnd 68. (84, 92, 100, 108 hdc)
Rnds 69–72: With Emerald, ch 1, hdc in each st around, join. Change to Blush after Rnd 72. (84, 92, 100, 108 hdc)
Rnds 73–76: With Blush, ch 1, hdc in each st around, join. Change to Emerald after Rnd 76. (84, 92, 100, 108 hdc)
Rnds 77–80: With Emerald, ch 1, hdc in each st around, join. Change to Blush after Rnd 80. (84, 92, 100, 108 hdc)
Rnds 81–84: With Blush, ch 1, hdc in each st around, join. Change to Emerald after Rnd 84. (84, 92, 100, 108 hdc)
Continue working 4-row stripes (4 Blush, 4 Emerald) until the body measures 8 (9, 10, 11) inches from the hem, ending after a Blush band. Fasten off Emerald if it is still attached.
Divide for Armholes
Next row (right side): Ch 1, hdc in the first 42 (46, 50, 54) sts, turn. Leave the remaining stitches unworked for the back.
Front panel: Work even in hdc for 4 (5, 6, 7) inches, maintaining the stripe sequence. Fasten off.
Back panel: Rejoin yarn at the opposite side of the tube and work the back panel over the remaining 42 (46, 50, 54) sts for the same length. Fasten off.
Shoulder Seams
With right sides facing, seam the front and back panels at the shoulders using sl st or whipstitch, leaving a 5 (5.5, 6, 6.5)-inch neck opening centered between the seams. Seam the sides from underarm to hem.
Sleeves (worked in the round from underarm down)
With the 5.0 mm hook and Blush, join yarn at the underarm. Ch 1, work 42 (46, 50, 54) hdc evenly around the armhole opening, join with sl st.
Rnds 1–4: Ch 1, hdc in each st around, join. Change to Emerald. (42, 46, 50, 54 hdc)
Rnds 5–8: With Emerald, ch 1, hdc in each st around, join. Change to Blush. (42, 46, 50, 54 hdc)
Rnds 9–12: With Blush, ch 1, hdc in each st around, join. Change to Emerald. (42, 46, 50, 54 hdc)
Rnds 13–16: With Emerald, ch 1, hdc in each st around, join. Change to Blush. (42, 46, 50, 54 hdc)
Rnds 17–20: With Blush, ch 1, hdc in each st around, join. Change to Emerald. (42, 46, 50, 54 hdc)
Rnds 21–24: With Emerald, ch 1, hdc in each st around, join. Change to Blush. (42, 46, 50, 54 hdc)
Rnds 25–28: With Blush, ch 1, hdc in each st around, join. Change to Emerald. (42, 46, 50, 54 hdc)
Rnds 29–32: With Emerald, ch 1, hdc in each st around, join. Change to Blush. (42, 46, 50, 54 hdc)
Rnds 33–36: With Blush, ch 1, hdc in each st around, join. Change to Emerald. (42, 46, 50, 54 hdc)
Rnds 37–40: With Emerald, ch 1, hdc in each st around, join. Change to Blush. (42, 46, 50, 54 hdc)
Rnds 41–44: With Blush, ch 1, hdc in each st around, join. Change to Emerald. (42, 46, 50, 54 hdc)
Rnds 45–48: With Emerald, ch 1, hdc in each st around, join. Change to Blush. (42, 46, 50, 54 hdc)
Continue 4-row stripes, decreasing 1 st at the underarm every 6th rnd 4 (5, 6, 7) times: hdc2tog at the beginning and end of each decrease rnd. (34, 36, 38, 40 sts)
Work even until the sleeve measures 9 (10.5, 12, 13.5) inches from the underarm.
Cuff: With Blush, work 4 rnds hdc in BLO. Fasten off. Repeat for the second sleeve.
Hood
With the 5.0 mm hook and Blush, join yarn at the right front neck edge. Ch 1, work 56 (60, 64, 68) hdc evenly around the neck opening, join with sl st.
Rnds 1–4: Ch 1, hdc in each st around, join. Change to Emerald. (56, 60, 64, 68 hdc)
Rnds 5–8: With Emerald, ch 1, hdc in each st around, join. Change to Blush. (56, 60, 64, 68 hdc)
Rnds 9–12: With Blush, ch 1, hdc in each st around, join. Change to Emerald. (56, 60, 64, 68 hdc)
Rnds 13–16: With Emerald, ch 1, hdc in each st around, join. Change to Blush. (56, 60, 64, 68 hdc)
Rnds 17–20: With Blush, ch 1, hdc in each st around, join. Change to Emerald. (56, 60, 64, 68 hdc)
Rnds 21–24: With Emerald, ch 1, hdc in each st around, join. Change to Blush. (56, 60, 64, 68 hdc)
Rnds 25–28: With Blush, ch 1, hdc in each st around, join. Change to Emerald. (56, 60, 64, 68 hdc)
Rnds 29–32: With Emerald, ch 1, hdc in each st around, join. Change to Blush. (56, 60, 64, 68 hdc)
Continue 4-row stripes until the hood measures 8 (9, 10, 11) inches from the neck.
Shape hood top: Fold the hood in half with right sides together. Seam the top edge with sl st or whipstitch. Fasten off.
Hood edging: With Blush, work 1 rnd sc evenly around the hood opening and front edge, then 1 rnd sl st. Fasten off.
Crocodile-Stitch Fern Overlays (make 2, worked flat)
Use the 5.5 mm (I-9) hook and Emerald. Each overlay is a tapered panel of crocodile scales that widens at the shoulder and narrows toward the sleeve cuff, reading as a drooping fern frond.
Foundation: Ch 18 (20, 22, 24).
Row 1 (right side): Sc in the 2nd ch from hook and in each ch across. (17, 19, 21, 23 sc)
Row 2 (scale row): Ch 3 (counts as first dc), dc in same st. *Skip 2 sts, work 6 dc around the post of the next dc (first half of scale), ch 1, work 6 dc around the post of the same dc (second half of scale), skip 2 sts, dc in next st; rep from * across, ending with dc in last st. Fasten off.
Row 3 (scale row): Join yarn at the beginning of Row 2. Ch 3, dc in same st. Work scales into the ch-1 spaces between the scale halves of the previous row: *6 dc around the post of the next dc, ch 1, 6 dc around the post of the same dc, dc in next st; rep from * across. Fasten off.
Rows 4–7 (2, 3, 4, 5): Rep Row 3, decreasing one scale per row by omitting the final scale at the outer edge to create the tapered fern tip. Each row should have one fewer scale than the row below.
Final row: Work 1 row sc evenly around the entire overlay edge to smooth the outline. Fasten off, leaving a 20-inch tail for seaming.
Fern frond shaping note: For sizes 2 and 4, work 5 scale rows total. For sizes 6 and 8, work 7 scale rows total. The widest row sits at the shoulder and the narrowest row points toward the cuff, creating the drooping frond silhouette.
Attaching Overlays
Pin one overlay to the top of each sleeve and shoulder, with the widest scale row at the shoulder seam and the tapered tip pointing down the outer sleeve. Using the long tail and tapestry needle, whipstitch the overlay to the hoodie along its outer edges, keeping stitches hidden under the scale edges. Repeat for the second sleeve. Weave in all ends.
Assembly and Finishing
Seaming: Use the tapestry needle and a length of matching yarn for all seams. For the shoulders, hold the front and back panels right sides together and whipstitch (bring the needle through both layers from front to back, over the edge, and repeat) across each shoulder, stopping to leave the neck opening centered. For the sides, whipstitch from the underarm down to the hem, keeping the seam straight and the tension even.
Weaving in ends: Thread each yarn tail onto the tapestry needle and run it through the back of several stitches in one direction, then back through a few stitches in the opposite direction to lock it. Trim close to the fabric.
Blocking: Lightly mist the finished hoodie with cool water and lay it flat on a towel, smoothing the body, sleeves, and hood into shape. Pat the crocodile scales flat so they sit evenly, and let everything dry completely before wearing. Do not hang the hoodie while wet, as this stretches the fabric.
Optional: Add a small emerald chain-loop button at the hood front if desired, or leave the hoodie open as a pullover.
Pro Tips and Variations
- Change the colors: Swap Blush and Emerald for any two worsted weight colors you love. Try cream and sage for a softer woodland look, or mustard and rust for an autumn version. Keep one color lighter and one darker so the stripes read clearly.
- Adjust the size: To make the hoodie longer or shorter, add or remove full 4-row stripe bands before dividing for the armholes. Each band adds about 1.3 inches of length at the pattern gauge.
- Substitute yarn: Any worsted weight (#4) yarn works, including cotton blends for a cooler summer hoodie. Always swatch first, because fiber content changes gauge, and adjust your hook size until you match 14 hdc x 12 rows = 4 inches.
- Simplify the overlay: If the crocodile stitch feels intimidating, work the overlays in plain emerald hdc in a tapered triangle shape instead. You will keep the fern silhouette while practicing the seaming technique.