Scoodie Knitting Patterns
Enchanted Forest Scoodie Free Pattern
Anonymous
•
July 18, 2026
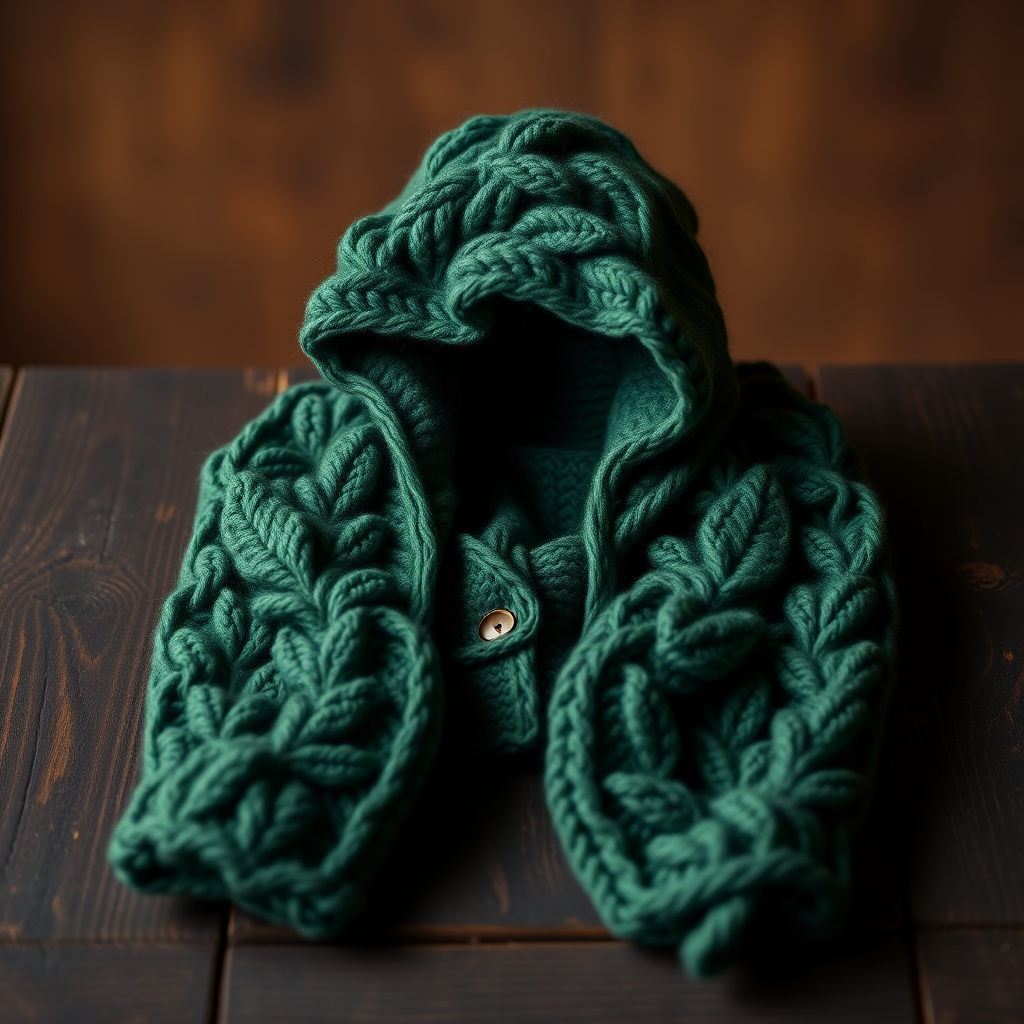
Enchanted Forest Scoodie Free Pattern
Introduction
Wrap yourself in the warmth and mystery of the Enchanted Forest Scoodie, a delightful knitting project that combines functionality with whimsical charm. This scoodie features intricate leaf motifs and cozy pockets, making it the perfect accessory for chilly days. Whether you're a seasoned knitter or just starting out, this pattern is designed to guide you through each step with ease. Let's embark on this crafting journey together!
Materials Needed
- Yarn: Bulky weight, 100% wool
- Knitting Needles: US 10 (6.0 mm)
- Gauge: 14 stitches and 20 rows = 4 inches in stockinette stitch
Step-by-Step Instructions
- Cast On: Begin by casting on 80 stitches using your US 10 (6.0 mm) knitting needles. Make sure your stitches are not too tight to allow for easy movement.
- Garter Stitch Base: Work in garter stitch for 6 rows. To do this, knit every row until you have completed 6 rows. This will create a nice border for your scoodie.
- Begin Leaf Motif Pattern:
- Row 1 (Right Side): K4, then repeat the following pattern: *k2tog, yo, k1, yo, ssk, k3* until you have 4 stitches left, then K4. This creates the intricate leaf design.
- Row 2 (Wrong Side): Purl all stitches. This will set the pattern for the leaf motifs.
- Continue Pattern: Repeat Rows 1 and 2 for a total of 60 inches. Keep an eye on your tension to ensure your stitches remain consistent throughout.
- Create the Hood: Once you have reached 60 inches, fold the scarf in half. Seam together 12 inches along one edge to form the hood. Use a whip stitch or mattress stitch for a neat finish.
- Make the Pockets:
- At each end of the scarf, pick up 30 stitches along the edge.
- Work in stockinette stitch for 6 inches (knit one row, purl the next).
- Once you reach 6 inches, bind off all stitches loosely to allow the pockets to stretch.
- Sew Pockets in Place: Position the pockets at the ends of the scarf and sew them securely in place. Ensure they are aligned and evenly spaced for a polished look.
Congratulations! You have now completed your Enchanted Forest Scoodie. Enjoy wearing your cozy creation or gift it to someone special. Happy knitting!


