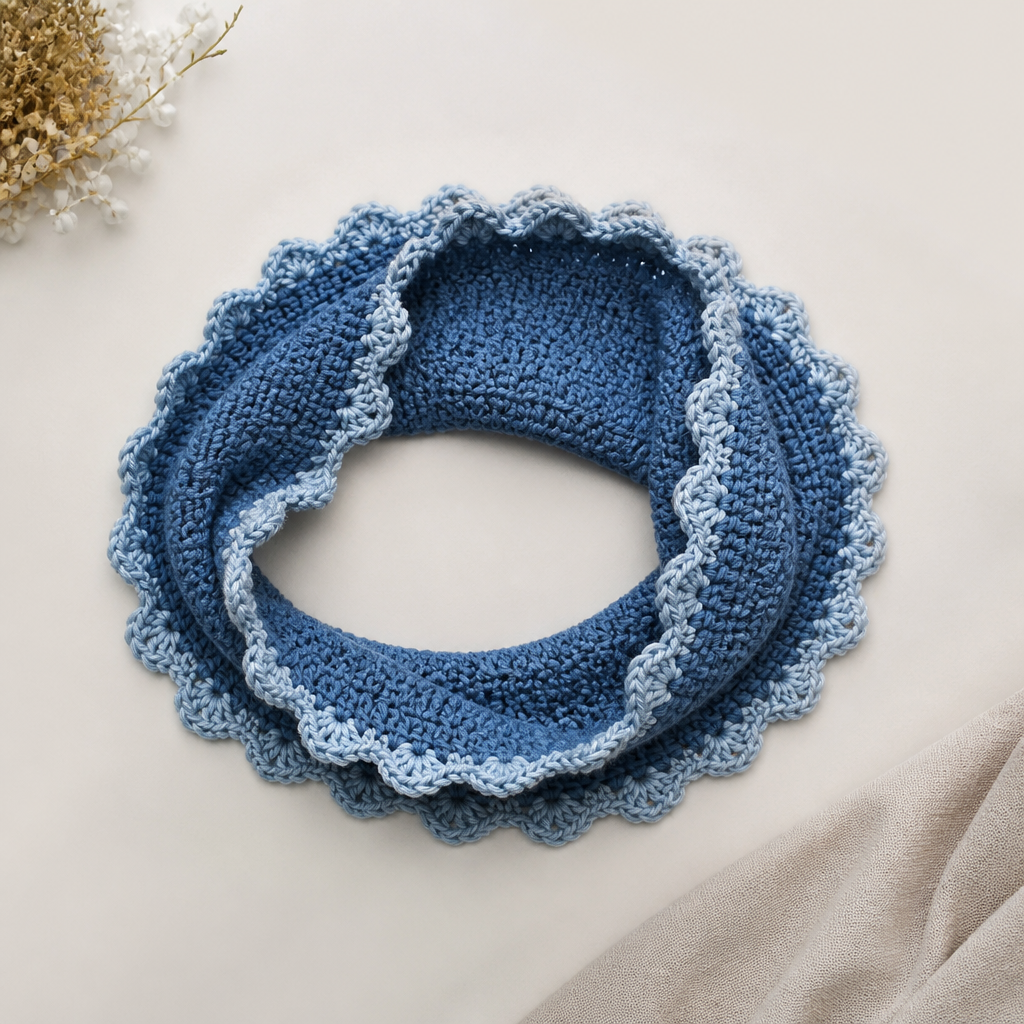
Dream Mist Fingerless Gloves Free Pattern – A Knitted Cloud of Pastel Yarn

Dream Mist Fingerless Gloves: A Knitted Cloud of Pastel Yarn
Wrap your hands in a dreamy, cloud-soft pair of fingerless gloves with a delicate honeycomb lace texture and a gentle pastel gradient. These gloves are the perfect cozy accessory for chilly mornings, adding a touch of whimsy to any outfit. Whether you're a seasoned knitter looking for a quick weekend project or a beginner ready to tackle your first lace pattern, the Dream Mist Fingerless Gloves are designed to inspire and delight. The honeycomb lace is surprisingly simple to memorize, and the result is a stunning, airy fabric that feels as beautiful as it looks.
This pattern is worked flat in two pieces (one for each glove) and then seamed, leaving an opening for the thumb. The honeycomb lace pattern is simple to memorize and creates a beautiful, airy texture. Let's dive into creating your own ethereal accessory.
Materials Needed
Before you begin, gather the following materials to ensure a smooth and enjoyable knitting experience:
- Yarn: Worsted weight yarn in pastel pink, lavender, and baby blue (approx. 200g total, or 100g for a solid color). The sample uses a gradient effect, but you can easily use a single color or any combination you love.
- Needles: US 7 (4.5 mm) knitting needles (or size needed to obtain gauge).
- Notions: A tapestry needle for weaving in ends, a stitch holder or scrap yarn for the thumb opening, and a tape measure.
Gauge: 20 stitches and 26 rows = 4 inches in stockinette stitch (after blocking). Always take time to check your gauge to ensure the perfect fit.
Step-by-Step Instructions
This pattern is worked flat in two pieces (one for each glove) and then seamed, leaving an opening for the thumb. The honeycomb lace pattern is simple to memorize and creates a beautiful, airy texture.
Abbreviations
- CO: cast on
- K: knit
- P: purl
- K2tog: knit two stitches together
- SSK: slip, slip, knit (slip two stitches knitwise, then knit them together through the back loop)
- YO: yarn over
- St(s): stitch(es)
- RS: right side
- WS: wrong side
Honeycomb Lace Pattern (multiple of 4 + 2)
This stitch pattern is the heart of the glove. It's a 4-row repeat that's easy to memorize and creates a gorgeous, textured fabric.
- Row 1 (RS): K2, *K2tog, YO, K2; repeat from * to end.
- Row 2 (WS): Purl all stitches.
- Row 3 (RS): K1, *YO, SSK, K2; repeat from * to last st, K1.
- Row 4 (WS): Purl all stitches.
- Repeat rows 1-4 for the pattern.
GLOVE (make 2)
Follow these instructions carefully to create each glove. The process is identical for both, so you'll have a matching pair in no time.
Cuff
- CO 42 stitches.
- Work in K2, P2 ribbing for 2 inches (approx. 12 rows). This creates a snug, stretchy cuff that will keep the gloves in place.
Main Body
- Switch to the Honeycomb Lace Pattern and work even for 3 inches, ending with a WS row. This section will form the main body of the glove, showcasing the beautiful lace texture.
Thumb Opening
This is the trickiest part, but don't worry—it's simpler than it looks. You'll create a gap in your knitting for your thumb to slip through.
- Next row (RS): Work in pattern across the first 20 stitches, then place the next 8 stitches on a stitch holder or scrap yarn (these will be the thumb opening). Continue in pattern across the remaining 14 stitches.
- Next row (WS): Work in pattern across the 14 stitches, then CO 8 new stitches over the gap, and work in pattern across the remaining 20 stitches. You now have 42 stitches again. Tip: Use the knitted-on cast-on method for a clean edge.
Top Section
- Continue in the Honeycomb Lace Pattern for another 2 inches, ending with a WS row. This section covers the back of your hand and fingers.
Top Ribbing
- Switch to K2, P2 ribbing and work for 1 inch (approx. 6 rows). This provides a neat, finished edge that will keep the gloves from slipping.
- Bind off loosely in pattern. Tip: Use a larger needle to bind off, or bind off loosely, to ensure the edge remains stretchy.
Thumb (optional, for a more finished look)
While optional, adding the thumb ribbing gives the gloves a polished, professional finish.
- Pick up 8 stitches from the stitch holder and 8 stitches from the CO edge of the thumb opening (16 stitches total).
- Work in K2, P2 ribbing for 1 inch.
- Bind off loosely.
Finishing
- Weave in all ends using your tapestry needle. Take your time to ensure the ends are secure and invisible.
- Fold the glove in half with the RS facing out, and seam the side edge from the cuff to the top ribbing, leaving the thumb opening free. Use a mattress stitch for an invisible seam.
- Repeat for the second glove.
Blocking
Blocking is essential for lace patterns—it opens up the stitches and gives the fabric its beautiful drape.
- Wet block the gloves to open up the lace pattern and even out the stitches.
- Lay flat to dry. Gently shape them while damp to ensure they dry in the correct form.
And there you have it—your very own pair of Dream Mist Fingerless Gloves! These make a wonderful gift for a loved one (or a treat for yourself). The pastel gradient is perfect for spring, but you can easily adapt the colors to suit any season or style. Happy knitting!