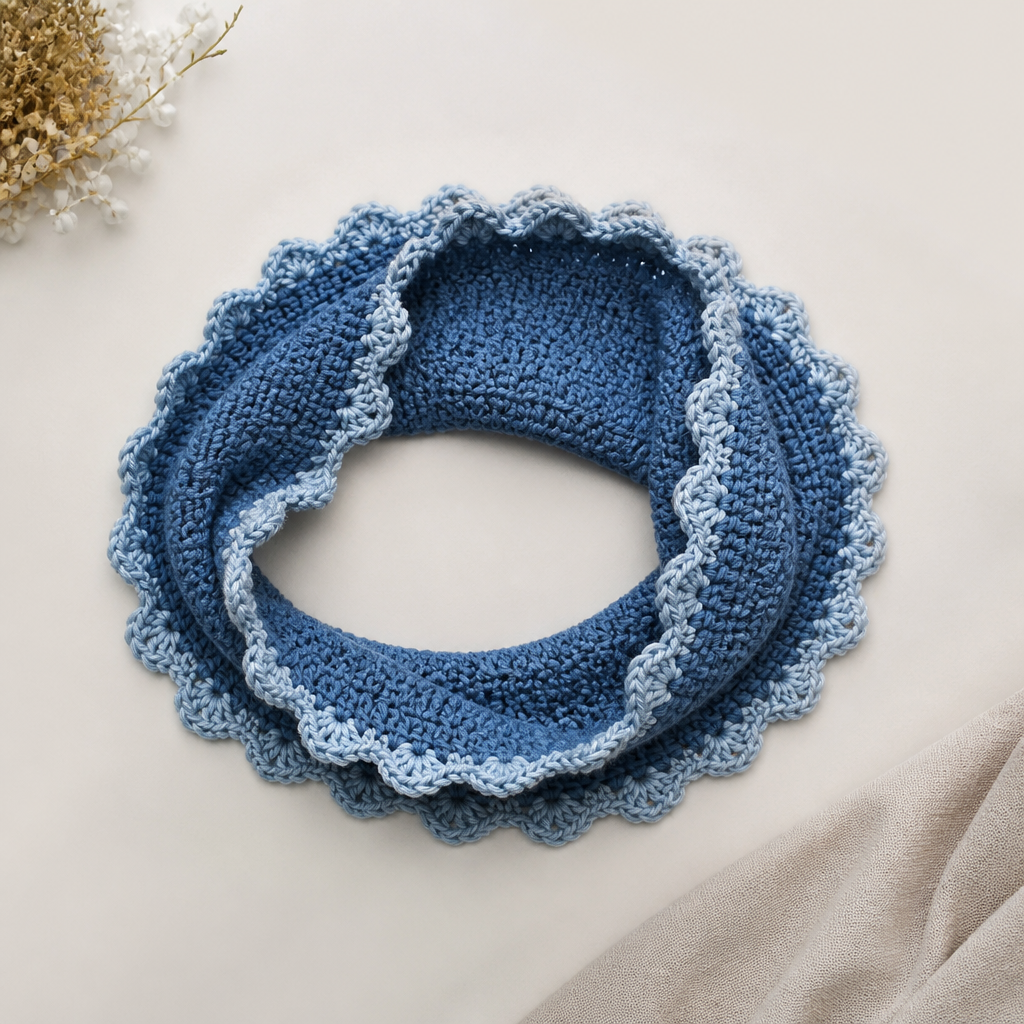
Crocodile Stitch Coral Reef Wall Sculpture Free Pattern

Dive Into the Deep: Create a Crocodile Stitch Coral Reef Wall Sculpture
Imagine bringing the tranquil, vibrant beauty of an underwater coral reef into your living space. With this free crochet pattern, you can transform a plain wall into a dimensional, textured work of art. This isn't just a flat tapestry; it's a soft, sculptural piece featuring the dramatic and beautiful crocodile stitch, layered in ocean-inspired hues. Whether you're a seasoned crocheter looking for a unique project or a confident beginner ready for a new challenge, this pattern will guide you through creating a stunning boho-chic centerpiece that adds depth, color, and organic texture to any room. Let's dive in and create your own serene underwater dreamscape.
Materials Needed
Before you begin your crafting journey, gather the following materials to ensure a smooth and enjoyable crocheting experience. This project is all about texture and color, so choose yarns that inspire you.
- Yarn: Worsted weight cotton yarn in the following colors (approx. 300g total):
- Coral Pink
- Teal
- Deep Ocean Blue
- Sandy Beige
- Seafoam Green
- Crochet Hook: 5.0 mm (H-8) crochet hook
- Other: Yarn needle for weaving in ends and sewing pieces together, scissors.
Gauge: 4 crocodile scales = 10 cm (4 inches) in width. Gauge is important for this project to ensure your final piece has the right proportions, but since it's a wall hanging, slight variations won't ruin the piece.
Step-by-Step Instructions
This wall sculpture is constructed in separate motifs and then joined together. We will work from the base up, creating the main branch, then the textured scales, and finally the small coral spikes. Follow each step carefully, and you'll have a beautiful reef in no time.
Part 1: The Base Branch (Make 1)
This forms the structural foundation of your coral reef. It's a simple rectangle with a few openings that will give it an organic, branch-like feel.
- Row 1: Chain (ch) 30. Single crochet (sc) in the 2nd ch from the hook and in each ch across. You should have 29 sc stitches.
- Row 2: Ch 1, turn. Sc in each stitch across (29 sc).
- Row 3: Ch 1, turn. Sc in the first 5 stitches. *Ch 5, skip the next 5 stitches, sc in the next 5 stitches.* Repeat from * to * across. You will end with sc in the last 4 stitches. This row creates the holes for a more organic shape.
- Row 4: Ch 1, turn. Sc in each stitch and in each chain across. You will have 29 sc stitches again.
- Rows 5-8: Repeat Rows 3 and 4 two more times. This will give you a total of 8 rows, creating three sets of holes.
- Fasten off and weave in the yarn end.
Part 2: Crocodile Scales (Make 12 in Varying Colors)
This is the star of the show! The crocodile stitch creates a beautiful, layered, fan-like scale that gives your reef its dimensional texture. You will make 12 of these in your chosen colors (coral pink, teal, deep ocean blue, and seafoam green).
- Round 1: Make a magic ring. Ch 3 (counts as a double crochet, dc). Work 11 dc into the ring. Slip stitch (sl st) to the top of the beginning ch-3 to join. (12 dc total)
- Round 2: Ch 3 (counts as dc). Dc in the same stitch. Work 2 dc in each stitch around. Sl st to the top of the beginning ch-3 to join. (24 dc total)
- Round 3: Ch 4 (counts as a treble crochet, tr). Tr in the same stitch. *Ch 2, skip the next 2 stitches. Tr in the next stitch, ch 1, tr in the same stitch.* Repeat from * to * around. Sl st to the top of the beginning ch-4 to join. (You will have 12 tr pairs).
- Round 4: Sl st into the first ch-2 space. Ch 3, work 4 dc in the same ch-2 space. *Ch 1, work 5 dc in the next ch-2 space.* Repeat from * to * around. Sl st to the top of the beginning ch-3 to join. (12 scale clusters of 5 dc each).
- Round 5: Ch 1. Sc in each dc and in each ch-1 space around. Sl st to the first sc to join. (60 sc total). This round creates a neat border for the scale.
- Fasten off, leaving a long tail (approx. 20-25 cm) for sewing the scale onto the base branch.
Part 3: Small Coral Spikes (Make 8)
These little cylindrical spikes add the final touch of organic detail, mimicking the smaller growths on a real coral reef.
- Round 1: Make a magic ring. Ch 2 (counts as a half double crochet, hdc). Work 6 hdc into the ring. Sl st to the top of the beginning ch-2 to join. (6 hdc total)
- Round 2: Ch 2 (counts as hdc). Hdc in the same stitch. Work 2 hdc in each stitch around. Sl st to the top of the beginning ch-2 to join. (12 hdc total)
- Rounds 3-5: Ch 2 (counts as hdc). Hdc in each stitch around. Sl st to the top of the beginning ch-2 to join. (12 hdc total). This creates a small tube shape.
- Fasten off, leaving a long tail for sewing.
Part 4: Assembly and Finishing
Now for the fun part—bringing all your beautiful pieces together to create your wall sculpture!
- Arrange Your Pieces: Lay your base branch flat on a table. Arrange the 12 crocodile scales along the branch, overlapping them slightly like fish scales or the overlapping plates of a real coral. Play with the color placement until you are happy with the look. Place the scales so they cover the branch and extend slightly beyond the edges for a full, dimensional look.
- Sew the Scales: Using the long tail from each scale and your yarn needle, securely sew each scale onto the base branch. Use small, hidden stitches along the bottom edge of the scale to attach it firmly. Make sure to sew through both the scale and the base branch.
- Attach the Coral Spikes: Position the 8 small coral spikes at the ends of the branch and in any gaps between the larger scales. Sew them on securely using their long tails, just as you did with the scales.
- Create a Hanging Loop: With your yarn and hook, ch 20. Sl st to the first ch to form a ring. Fasten off, leaving a tail. Sew this loop securely to the top back of the base branch, making sure it is centered so the sculpture hangs straight.
- Weave in All Ends: Use your yarn needle to carefully weave in any remaining loose ends from the assembly process.
- Block Gently: To help your sculpture lay flat and keep its shape, gently block it. You can lightly mist it with water and pin it to a flat surface to dry, or use a steam iron on a low setting (without touching the yarn directly) to relax the fibers.
And there you have it! Your very own Crocodile Stitch Coral Reef Wall Sculpture. This piece is sure to be a conversation starter, adding a touch of handmade, oceanic serenity to your home. The combination of the textured crocodile stitch and the calming color palette creates a truly unique piece of textile art. Enjoy your beautiful new decor!