Tutorials
Chunky Crochet Honeycomb Beanie
Anonymous
•
June 22, 2026

Chunky Crochet Honeycomb Beanie
Introduction
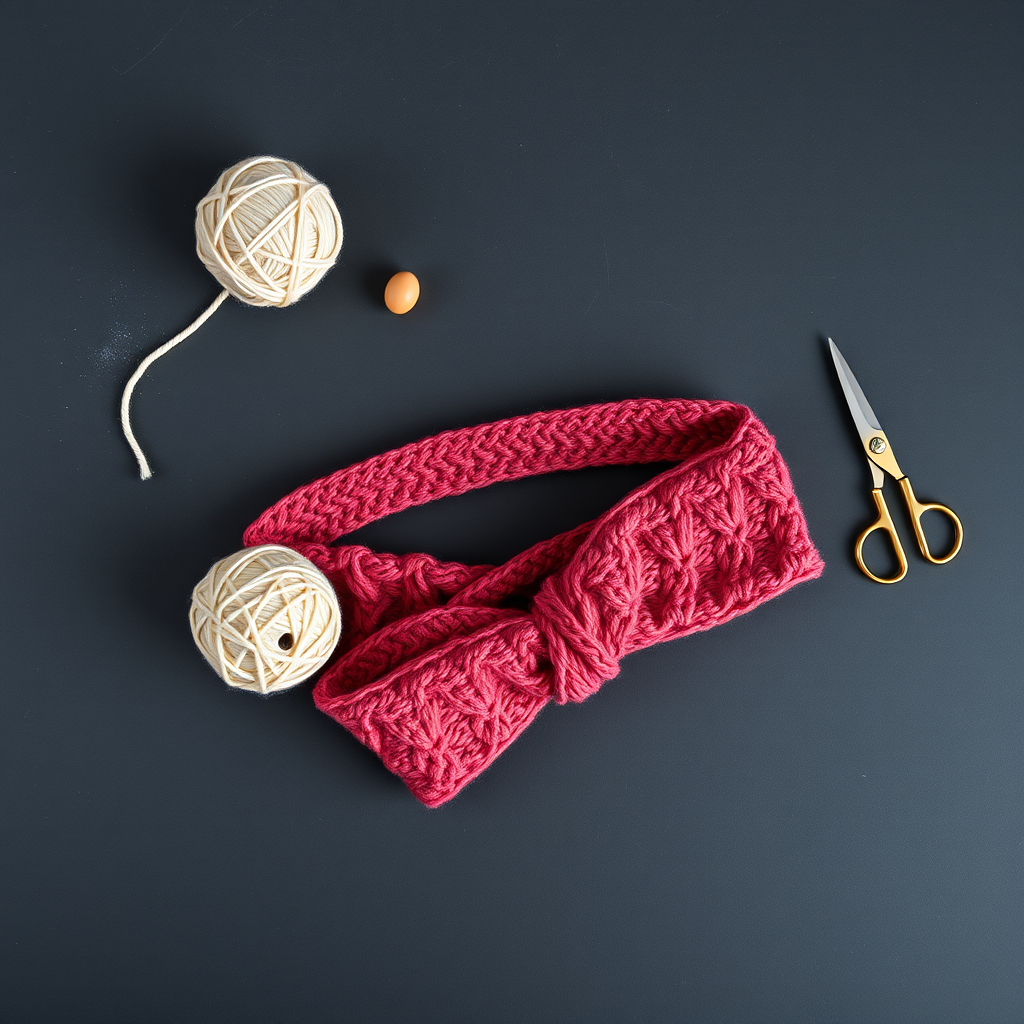
Welcome to your next cozy project! In this tutorial, you will learn how to create a stylish Chunky Crochet Honeycomb Beanie using the beautiful honeycomb stitch. This beanie is not only warm and comfortable but also adds a textured flair to your winter wardrobe. Perfect for beginners, this pattern will guide you step-by-step to ensure you can recreate this lovely accessory with ease.
Materials Needed
- Yarn: Super bulky weight yarn
- Hook: Size N/P (10mm) crochet hook
- Gauge: 4 stitches and 4 rows = 4 inches in honeycomb stitch
Step-by-Step Instructions
- Start with a Magic Ring: Create a magic ring by wrapping the yarn around your fingers, then pull a loop through to form a ring.
- Round 1: Chain 1 (Ch 1), then work 6 single crochets (sc) into the magic ring. Join with a slip stitch (sl st) to the first single crochet to close the round.
- Round 2: Ch 1, then work 2 sc in each stitch around. Join with a sl st to the first sc. You should have 12 stitches now.
- Round 3: Ch 1, then *sc in the next stitch, 2 sc in the next stitch; repeat from * around. Join with a sl st to the first sc. You should have 18 stitches.
- Round 4: Ch 1, then *sc in the next 2 stitches, 2 sc in the next stitch; repeat from * around. Join with a sl st to the first sc. You should have 24 stitches.
- Continue Increasing: Continue this pattern of increasing until the circle measures approximately 8 inches in diameter. This will create the base of your beanie.
- Begin Honeycomb Pattern: Ch 3 (this counts as your first double crochet), then *skip 1 stitch, double crochet (dc) in the next stitch, dc in the skipped stitch; repeat from * around. Join with a sl st to the top of the ch-3.
- Repeat Honeycomb Pattern: Continue repeating the honeycomb pattern until your beanie measures 8 inches from the top. Make sure to keep your tension consistent for an even texture.
- Finish Up: Once you reach the desired height, fasten off your yarn and weave in any loose ends using a yarn needle. This will give your beanie a clean finish.
Congratulations! You have now completed your Chunky Crochet Honeycomb Beanie. Wear it proudly or gift it to a loved one. Happy crocheting!
Also Check Out: We think you'd love this beautiful pattern on our sister site: Cozy Star Stitch Crochet Blanket Pattern
Also Check Out: We think you'd love this beautiful pattern on our sister site: Adorable Knitted Teddy Bear Duo Pattern
Also Check Out: We think you'd love this beautiful pattern on our sister site: Elegant Crochet Bruges Lace Table Runner
Also Check Out: We think you'd love this beautiful pattern on our sister site: Chunky Blue Knit Shawl