Advanced Techniques
Chic Crochet Hair Bows Pattern
Anonymous
•
June 23, 2026
Chic Crochet Hair Bows Pattern
Introduction
Welcome to the world of crochet! Today, we are excited to share a delightful pattern for creating chic crochet hair bows. These charming accessories are not only simple to make but also add a handmade touch to any outfit. Whether you're looking to accessorize your own hair or create a thoughtful gift for a friend, these bows are the perfect project for beginners and experienced crafters alike. Let’s dive into the materials you’ll need and the step-by-step instructions to bring your crochet hair bows to life!
Materials Needed
- Yarn: Super bulky yarn in pink and gray
- Hook: 9mm crochet hook
- Scissors: For cutting yarn
- Tapestry needle: For weaving in ends
Step-by-Step Instructions
- Start with a Slip Knot: Begin by making a slip knot on your crochet hook. This will be the starting point for your chain.
- Chain 12: Yarn over and pull through to create a chain of 12 stitches. This will form the base of your bow.
- Row 1: In the second chain from the hook, single crochet (sc) and continue to single crochet in each chain across. You should have a total of 11 single crochets. Turn your work.
- Row 2: Chain 1 to begin the next row. Single crochet in each of the 11 stitches across. Turn your work.
- Row 3: Repeat the same process: chain 1 and single crochet in each stitch across. Turn your work.
- Row 4: Again, chain 1 and single crochet in each stitch across. Turn your work.
- Row 5: For the final row, chain 1 and single crochet in each stitch across. You will have completed 5 rows of single crochet. Turn your work.
- Fasten Off: Cut the yarn, leaving a tail of about 6 inches. Pull the tail through the last loop on your hook to secure it. Use your tapestry needle to weave in any loose ends.
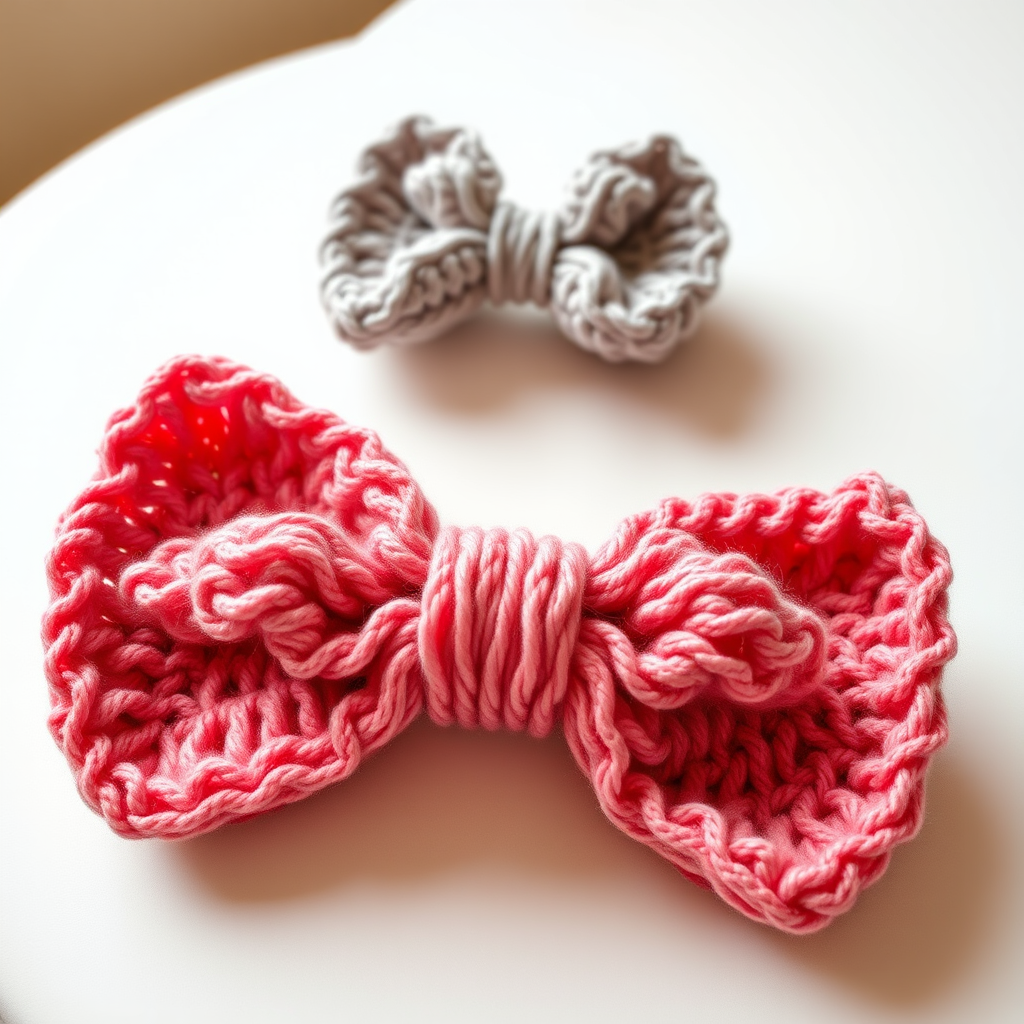
- Form the Bow Shape: Take the rectangle you’ve just crocheted and fold it accordion-style. This means you will create pleats by folding the rectangle back and forth.
- Wrap the Center: Cut a length of yarn (about 12 inches) and wrap it tightly around the center of the folded rectangle to form the bow's middle. Secure the yarn with a knot to hold the shape in place.
- Repeat for Second Bow: Follow the same steps using the gray yarn to create a second bow. You can mix and match colors for a fun look!
And there you have it! Your very own chic crochet hair bows are ready to wear or gift. Enjoy showcasing your beautiful handmade accessories!
Also Check Out: We think you'd love this beautiful pattern on our sister site: Elegant Crochet Lace Wedding Shawl Pattern
Also Check Out: We think you'd love this beautiful pattern on our sister site: Sunny Day Crochet Market Bag
Also Check Out: We think you'd love this beautiful pattern on our sister site: Chunky Floral Granny Square Crochet Pattern
Also Check Out: We think you'd love this beautiful pattern on our sister site: Cozy Crochet Thermal Stitch Blanket