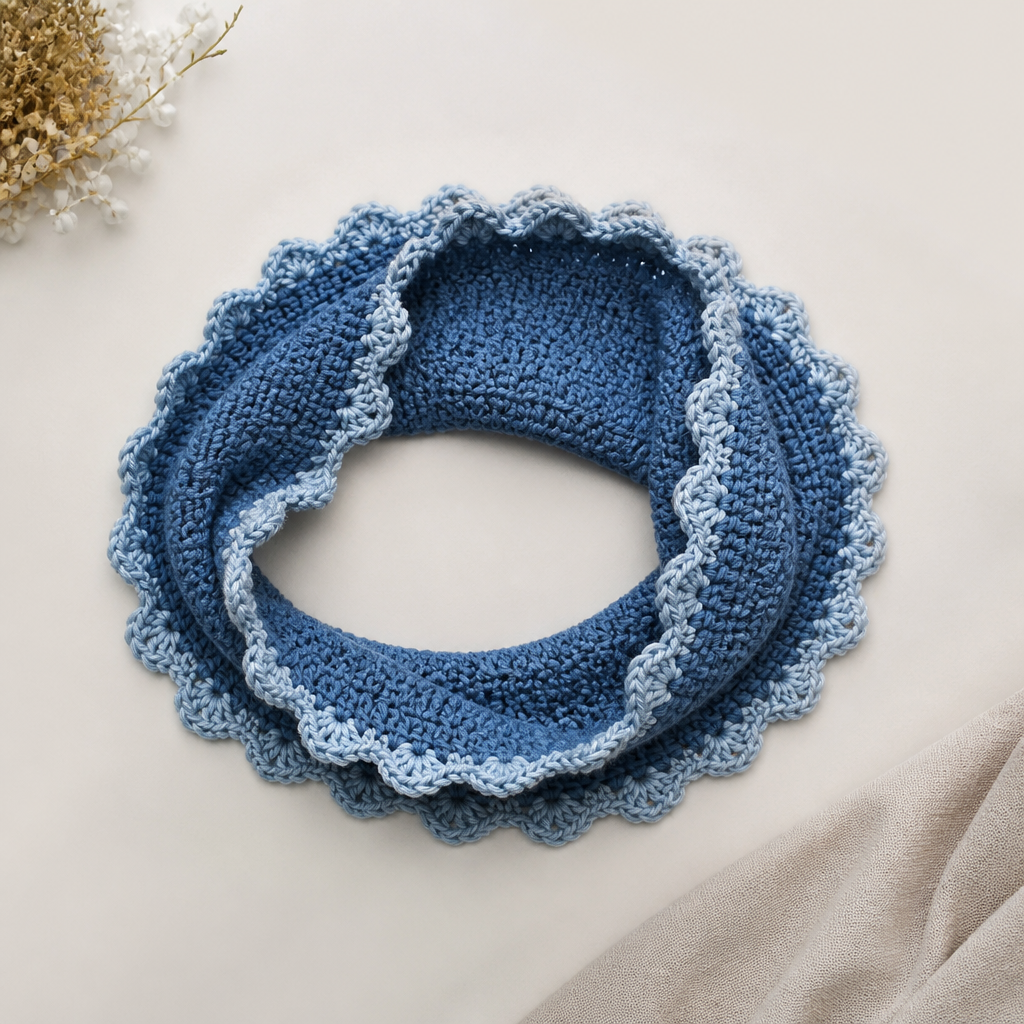
Celestial Bloom Crown Headband Free Pattern – A Crocheted Starry Garden Crown

Celestial Bloom Crown Headband: A Free Crochet Pattern for a Starry Garden Crown
Wrap your hair in a whimsical garden of stars with this enchanting Celestial Bloom Crown Headband. This unique accessory features a soft, textured sage green band adorned with delicate golden yellow star blossoms, creating a perfect blend of bohemian magic and everyday charm. Whether you're heading to a festival, celebrating at a wedding, or simply adding a touch of enchantment to your daily style, this handmade crown is sure to become a treasured piece in your accessory collection.
This pattern is designed with beginners in mind, using basic crochet stitches and simple construction techniques. The result is a stunning, professional-looking headband that showcases your handmade creativity. Let's dive into this celestial crafting adventure!
Materials Needed
Before you begin your crochet journey, gather these essential supplies:
- Yarn: Worsted weight cotton or acrylic yarn in two colors:
- Main Color (MC): Soft sage green (approximately 100 yards)
- Accent Color (AC): Warm golden yellow (approximately 50 yards)
- Crochet Hook: 5.0 mm (H-8) crochet hook
- Yarn needle for weaving in ends and sewing pieces together
- Scissors
- Stitch markers (optional, but helpful for keeping track of rounds)
Gauge: 16 single crochet (sc) x 18 rows = 4 x 4 inches (10 x 10 cm) in single crochet. Gauge is important for achieving the correct size, but this pattern is quite forgiving—the headband stretches slightly to fit most head sizes.
Step-by-Step Instructions
Part 1: Headband Base (Worked in Rows)
The headband base creates a comfortable, stretchy band that forms the foundation of your crown. Follow these steps carefully:
- Foundation Chain: With your Main Color (MC) yarn, make a slip knot and chain 8 stitches. This creates the width of your headband.
- Row 1: Insert your hook into the 2nd chain from the hook (skipping the first chain). Work 1 single crochet (sc) into this chain. Continue working 1 sc into each chain across. You should have 7 single crochet stitches total. Tip: Count your stitches to ensure accuracy—this is the foundation of your entire project!
- Row 2: Chain 1 (this counts as your turning chain), then turn your work. Work 1 sc into each of the 7 stitches across. You'll still have 7 sc stitches.
- Repeat Row 2: Continue repeating Row 2 (chain 1, turn, sc in each stitch across) until your band measures approximately 20 inches (50 cm) in length. This measurement should accommodate most adult head sizes with a slight stretch. Pro tip: To check the fit, wrap the band around your head—it should feel snug but comfortable, with a little give.
- Finishing the Band: When you reach your desired length, fasten off by cutting the yarn, leaving a long tail (approximately 12 inches/30 cm) for sewing. Pull the tail through the last loop on your hook to secure.
- Creating the Ring: Fold the band in half lengthwise, bringing the two short ends together. Using your yarn needle and the long tail, sew the short ends together with a whip stitch or mattress stitch to form a continuous ring. Make sure the seam is neat and secure—this will be the back of your headband.
- Weave in Ends: Thread any remaining yarn tails through your needle and weave them discreetly into the stitches of the band. Trim any excess yarn.
Part 2: Star Blossom Motifs (Make 5)
These beautiful star-shaped blossoms are the crowning glory of your headband. Each one is worked in the round, creating a delicate five-petal flower. Make all 5 before moving on to assembly.
- Magic Ring: With your Accent Color (AC) yarn, create a magic ring (also called a magic circle). If you're unfamiliar with this technique, here's a quick refresher: wrap the yarn around your fingers twice, insert your hook into the ring, yarn over and pull through, then chain 1 to secure. Alternative: You can chain 4 and slip stitch to form a ring if you prefer.
- Round 1: Chain 1 (this counts as your first single crochet), then work 10 single crochet (sc) stitches into the magic ring. Pull the tail to tighten the ring closed. Join with a slip stitch (sl st) to the first sc. You should have 10 sc stitches total. Count carefully—this is the base for your petals.
- Round 2 (Creating Petal Loops): Chain 4, then skip the next single crochet stitch. Work a slip stitch (sl st) into the following sc. Repeat this pattern around: *chain 4, skip 1 sc, sl st in next sc*—continue until you've created 5 chain-4 loops around the circle. Join with a slip stitch to the beginning of the round. You should now have 5 evenly spaced loops that will form the framework for your petals.
- Round 3 (Forming the Petals): In each chain-4 loop, work the following sequence:
- 1 single crochet (sc)
- 1 half double crochet (hdc)
- 3 double crochet (dc)
- 1 half double crochet (hdc)
- 1 single crochet (sc)
- Finishing: Fasten off, leaving a long tail (approximately 10 inches/25 cm) for sewing the blossom to the headband. Gently pull the magic ring tail to ensure the center is tight and secure.
- Repeat: Make 4 more star blossoms using the same instructions, for a total of 5 blossoms.
Part 3: Assembly
Now comes the magical moment when your celestial crown comes together! Follow these steps to attach your star blossoms to the headband:
- Positioning: Place the headband ring on a flat surface with the seam at the back. Identify the front half of the band (opposite the seam). Evenly space your 5 star blossoms along this front section, positioning them approximately 1.5 inches (4 cm) apart. Tip: Use stitch markers or small pieces of scrap yarn to mark the placement spots before sewing.
- Securing the First Blossom: Thread the long tail from your first star blossom through your yarn needle. Position the blossom on the headband at your first marked spot. Sew through the back of the blossom and into the headband stitches, using small, secure stitches. Work around the entire base of the blossom to ensure it's firmly attached.
- Attaching Remaining Blossoms: Repeat the sewing process for each of the remaining 4 star blossoms, ensuring they're all securely fastened and evenly spaced.
- Weaving in Ends: Once all blossoms are attached, weave in all remaining yarn tails using your yarn needle. Thread the tails through the back of the headband stitches, hiding them completely. Trim any excess yarn.
- Optional Embellishment: For extra charm, you can create small leaves using your Main Color (MC) yarn and attach them between the star blossoms. To make a simple leaf: chain 6, work 1 sc in 2nd chain from hook, 1 hdc in next, 1 dc in next, 1 hdc in next, 1 sc in last chain. Fasten off and sew between the stars.
Final Touches and Styling Tips
Your Celestial Bloom Crown Headband is now complete! Give it a gentle stretch to ensure the band sits comfortably, and admire your handiwork. This versatile accessory pairs beautifully with flowing dresses, casual denim, or even bridal attire. The soft sage green and warm golden yellow create a harmonious contrast that complements a wide range of skin tones and hair colors.
Feel free to experiment with different color combinations—dusty rose with cream, lavender with silver, or classic white with gold for a wedding-ready look. You can also adjust the number of star blossoms to suit your style, or add beads or buttons to the centers for extra sparkle.
This pattern is perfect for craft fairs, thoughtful handmade gifts, or simply treating yourself to a little celestial magic. Happy crocheting, and may your days be filled with starry creativity!