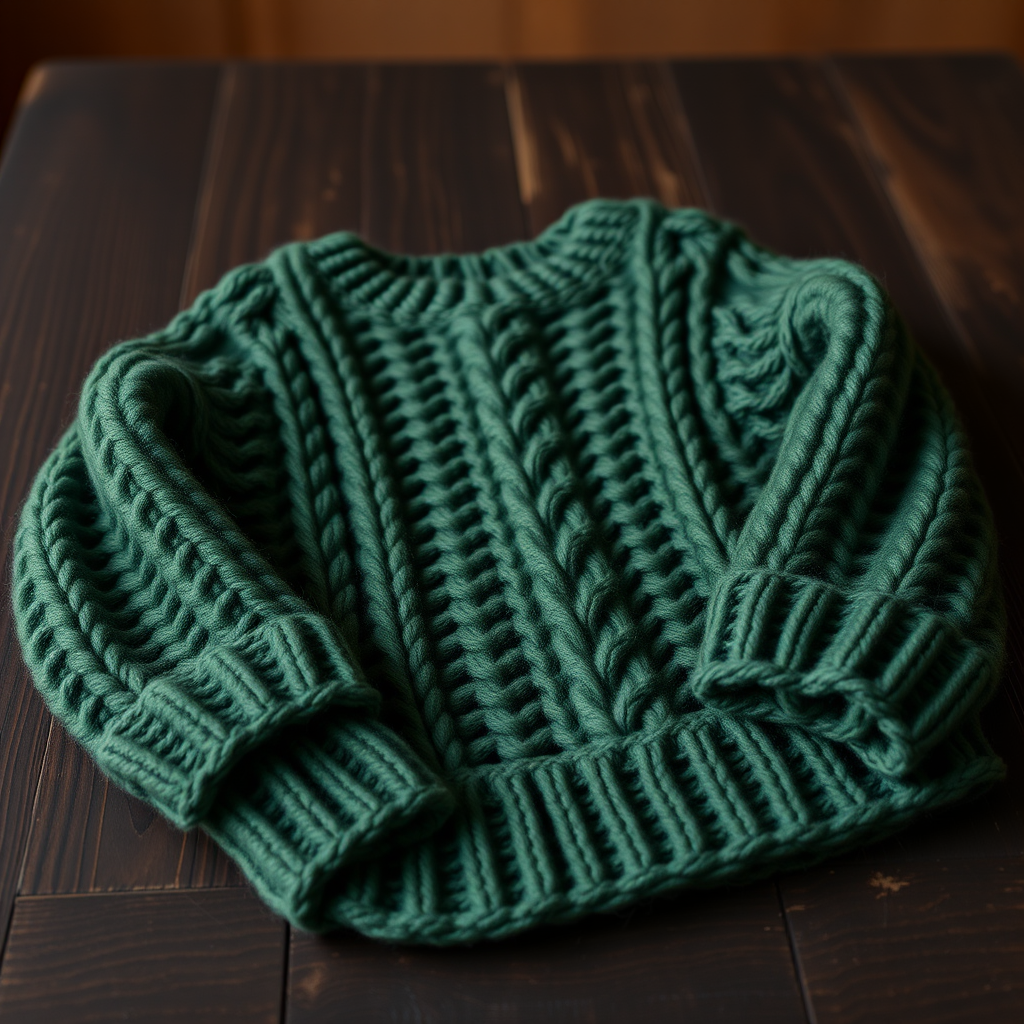
Aurora Breeze Sleeveless Crochet Sweater Free Pattern

Aurora Breeze Sleeveless Crochet Sweater: A Free Pattern for Beginners
Imagine a sweater that feels like a gentle summer breeze against your skin—light, breathable, and beautifully textured. That's exactly what you'll create with the Aurora Breeze Sleeveless Crochet Sweater. This stunning piece features a mesmerizing wave stitch pattern that catches the light and adds a subtle, rippled texture reminiscent of gentle water waves. Whether you're layering it over a favorite tank or dress, this versatile, boxy-fit sweater is a joy to create and even more delightful to wear.
This free crochet pattern is designed with beginners in mind, offering clear, step-by-step instructions that break down the wave stitch into simple, repeatable rows. With just a few basic stitches—single crochet, double crochet, and chains—you'll craft a professional-looking garment that showcases your handmade skills. Let's dive in and start creating your new favorite layering piece!
Materials Needed
Before you begin, gather these simple supplies. The beauty of this pattern lies in its simplicity—you don't need a huge arsenal of tools, just quality materials that will make your sweater shine.
- Yarn: Worsted weight cotton or cotton blend yarn (approx. 600-700 yards for size Medium). The cotton content gives the sweater its breathable, summer-friendly feel and beautiful stitch definition.
- Crochet Hook: US Size I/9 (5.5 mm) crochet hook. This hook size works perfectly with worsted weight yarn to create a dense yet drapey fabric.
- Other Tools: Yarn needle for weaving in ends, scissors, and a tape measure for checking your gauge and finished measurements.
Gauge Information
Getting your gauge right is crucial for a perfect fit. Here's what to aim for:
- 14 single crochet (sc) and 11 sc rows = 3 inches (8 cm)
- 16 double crochet (dc) and 9 dc rows = 4 inches (10 cm)
Always make a gauge swatch before starting. If your swatch is too small, try a larger hook. If it's too big, switch to a smaller hook.
Sizes and Measurements
This pattern is written for three sizes to help you achieve the perfect fit:
- Small (S): Finished bust 36 inches
- Medium (M): Finished bust 40 inches
- Large (L): Finished bust 44 inches
The relaxed, boxy fit means you can easily layer this over other pieces. When adjusting your chain count, remember to work in multiples of 6 + 2 stitches.
Stitches and Abbreviations
Familiarize yourself with these standard crochet abbreviations before you start:
- ch = chain
- sc = single crochet
- dc = double crochet
- sl st = slip stitch
- st(s) = stitch(es)
- sk = skip
- sp = space
- rep = repeat
- RS = right side
- WS = wrong side
Understanding the Wave Stitch Pattern
The heart of this sweater is the beautiful Wave Stitch. This pattern creates a gorgeous scalloped texture that resembles gentle ocean waves. While it looks intricate, it's actually quite simple once you understand the rhythm. The pattern is worked in multiples of 6 + 2 stitches.
Special Stitch – Wave Stitch Tutorial
Row 1 (RS): sc in 2nd ch from hook, *sk 2 ch, 5 dc in next ch, sk 2 ch, sc in next ch; rep from * across, turn.
Row 2: ch 1, sc in first sc, *ch 3, sk 2 dc, sc in next dc (center dc of shell), ch 3, sk 2 dc, sc in next sc; rep from * across, turn.
Row 3: ch 3 (counts as dc), 2 dc in first sc, *sc in next ch-3 sp, ch 3, sc in next ch-3 sp, 5 dc in next sc; rep from * ending with 3 dc in last sc (instead of 5), turn.
Row 4: ch 1, sc in first dc, *ch 3, sk 2 dc, sc in next dc (center dc of shell), ch 3, sk 2 dc, sc in next sc; rep from * across, turn.
Row 5: ch 1, sc in first sc, *5 dc in next ch-3 sp, sc in next ch-3 sp; rep from * across, turn.
Repeat Rows 2–5 for the pattern.
Step-by-Step Instructions: Creating Your Sweater
Now that you understand the wave stitch, let's put it all together. We'll work the sweater in panels—first the back, then the front—and finish with beautiful edging.
Back Panel
Step 1: Chain 86 (98, 110) loosely. Make sure your chain is a multiple of 6 + 2. For size S, that's 86 (14 repeats of 6 = 84, plus 2). For M, it's 98 (16 repeats of 6 = 96, plus 2). For L, it's 110 (18 repeats of 6 = 108, plus 2).
Step 2: Work the Wave Stitch pattern as described above, starting with Row 1.
Step 3: Continue working the pattern until your piece measures 18 (19, 20) inches from the start. Be sure to end with a Row 2 or Row 4 (which are WS rows) so you're ready to fasten off cleanly.
Step 4: Fasten off and set aside.
Front Panel
Step 1: Work the front panel exactly as you did the back, but only until the piece measures 14 (15, 16) inches from the start. This is where we'll begin shaping the neckline.
Shaping the Left Shoulder
Step 2: Continue the pattern across the first 30 (36, 42) stitches (approximately 5 pattern repeats). Turn your work.
Step 3: Work even on these stitches for 4 more inches, always ending at the armhole edge. This creates the left shoulder strap.
Step 4: Fasten off.
Shaping the Right Shoulder
Step 5: Skip the center 26 stitches for the neck opening. Count carefully from the left shoulder edge to find the correct starting point.
Step 6: Join your yarn to the next stitch after the skipped center stitches.
Step 7: Work the pattern across the remaining 30 (36, 42) stitches. Work even for 4 inches, ending at the armhole edge.
Step 8: Fasten off.
Finishing and Assembly
Now it's time to bring your panels together into a beautiful sweater.
Sewing the Seams
Step 1: Sew the shoulder seams together. Each shoulder seam should be approximately 8 inches wide. Use a yarn needle and whip stitch or mattress stitch for a clean, flat seam.
Step 2: Sew the side seams from the bottom up, but leave 8 (9, 10) inches open at the top for the armholes. This opening creates the sleeveless armhole shape.
Armhole Edging
Step 1: With the right side facing you, join your yarn at the underarm seam.
Step 2: Work single crochet evenly around the entire armhole opening. Don't count stitches—just work evenly to avoid puckering. Join with a slip stitch to the first single crochet.
Step 3: Chain 1, then work single crochet in each single crochet around. Join with a slip stitch to the first single crochet.
Step 4: Fasten off and weave in the ends. Repeat for the other armhole.
Neckline Edging
Step 1: With the right side facing you, join your yarn at one shoulder seam.
Step 2: Work single crochet evenly around the entire neckline, including both the front and back neck edges. Join with a slip stitch to the first single crochet.
Step 3: Chain 1, then work single crochet in each single crochet around. Join with a slip stitch to the first single crochet.
Step 4: Fasten off and weave in the ends.
Bottom Edging
Step 1: With the right side facing you, join your yarn at one side seam on the bottom edge.
Step 2: Work single crochet evenly across the entire bottom edge. Turn your work.
Step 3: Chain 1, then work single crochet in each single crochet across. Turn.
Step 4: Repeat Step 3 for 3 more rows, creating a neat, sturdy bottom border.
Step 5: Fasten off and weave in all ends.
Final Touches and Care
Congratulations! Your Aurora Breeze Sleeveless Crochet Sweater is complete. To give it that professional, polished look, block it lightly to the specified measurements. Lay it flat on a towel, gently shape it to size, and let it air dry.
This beautiful, textured sweater is perfect for warm summer evenings, beach walks, or layering over a crisp white shirt. The wave stitch pattern creates a stunning visual effect that's sure to draw compliments. Wear it with pride knowing you created something truly special with your own hands.
Happy crocheting, and enjoy your beautiful new handmade creation!