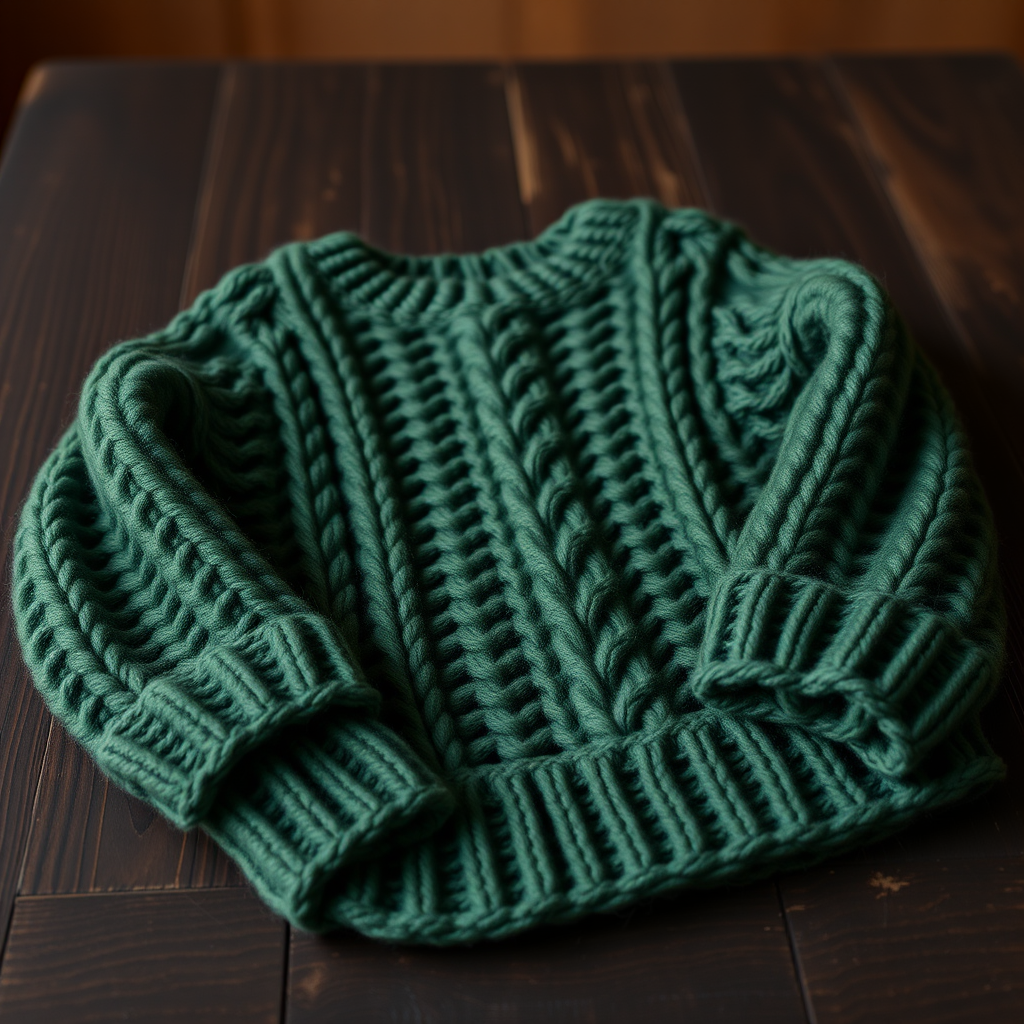
Aurora Bloom Mosaic Cropped Sweater Free Pattern

Aurora Bloom Mosaic Cropped Sweater: A Beginner-Friendly Crochet Colorwork Pattern
Wrap yourself in the ethereal beauty of a hand-crocheted mosaic sweater with a modern cropped silhouette. The Aurora Bloom Mosaic Cropped Sweater blends intricate colorwork with a cozy, breathable fit, making it the perfect layering piece over dresses or high-waisted jeans. This pattern is designed with beginners in mind, using simple single crochet and a special elongated stitch to create a stunning geometric, diamond-like motif. The palette of soft cream, dusty rose, and sage green evokes a boho, textured aesthetic that feels both handmade and high-fashion.
Whether you're new to colorwork or a seasoned crocheter looking for a relaxing project, this pattern offers clear, step-by-step instructions to guide you from first chain to final seam. The boxy, cropped silhouette with slightly dropped shoulders and ribbed bottom and cuffs ensures a flattering fit for all body types. Let's dive into creating your new favorite wardrobe staple!
Materials Needed
Before you begin, gather the following supplies. Having everything ready will make your crochet session smooth and enjoyable.
Yarn
- Worsted weight yarn in 3 colors:
- Main Color (MC): Soft Cream – Approximately 600 (700, 800) yards for sizes S/M (L/XL, 2XL/3XL)
- Contrast Color 1 (CC1): Dusty Rose – Approximately 300 (350, 400) yards
- Contrast Color 2 (CC2): Sage Green – Approximately 300 (350, 400) yards
Hook & Notions
- 5.5 mm (I-9) crochet hook, or size needed to obtain gauge
- Stitch markers
- Tapestry needle for weaving in ends
- Scissors
Gauge
16 stitches x 18 rows = 4 inches in mosaic single crochet pattern (worked flat). Always check your gauge to ensure your sweater fits as intended. If your gauge is off, adjust your hook size accordingly.
Step-by-Step Instructions
This pattern is worked in flat panels (back, front, and two sleeves) and then seamed together. The mosaic pattern is created by working elongated stitches into rows below, alternating colors every two rows. Don't worry – it's easier than it sounds! Follow along carefully, and you'll have a beautiful sweater in no time.
Sizes & Finished Measurements
- S/M: Finished bust 36 inches, length 18 inches
- L/XL: Finished bust 42 inches, length 19 inches
- 2XL/3XL: Finished bust 48 inches, length 20 inches
Special Stitches
- Mosaic Single Crochet (msc): Insert hook into front loop only of the stitch two rows below, yarn over, pull up a loop, yarn over, pull through both loops on hook. This creates a long, elongated stitch that forms the mosaic pattern.
- Single Crochet (sc): Standard single crochet: insert hook, yarn over, pull up a loop, yarn over, pull through both loops.
- Chain (ch): Standard chain stitch.
Pattern Notes
- The sweater is worked in panels: back, front, and two sleeves, then seamed together.
- The mosaic pattern is worked in rows, alternating colors every two rows. Always work with the right side facing for the mosaic rows; wrong side rows are worked in sc with the same color.
- Carry the unused color loosely along the side edge, or cut and rejoin as preferred. For a cleaner finish, many crocheters prefer to cut and rejoin at each color change.
Back Panel
- Foundation: With MC, ch 72 (84, 96) loosely.
- Row 1 (RS): Sc in 2nd ch from hook and in each ch across. Turn. (71 (83, 95) sc)
- Row 2 (WS): Ch 1, sc in each sc across. Turn.
- Row 3 (RS): Change to CC1. Ch 1, sc in first sc, *msc in next st (inserting hook into front loop of st two rows below), sc in next st; repeat from * to last st, sc in last st. Turn.
- Row 4 (WS): With CC1, ch 1, sc in each st across. Turn.
- Row 5 (RS): Change to CC2. Ch 1, sc in first 2 sts, *msc in next st, sc in next st; repeat from * to last 2 sts, sc in last 2 sts. Turn.
- Row 6 (WS): With CC2, ch 1, sc in each st across. Turn.
- Row 7 (RS): Change to MC. Ch 1, sc in first st, *msc in next st, sc in next st; repeat from * to last st, sc in last st. Turn.
- Row 8 (WS): With MC, ch 1, sc in each st across. Turn.
- Repeat Rows 3-8 for the pattern, working in stripes of CC1, CC2, MC, alternating every two rows. Continue until piece measures 12 (13, 14) inches from the beginning, ending with a WS row.
- Shape Armholes: Continue in pattern, but at the beginning of the next two rows, slip stitch across the first 4 (5, 6) stitches, then ch 1, sc in next st and continue pattern across. (63 (73, 83) sts)
- Continue straight in pattern until armhole measures 6 (6, 7) inches from shaping, ending with a WS row. Fasten off.
Front Panel
- Work the same as the back panel until the piece measures 15 (16, 17) inches from the beginning, ending with a WS row.
- Shape Neck: Work across the first 24 (28, 32) stitches in pattern, then turn, leaving the remaining stitches unworked. Decrease 1 stitch at the neck edge every row for 4 rows. (20 (24, 28) sts) Continue straight until the front matches the back length. Fasten off.
- Return to the unworked stitches, skip the center 15 (17, 19) stitches for the neck, join yarn in the next stitch, and work the second shoulder to match. Fasten off.
Sleeves (Make 2)
- With MC, ch 36 (42, 48) loosely.
- Work in mosaic pattern as for the back, but increase 1 stitch at each end of every 6th row (by working 2 sc in the first and last stitch) until you have 56 (66, 76) stitches.
- Continue straight until the sleeve measures 16 (17, 18) inches from the beginning. Fasten off.
Finishing & Assembly
- Sew shoulder seams. Set in sleeves, matching the center of the sleeve to the shoulder seam. Sew side and sleeve seams.
- Neckband: With RS facing, join MC at the shoulder seam. Ch 1, work sc evenly around the neck opening, working 2 sc in each corner stitch. Join with a slip stitch to the first sc. Repeat for 2 more rounds, then fasten off.
- Bottom Ribbing: With RS facing, join MC at the bottom edge. Ch 1, work sc in each stitch across the bottom edge. Turn. Work sc in the back loop only for 4 rows. Fasten off.
- Sleeve Cuffs: With RS facing, join MC at the sleeve opening. Work sc in each stitch around, join. Work 4 rounds of sc in the back loop only. Fasten off.
- Weave in all ends with a tapestry needle. Block to the specified measurements to open up the mosaic pattern and even out the stitches.
Congratulations! Your Aurora Bloom Mosaic Cropped Sweater is complete. The combination of the soft cream, dusty rose, and sage green creates a stunning, wearable piece of art. The dense, textured stitches and raised, woven effect of the mosaic pattern make this sweater a true statement piece. Layer it over a simple dress or pair it with high-waisted jeans for a boho-chic look that's uniquely yours. Happy crocheting!