Aurora Bloom Slippers Free Pattern – Crochet a Cozy Northern Lights-Inspired Pair

Aurora Bloom Slippers Free Pattern – Crochet a Cozy Northern Lights-Inspired Pair
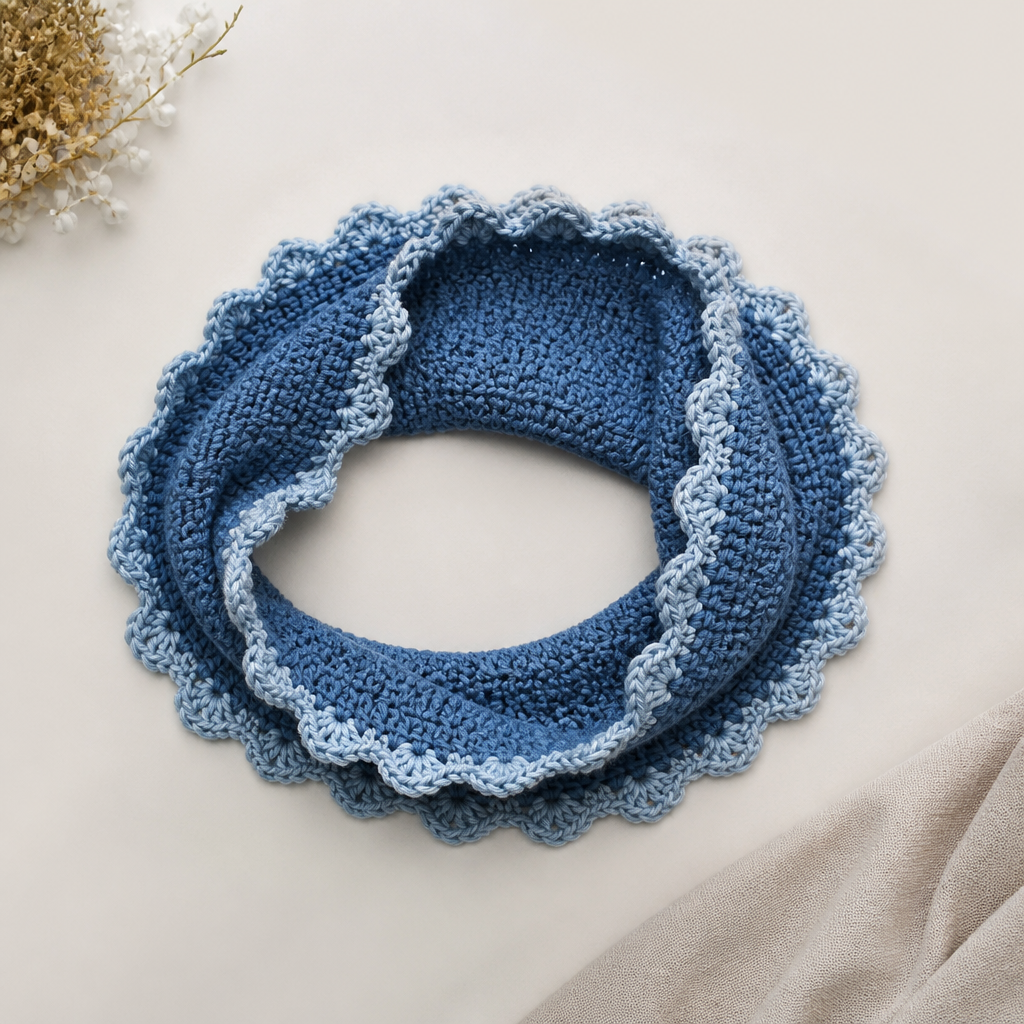
Wrap your feet in the ethereal beauty of the aurora borealis with these hand-crocheted slippers. Featuring a swirling gradient of teal, purple, and soft pink, they bring a touch of celestial wonder to your cozy moments. This free pattern is perfect for beginners and experienced crocheters alike, creating a snug, textured slipper that feels as magical as it looks.
These slippers are crafted with a dense single crochet stitch, giving them a sturdy yet plush feel. The back-loop-only rows create a beautiful ribbed texture that mimics the flowing curtains of the northern lights. With three sizes included, you can make a pair for the whole family. Let's get started!
Materials Needed
Before you begin, gather the following supplies:
- Yarn: Worsted weight yarn in 3 colors: Deep Teal (A), Midnight Purple (B), and Soft Blush Pink (C). Approximately 200g total (about 67g per color).
- Crochet Hook: 5.0 mm (H-8) crochet hook
- Other: Yarn needle for weaving in ends, scissors
Gauge: 16 sc x 20 rows = 4 x 4 inches (10 x 10 cm). Be sure to check your gauge to ensure the correct fit.
Sizing Information
This pattern includes three sizes. The instructions are written as Small (Medium, Large).
- Small: Women's 5-7
- Medium: Women's 8-10 / Men's 7-9
- Large: Men's 10-12
Step-by-Step Instructions
Abbreviations
ch = chain, sc = single crochet, hdc = half double crochet, dc = double crochet, sl st = slip stitch, st(s) = stitch(es), rnd = round, inc = increase (2 sc in same st), dec = decrease (sc 2 together)
Sole (Make 2)
Start with Color A (Deep Teal).
Foundation: Ch 12 (14, 16).
Rnd 1: 2 sc in 2nd ch from hook, sc in next 9 (11, 13) ch, 3 sc in last ch. Working on the other side of the chain: sc in next 9 (11, 13) ch, 2 sc in the first ch. Join with sl st to first sc. (24, 28, 32 sts)
Rnd 2: Ch 1, inc in first st, sc in next 10 (12, 14) sts, inc in next 3 sts, sc in next 10 (12, 14) sts, inc in last 2 sts. Join with sl st. (30, 34, 38 sts)
Rnd 3: Ch 1, inc in first st, sc in next 12 (14, 16) sts, inc in next 3 sts, sc in next 12 (14, 16) sts, inc in last 2 sts. Join with sl st. (36, 40, 44 sts)
Rnd 4: Ch 1, sc in each st around. Join with sl st. Fasten off. (36, 40, 44 sts)
Upper Body
Attach Color B (Midnight Purple) to the center back of the sole with a sl st.
Rnd 1: Ch 1, working in back loops only, sc in each st around. Join with sl st. (36, 40, 44 sts)
Note: Working in the back loops only creates a clean edge where the sole meets the upper body, giving the slipper a professional finish.
Rnd 2-3: Ch 1, sc in each st around. Join with sl st. (36, 40, 44 sts)
Rnd 4: Ch 1, sc in first 10 (11, 12) sts, dec, sc in next 12 (14, 16) sts, dec, sc in last 10 (11, 12) sts. Join with sl st. (34, 38, 42 sts)
Rnd 5: Ch 1, sc in first 9 (10, 11) sts, dec, sc in next 12 (14, 16) sts, dec, sc in last 9 (10, 11) sts. Join with sl st. (32, 36, 40 sts)
Rnd 6: Ch 1, sc in first 8 (9, 10) sts, dec, sc in next 12 (14, 16) sts, dec, sc in last 8 (9, 10) sts. Join with sl st. (30, 34, 38 sts)
Rnd 7: Ch 1, sc in first 7 (8, 9) sts, dec, sc in next 12 (14, 16) sts, dec, sc in last 7 (8, 9) sts. Join with sl st. (28, 32, 36 sts)
Rnd 8: Ch 1, sc in first 6 (7, 8) sts, dec, sc in next 12 (14, 16) sts, dec, sc in last 6 (7, 8) sts. Join with sl st. (26, 30, 34 sts)
Rnd 9: Ch 1, sc in each st around. Join with sl st. (26, 30, 34 sts)
Rnd 10: Ch 1, sc in first 5 (6, 7) sts, dec, sc in next 12 (14, 16) sts, dec, sc in last 5 (6, 7) sts. Join with sl st. (24, 28, 32 sts)
Rnd 11: Ch 1, sc in each st around. Join with sl st. (24, 28, 32 sts)
Rnd 12: Ch 1, sc in first 4 (5, 6) sts, dec, sc in next 12 (14, 16) sts, dec, sc in last 4 (5, 6) sts. Join with sl st. (22, 26, 30 sts)
Rnd 13: Ch 1, sc in each st around. Join with sl st. (22, 26, 30 sts)
Rnd 14: Ch 1, sc in first 3 (4, 5) sts, dec, sc in next 12 (14, 16) sts, dec, sc in last 3 (4, 5) sts. Join with sl st. (20, 24, 28 sts)
Rnd 15: Ch 1, sc in each st around. Join with sl st. (20, 24, 28 sts)
Rnd 16: Ch 1, sc in first 2 (3, 4) sts, dec, sc in next 12 (14, 16) sts, dec, sc in last 2 (3, 4) sts. Join with sl st. (18, 22, 26 sts)
Rnd 17: Ch 1, sc in each st around. Join with sl st. (18, 22, 26 sts)
Rnd 18: Ch 1, sc in first 1 (2, 3) sts, dec, sc in next 12 (14, 16) sts, dec, sc in last 1 (2, 3) sts. Join with sl st. (16, 20, 24 sts)
Rnd 19: Ch 1, sc in each st around. Join with sl st. (16, 20, 24 sts)
Rnd 20: Ch 1, sc in first 0 (1, 2) sts, dec, sc in next 12 (14, 16) sts, dec, sc in last 0 (1, 2) sts. Join with sl st. (14, 18, 22 sts)
Rnd 21: Ch 1, sc in each st around. Join with sl st. Fasten off, leaving a long tail for sewing. (14, 18, 22 sts)
Finishing
Now it's time to add the final touches to your Aurora Bloom Slippers.
- Fold the cuff: Fold the top edge down to create a cuff. The folded edge should be about 1-2 inches deep, depending on your preference.
- Sew the cuff: Using the long tail left from Rnd 21, sew the cuff in place. Insert your yarn needle through the folded layers, catching both the cuff and the body of the slipper. Sew around the entire circumference for a secure hold.
- Alternative: If you prefer a natural rolled look, simply leave the cuff unfolded. The back-loop-only stitches will naturally curl, creating a relaxed, cozy edge.
- Weave in ends: Use your yarn needle to weave in all loose ends. Make sure to weave them through the inside of the slipper so they're hidden.
Optional: Non-Slip Sole
For added safety and durability, consider adding a non-slip sole to your slippers:
- Suede or leather: Trace the sole of your slipper onto a piece of suede or leather, cut it out, and sew it to the bottom using a strong thread.
- Puffy fabric paint: Apply puffy fabric paint in a zigzag or dot pattern across the bottom of the slipper. Let it dry completely before wearing. This provides excellent grip on smooth floors.
Final Thoughts
Your Aurora Bloom Slippers are now complete! These cozy, celestial-inspired slippers are perfect for chilly evenings, lazy weekends, or as a thoughtful handmade gift. The gradient colors and textured stitch pattern make them a standout piece in any wardrobe.
Remember, the beauty of handmade items lies in their uniqueness. Don't worry if your slippers don't look exactly like the photos—each pair has its own character. Enjoy your cozy creation, and happy crocheting!
Pattern tags: crochet, slippers, handmade, aurora, cozy, gradient, textured, unisex, free pattern