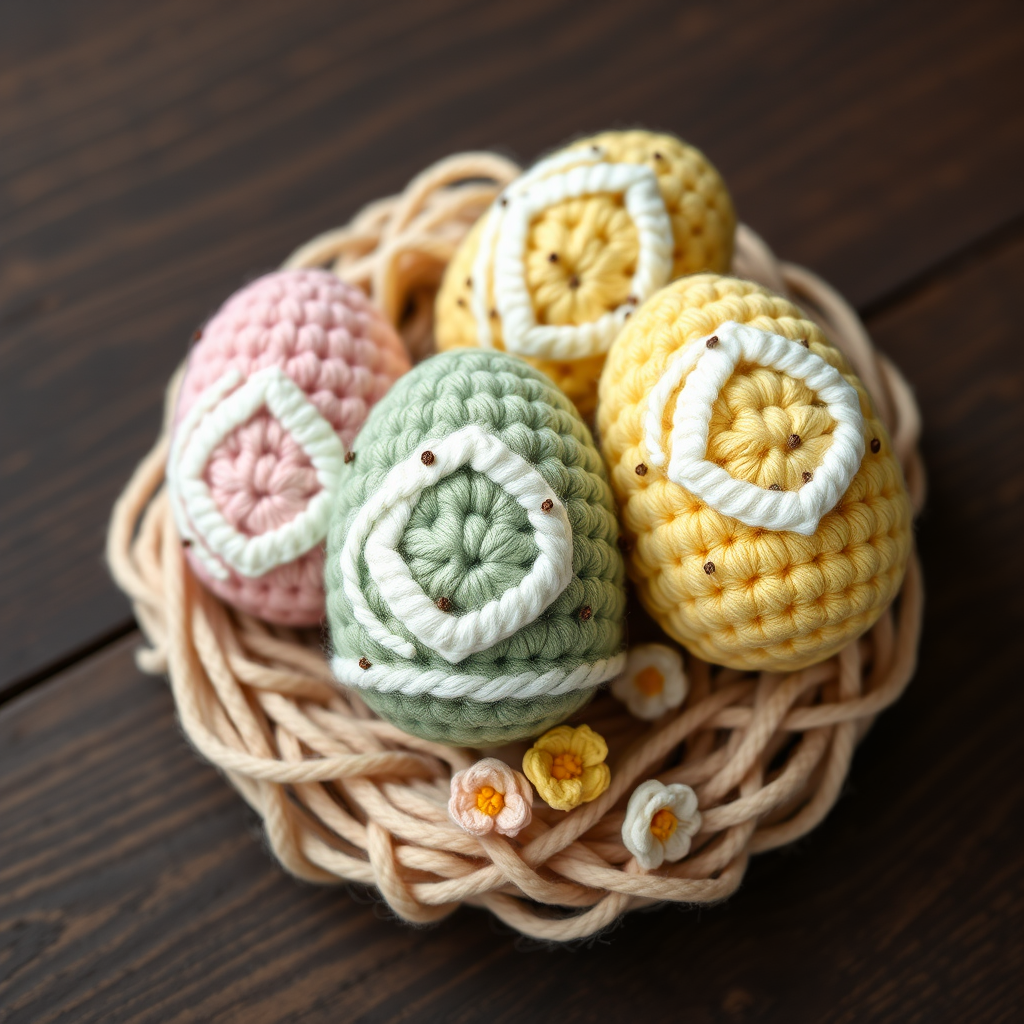
Willow Whiskers Peek-a-Boo Bunny Basket Free Pattern – Crochet a Hidden Hollow Easter Keeper

Willow Whiskers Peek-a-Boo Bunny Basket Free Pattern – Crochet a Hidden Hollow Easter Keeper
Spring is in the air, and what better way to celebrate than with a whimsical, handmade centerpiece that combines charm and practicality? The Willow Whiskers Peek-a-Boo Bunny Basket is a delightful crochet project that hides a sleepy bunny peeking from a leafy hollow, perfect for holding Easter eggs, treats, or small treasures. With its textured moss stitch and soft pastel palette, this basket is destined to become an heirloom-worthy piece you'll bring out year after year.
Whether you're a seasoned crocheter or a confident beginner, this pattern is designed to be approachable and rewarding. The basket itself is worked in simple single crochet rounds, while the bunny is a classic amigurumi-style project. The result? A cozy, rustic, and utterly adorable Easter decoration that looks like it came straight from a storybook. Let's dive in and create something magical!
Materials Needed
Before you begin, gather the following supplies. Having everything ready will make your crochet session smooth and enjoyable.
- Yarn: Worsted weight cotton or acrylic in sage green, cream, blush pink, and butter yellow (approx. 250g total). Cotton is great for structure, while acrylic offers softness and easy care.
- Crochet Hook: 5.0 mm (US H-8) hook.
- Fiberfill: For stuffing the bunny body and head.
- Tapestry Needle: For sewing pieces together and weaving in ends.
- Stitch Markers: To keep track of your rounds, especially when working in a spiral.
- Black Embroidery Floss: For the bunny's eyes and whiskers.
- Scissors: For cutting yarn.
Gauge: 16 sc x 18 rows = 4 x 4 inches (10 x 10 cm) in moss stitch. While gauge isn't critical for this project, maintaining a consistent tension will ensure your basket is sturdy and your bunny is proportionate.
Step-by-Step Instructions
Follow these detailed instructions carefully. We'll start with the basket base, move to the walls, then create the bunny, and finish with assembly. Take your time and enjoy the process!
Part 1: Basket Base (Worked in Continuous Spiral)
The base is worked in a spiral, meaning you won't join rounds with a slip stitch. Use a stitch marker to mark the beginning of each round.
- R1: Magic ring, 6 sc in ring. (6)
- R2: 2 sc in each st around. (12)
- R3: (Sc in next st, 2 sc in next st) repeat around. (18)
- R4: (Sc in next 2 sts, 2 sc in next st) repeat around. (24)
- R5: (Sc in next 3 sts, 2 sc in next st) repeat around. (30)
- R6: (Sc in next 4 sts, 2 sc in next st) repeat around. (36)
- R7: (Sc in next 5 sts, 2 sc in next st) repeat around. (42)
- R8: (Sc in next 6 sts, 2 sc in next st) repeat around. (48)
- R9: (Sc in next 7 sts, 2 sc in next st) repeat around. (54)
- R10: (Sc in next 8 sts, 2 sc in next st) repeat around. (60)
- R11: Sc in each st around. (60)
Your base should now be a flat circle. If it's curling, your tension might be too tight; if it's ruffling, it's too loose. Adjust accordingly.
Part 2: Basket Walls (Worked in Joined Rounds)
Now we'll build the walls upward. This section is worked in joined rounds, so you'll slip stitch to close each round.
- R12: Ch 1, working in back loops only, sc in each st around, sl st to first sc. (60) – This creates a crisp corner for the base.
- R13-24: Ch 1, sc in each st around, sl st to first sc. (60) – Repeat for 12 rounds, or until the basket measures 4 inches tall. You can add or remove rounds to adjust the height.
- R25: Ch 1, sc in each st around, sl st to first sc. Fasten off and weave in ends.
Your basket body is complete! Set it aside and let's make the bunny.
Part 3: Bunny Body (Worked in Continuous Spiral)
Using cream yarn, we'll create the bunny's body. Remember to stuff firmly as you go.
- R1: Magic ring, 6 sc in ring. (6)
- R2: 2 sc in each st around. (12)
- R3: (Sc in next st, 2 sc in next st) repeat around. (18)
- R4: (Sc in next 2 sts, 2 sc in next st) repeat around. (24)
- R5-8: Sc in each st around. (24)
- R9: (Sc in next 2 sts, sc2tog) repeat around. (18)
- R10: Sc in each st around. (18)
- R11: (Sc in next st, sc2tog) repeat around. (12)
- Stuff body firmly with fiberfill.
- R12: Sc2tog around. (6)
- Fasten off, leaving a long tail. Weave through front loops of remaining sts, pull tight, and secure.
Part 4: Bunny Head (Worked in Continuous Spiral)
Still using cream yarn, create the head. It's similar to the body but slightly larger.
- R1: Magic ring, 6 sc in ring. (6)
- R2: 2 sc in each st around. (12)
- R3: (Sc in next st, 2 sc in next st) repeat around. (18)
- R4: (Sc in next 2 sts, 2 sc in next st) repeat around. (24)
- R5-7: Sc in each st around. (24)
- R8: (Sc in next 2 sts, sc2tog) repeat around. (18)
- R9: (Sc in next st, sc2tog) repeat around. (12)
- Stuff head firmly.
- R10: Sc2tog around. (6)
- Fasten off, leaving a long tail. Weave through front loops, pull tight, and secure.
Part 5: Bunny Ears (Make 2)
These adorable upright ears are quick to make. Use cream yarn.
- R1: Magic ring, 6 sc in ring. (6)
- R2: (Sc in next st, 2 sc in next st) repeat around. (9)
- R3-8: Sc in each st around. (9)
- R9: (Sc in next st, sc2tog) repeat around. (6)
- Fasten off, leaving a long tail. Flatten the ear and sew it to the top of the head, spacing them about 1 inch apart. Repeat for the second ear.
Part 6: Bunny Face
Bring your bunny to life with a sweet face.
- Using blush pink yarn, embroider a small triangle nose at the center of the head.
- Use black embroidery floss to make two small straight stitches for eyes, placing them just above the nose.
- Add three whiskers on each cheek using the black floss, making small straight stitches.
- Attach the head to the body using a whip stitch and the long tail from the head.
Part 7: Leafy Trim (Worked in Joined Rounds)
Now let's add that charming scalloped leaf edge to the top of the basket.
- Attach sage green yarn to the top edge of the basket with a slip stitch.
- R1: Ch 1, sc in each st around, sl st to first sc. (60)
- R2: Ch 3, skip next st, sl st in next st – repeat around. This creates a beautiful scalloped leaf edge. Fasten off and weave in ends.
Part 8: Assembly
Time to put it all together!
- Place the bunny inside the basket so that its head and ears peek over the top edge. Position it to look like it's hiding in the hollow.
- Sew the bunny's body to the inside of the basket using a tapestry needle and matching cream yarn. Secure it firmly so it doesn't shift.
- Optionally, add a small butter yellow crochet flower to the bunny's ear for extra charm. You can make a simple flower by chaining 5 and slip stitching into a ring, then working 5 petals of (ch 2, 3 dc, ch 2, sl st) into the ring.
And there you have it—your very own Willow Whiskers Peek-a-Boo Bunny Basket! Fill it with pastel crochet eggs, chocolate treats, or fresh flowers. This piece is sure to bring a smile to everyone who sees it and will be a treasured part of your Easter decor for years to come.
Happy crocheting, and may your spring be filled with creativity and joy!