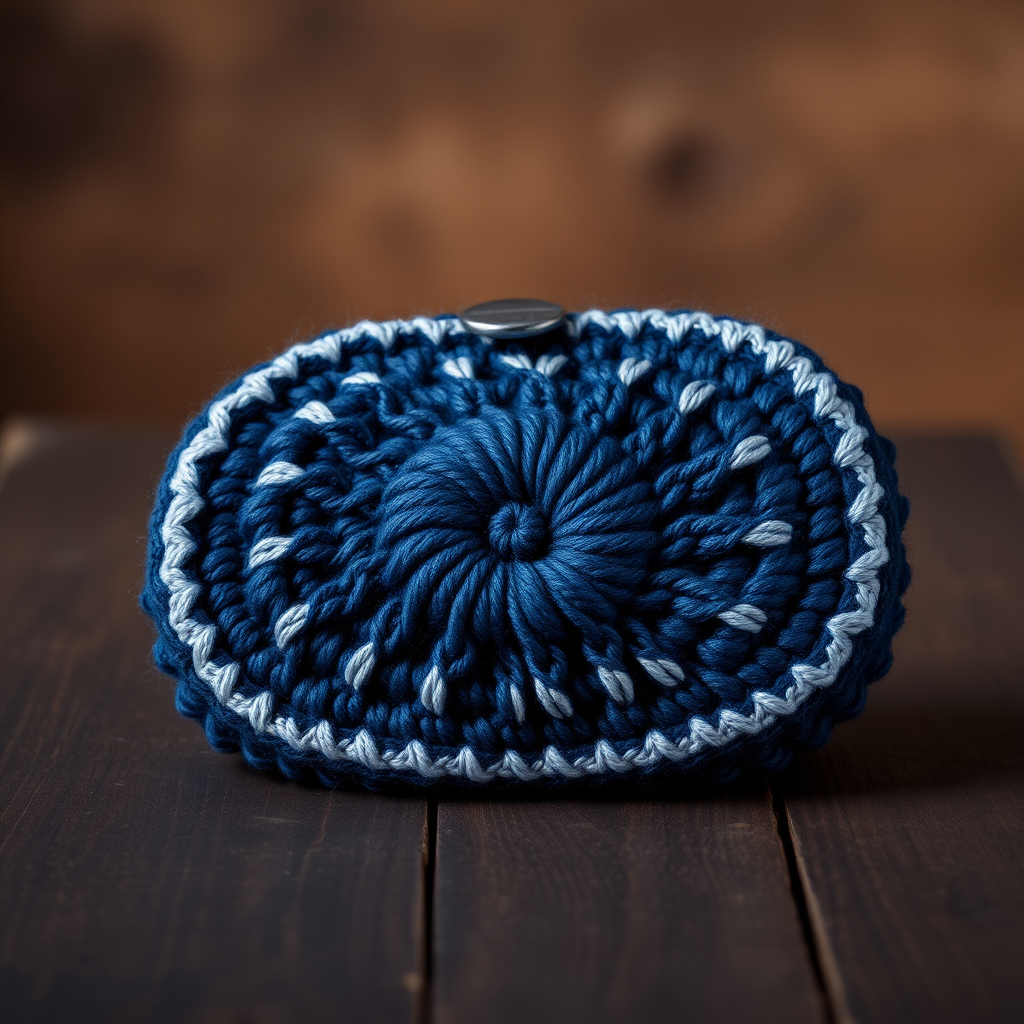
The Whimsical Woodland Snail: A Textured Knit Amigurumi Free Pattern

Introduction: Meet the Whimsical Woodland Snail
Bring a touch of enchanted forest charm into your home with this delightful knitted amigurumi snail. Featuring a soft, textured body and a spiral shell in earthy tones, this pattern is perfect for crafters looking to create a cozy shelf companion or a unique handmade gift. The combination of simple stockinette stitch and strategic increases gives the snail a gentle, rounded shape that feels both whimsical and huggable. Whether you're a seasoned knitter or a beginner ready for a fun project, this free pattern will guide you through every step to create your own little woodland friend.
Materials Needed
Before you begin, gather the following supplies. Using the recommended materials will ensure your snail looks just like the pattern intends, but feel free to substitute with similar worsted weight yarns.
- Yarn: Worsted weight yarn in two colors:
- Main Color (MC): For the body (e.g., light brown, cream, or soft beige).
- Contrast Color (CC): For the shell (e.g., moss green, rust, or deep teal).
- Small amount of black yarn for embroidering the eyes.
- Needles: US size 4 (3.5mm) knitting needles, or size needed to achieve gauge. Straight or circular needles both work.
- Other tools: Tapestry needle for weaving ends and assembly, stitch markers (optional), and polyester fiberfill or your preferred stuffing.
- Gauge: 20 stitches and 28 rows = 4 inches in stockinette stitch. Gauge is not critical for amigurumi, but knitting tightly helps prevent stuffing from showing through.
Step-by-Step Instructions
This pattern is worked flat in rows and seamed later. All pieces are knitted in stockinette stitch (knit on right side, purl on wrong side) unless otherwise noted. Follow each step carefully for a flawless finish.
Body (make 1)
The body forms the snail's head, neck, and tail. It starts narrow, widens, then decreases to a point.
- Cast on: With MC, cast on 6 stitches.
- Row 1 (RS): Knit across. (6 stitches)
- Row 2 (WS): Purl across.
- Row 3: Increase in each stitch: Knit front and back (kfb) in every stitch across. (12 stitches)
- Row 4: Purl across.
- Row 5: *K1, kfb* repeat across. (18 stitches)
- Row 6: Purl across.
- Row 7: *K2, kfb* repeat across. (24 stitches)
- Row 8: Purl across.
- Row 9: *K3, kfb* repeat across. (30 stitches)
- Row 10: Purl across.
- Row 11: *K4, kfb* repeat across. (36 stitches)
- Row 12: Purl across.
- Rows 13-20: Work even in stockinette stitch (knit on RS, purl on WS) for 8 rows. (36 stitches)
- Row 21: *K4, k2tog* repeat across. (30 stitches)
- Row 22: Purl across.
- Row 23: *K3, k2tog* repeat across. (24 stitches)
- Row 24: Purl across.
- Row 25: *K2, k2tog* repeat across. (18 stitches)
- Row 26: Purl across.
- Row 27: *K1, k2tog* repeat across. (12 stitches)
- Row 28: Purl across.
- Row 29: *K2tog* repeat across. (6 stitches)
- Finish: Cut yarn, leaving a long tail (about 12 inches). Thread the tail through a tapestry needle, then pass it through the remaining 6 stitches. Pull tight to close the top. Use the same tail to sew the side seam from top to bottom, but stop about 2 inches before the end to leave an opening for stuffing. Stuff the body firmly with fiberfill, shaping it into a rounded oval with a slightly pointed tail. Then continue sewing the seam closed. Weave in the end securely.
Shell (make 1)
The shell is a spiral dome that sits on the snail's back. It uses the same increase pattern as the body but has fewer rows of even knitting.
- Cast on: With CC, cast on 6 stitches.
- Row 1 (RS): Knit across. (6 stitches)
- Row 2 (WS): Purl across.
- Row 3: Increase in each stitch: kfb in every stitch across. (12 stitches)
- Row 4: Purl across.
- Row 5: *K1, kfb* repeat across. (18 stitches)
- Row 6: Purl across.
- Row 7: *K2, kfb* repeat across. (24 stitches)
- Row 8: Purl across.
- Row 9: *K3, kfb* repeat across. (30 stitches)
- Row 10: Purl across.
- Rows 11-16: Work even in stockinette stitch for 6 rows. (30 stitches)
- Row 17: *K3, k2tog* repeat across. (24 stitches)
- Row 18: Purl across.
- Row 19: *K2, k2tog* repeat across. (18 stitches)
- Row 20: Purl across.
- Row 21: *K1, k2tog* repeat across. (12 stitches)
- Row 22: Purl across.
- Row 23: *K2tog* repeat across. (6 stitches)
- Finish: Cut yarn, leaving a long tail. Thread through remaining 6 stitches, pull tight, and sew the side seam. Stuff the shell lightly with fiberfill—it should be firm but not overstuffed, as it needs to sit flat on the body. Weave in the end.
Assembly
Now bring your snail to life by attaching the shell and adding facial features.
- Position the shell: Place the shell on the back of the body, slightly off-center toward the tail (the pointed end). The shell should sit about 1-2 inches from the head (the wider, rounded end). Use pins to hold it in place if needed.
- Sew the shell: Using the tail from the shell and a tapestry needle, sew the shell securely to the body along its bottom edge. Make small, invisible stitches, catching only the outer layers of both pieces. Ensure the shell is firmly attached but not distorting the body shape.
- Embroider the eyes: With black yarn, embroider two small eyes on the head. Use French knots for a raised, bead-like effect, or satin stitches for a flat look. Place them about 1 inch apart, centered on the head, approximately 1/2 inch from the top edge.
- Optional smile: With a small piece of black or dark brown yarn, add a tiny smile below the eyes using a few straight stitches.
Finishing
Complete your snail with these final touches.
- Weave in all remaining yarn ends using a tapestry needle. Trim any excess yarn close to the surface.
- Gently shape the snail by hand, fluffing the body and shell to your liking.
- Your Whimsical Woodland Snail is now ready to display or gift! Enjoy your cozy, handmade treasure.