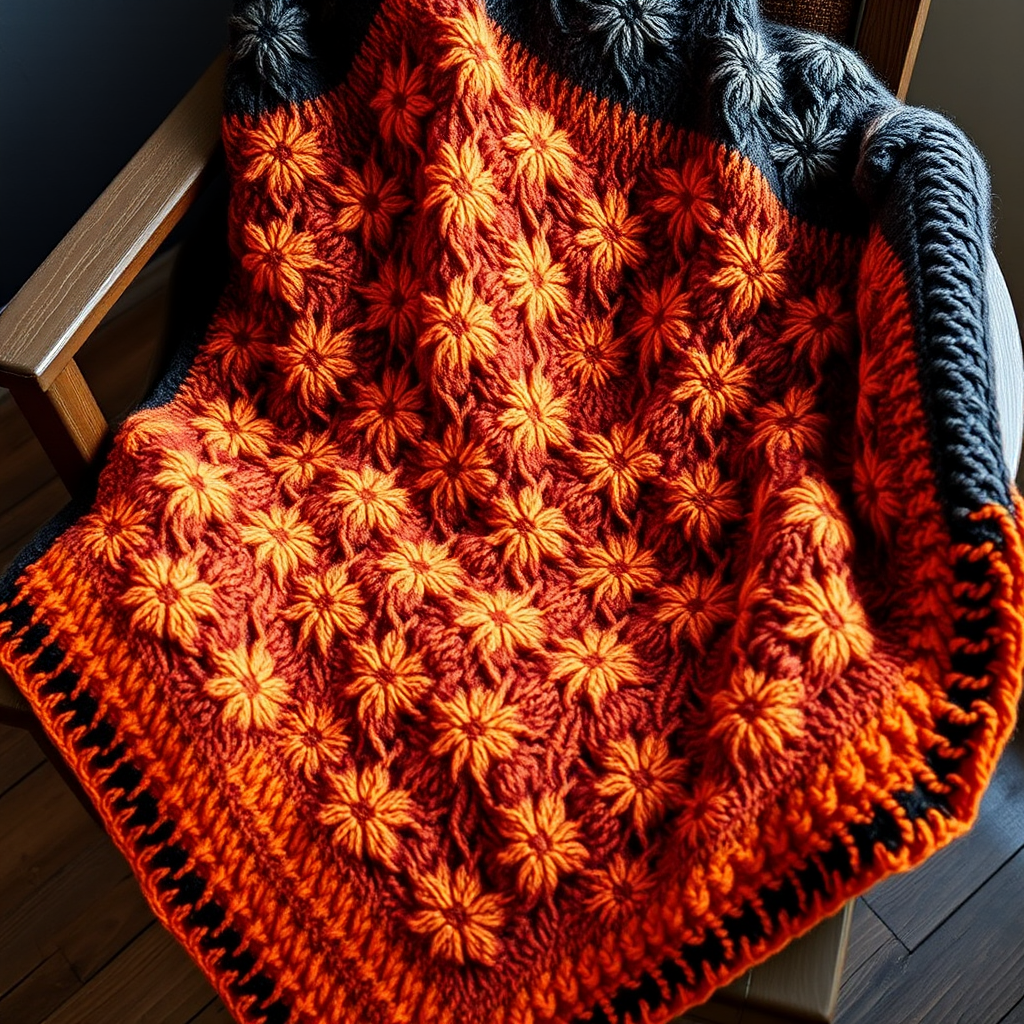
The Undulating Dune Throw: A Free Knitting Pattern for a Textured, Modern Ripple Blanket

Introducing the Undulating Dune Throw
Escape to a serene landscape with this modern ripple blanket, featuring a mesmerizing undulating stitch pattern that mimics the graceful curves of sand dunes. Knit in a soft, heathered yarn, this throw adds a touch of organic texture and calming movement to any room. Perfect for beginners and experienced knitters alike, this pattern creates a stunning textured fabric that is both cozy and visually striking.
Materials Needed
Yarn
- Weight: Worsted weight (#4) yarn
- Color A (Dune): Approximately 800 yards. Sample uses Lion Brand Heartland in 'Olympic' (warm sandy beige)
- Color B (Driftwood): Approximately 600 yards. Sample uses Lion Brand Heartland in 'Kings Canyon' (cool gray)
Tools
- Knitting Needles: US Size 8 (5.0 mm) knitting needles, or size needed to obtain gauge
- Notions: Tapestry needle for weaving ends
Gauge
18 stitches and 24 rows = 4 inches in Stockinette stitch. Gauge is not critical for this pattern, but consistency is key for even ripples.
Step-by-Step Instructions
Pattern Notes
- The ripple pattern is created by alternating increases and decreases over a set number of stitches.
- The blanket is worked flat in rows.
- Carry the unused yarn loosely up the side when changing colors.
Abbreviations
- CO: Cast on
- K: Knit
- P: Purl
- K2tog: Knit two together (right-leaning decrease)
- SSK: Slip, slip, knit (left-leaning decrease)
- YO: Yarn over
- Rep: Repeat
- St(s): Stitch(es)
Getting Started
With Color A, CO 147 sts. This creates the foundation for your ripple pattern. Ensure your cast-on is not too tight, as you'll need flexibility for the increases and decreases.
Pattern Rows
Row 1 (RS): With Color A, K1, *K2tog, K2, YO, K1, YO, K2, SSK, K1; rep from * to last 2 sts, K2.
Detailed explanation: Knit 1 stitch (edge stitch). Then repeat the sequence between the asterisks: knit 2 together (decrease), knit 2, yarn over (increase), knit 1, yarn over (increase), knit 2, slip-slip-knit (decrease), knit 1. Continue this sequence across the row until you have 2 stitches left, then knit those 2 stitches.
Row 2 (WS): With Color A, P across.
Detailed explanation: Purl every stitch across the row. This creates the smooth background for the ripple pattern.
Row 3: With Color B, K1, *K2tog, K2, YO, K1, YO, K2, SSK, K1; rep from * to last 2 sts, K2.
Detailed explanation: Switch to Color B. Repeat the same pattern as Row 1, but with the new color. Knit 1 edge stitch, then repeat the sequence: K2tog, K2, YO, K1, YO, K2, SSK, K1 across, ending with K2.
Row 4: With Color B, P across.
Detailed explanation: Purl every stitch across the row with Color B.
Row 5: With Color A, K1, *K2tog, K2, YO, K1, YO, K2, SSK, K1; rep from * to last 2 sts, K2.
Detailed explanation: Switch back to Color A. Repeat the pattern sequence again.
Row 6: With Color A, P across.
Detailed explanation: Purl every stitch across the row with Color A.
Row 7: With Color B, K1, *K2tog, K2, YO, K1, YO, K2, SSK, K1; rep from * to last 2 sts, K2.
Detailed explanation: Switch to Color B. Repeat the pattern sequence.
Row 8: With Color B, P across.
Detailed explanation: Purl every stitch across the row with Color B.
Continuing the Pattern
Repeat Rows 1-8 until the blanket measures approximately 48 inches from the cast-on edge, ending with a Row 8 (a purl row with Color B). This ensures your color stripes are consistent and the pattern ends neatly.
Binding Off
Bind off loosely in pattern with Color A. To bind off in pattern, work the pattern sequence as usual, but instead of knitting the next stitch, pass the previous stitch over it. For example: K1, *K2tog, K2, YO, K1, YO, K2, SSK, K1, then pass the previous stitch over the last knit stitch. Continue this across the row. This maintains the ripple effect at the edge.
Finishing
Weave in all ends using a tapestry needle. Block the blanket gently to open up the ripple pattern and even out the stitches. To block, soak the blanket in cool water for 15 minutes, gently squeeze out excess water (do not wring), lay flat on a towel, and shape to the desired dimensions. Allow to dry completely. This step is crucial for achieving the beautiful, defined ripple texture.
Your Undulating Dune Throw is now complete! Enjoy the cozy, textured warmth and the serene, modern aesthetic it brings to your home.