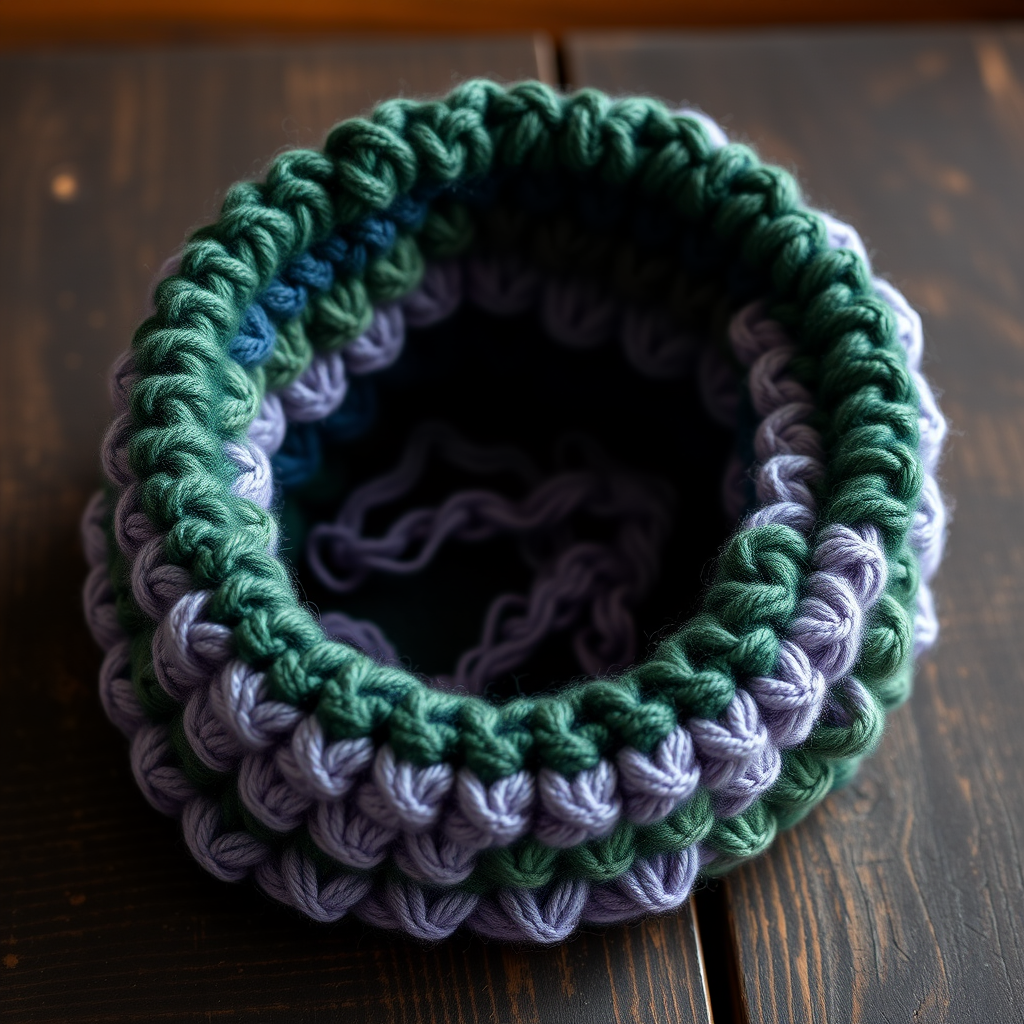
Terra Cotta Tunisian Basketweave Throw Pillow Free Pattern – Crochet a Warm Desert Oasis

Terra Cotta Tunisian Basketweave Throw Pillow Free Pattern – Crochet a Warm Desert Oasis
Bring the cozy warmth of a desert sunset into your living space with this richly textured Tunisian basketweave pillow. The interlocking squares and earthy terracotta tones create a modern, handcrafted look that invites you to sink in and relax. This free pattern is perfect for intermediate beginners ready to explore the beautiful world of Tunisian crochet, and the result is a stunning 16-inch square throw pillow that will become the centerpiece of your sofa or bed.
Whether you're an experienced crocheter or just starting your Tunisian crochet journey, this pattern breaks down every step with clarity. The basketweave stitch creates a thick, plush fabric that's both visually striking and incredibly durable—ideal for a decorative pillow that gets daily use. Let's dive into creating your own desert-inspired oasis!
Materials Needed
Before you begin, gather the following supplies. Having everything ready will make your crochet session smooth and enjoyable.
Yarn
- Main Color (MC): Worsted weight cotton or cotton-blend yarn in terracotta – approximately 150g
- Contrast Color 1 (CC1): Worsted weight cotton or cotton-blend yarn in cream – approximately 100g
- Contrast Color 2 (CC2): Worsted weight cotton or cotton-blend yarn in sage green – approximately 100g
Total yarn needed: approximately 350g. Choose a soft yet sturdy cotton blend for best stitch definition and durability.
Hooks and Notions
- Tunisian crochet hook: Size 6.5mm (US K) with a 16-inch cable
- Standard crochet hook: Size 6.5mm (US K) for finishing and edging
- Yarn needle for weaving in ends
- Scissors
- Stitch markers (optional, but helpful for tracking color changes)
- 16-inch pillow form for the final assembly
Gauge
14 Tunisian simple stitches and 12 rows = 4 inches (10 cm) in basketweave pattern. Always check your gauge before starting to ensure your pillow measures correctly. Adjust hook size if needed to match gauge.
Step-by-Step Instructions
This pattern creates a 16-inch square pillow front and back, worked in Tunisian crochet basketweave stitch. The basketweave is formed by alternating blocks of Tunisian knit stitch (Tks) and Tunisian purl stitch (Tps) over 4 stitches and 4 rows. Follow along carefully, and you'll have a beautiful textured fabric in no time.
Special Stitches
Familiarize yourself with these three essential Tunisian crochet stitches before starting:
- Tks (Tunisian Knit Stitch): Insert hook from front to back between vertical bars, yarn over, pull up a loop.
- Tps (Tunisian Purl Stitch): Bring yarn to front, insert hook from back to front between vertical bars, yarn over, pull up a loop.
- Tss (Tunisian Simple Stitch): Insert hook under next vertical bar, yarn over, pull up a loop.
Foundation Row
- With MC, chain 36 loosely. This loose foundation is crucial for maintaining the correct width of your pillow.
- Insert hook in second chain from hook, pull up a loop. Continue pulling up a loop in each chain across until you have 36 loops on your hook.
- Return pass: Yarn over, pull through first loop on hook (this creates the edge stitch), then *yarn over, pull through two loops* repeat across until only one loop remains on your hook. This single loop counts as the first stitch of your next forward pass.
Basketweave Pattern (Worked in Rows)
Now we'll create the beautiful basketweave texture. Each "block" of the weave is 4 stitches wide and 4 rows tall. The pattern alternates between knit and purl stitches to create the raised and recessed squares.
Row 1 (forward): Work *4 Tks, 4 Tps* across the row, ending with 4 Tks. You should have 36 stitches total. Complete the return pass as described above.
Row 2 (forward): Work *4 Tks, 4 Tps* across, ending with 4 Tks. Complete the return pass.
Row 3 (forward): Work *4 Tps, 4 Tks* across, ending with 4 Tps. Complete the return pass.
Row 4 (forward): Work *4 Tps, 4 Tks* across, ending with 4 Tps. Complete the return pass.
Repeat rows 1–4 until the piece measures 16 inches from the foundation row, ending with a complete repeat of the 4-row pattern. Bind off by working slip stitches across the last row to secure the edge.
Color Blocking for the Desert Oasis Effect
To achieve the stunning checkerboard look that evokes a desert landscape, you'll alternate colors every 4 rows while also alternating the starting stitch pattern. This creates the illusion of woven squares.
- MC Block (Terracotta): Work rows 1–4 of the basketweave pattern as written above (starting with 4 Tks).
- CC1 Block (Cream): Switch to CC1 and work rows 1–4, but this time start with the Tps pattern (work *4 Tps, 4 Tks* across, ending with 4 Tps for rows 1–2, then switch to *4 Tks, 4 Tps* for rows 3–4). This alternation creates the checkerboard effect.
- CC2 Block (Sage Green): Switch to CC2 and work rows 1–4 starting again with Tks (same as the MC block).
- Repeat this color sequence (MC, CC1, CC2) and continue alternating the starting stitch pattern for each new color block. So the next MC block would start with Tps, the next CC1 block with Tks, and so on.
Pro tip: When changing colors, work the last yarn over of the return pass with the new color to create a clean transition. Weave in ends as you go or save them for the finishing step.
Finishing and Assembly
Once your front panel is complete, it's time to create the back and assemble your pillow.
- Make a second identical square for the back of the pillow, following the exact same pattern and color sequence. This ensures both sides match perfectly.
- Place the two squares with right sides together. Make sure the color patterns align if you want them to match, or offset them for a more eclectic look.
- Using a standard crochet hook and MC yarn, single crochet through both layers along three sides of the square, leaving one side completely open for inserting the pillow form.
- Turn the pillow right side out through the open side, gently pushing out the corners for a crisp finish.
- Insert the 16-inch pillow form into the opening, ensuring it fills all corners evenly.
- Single crochet the remaining side closed, working through both layers to secure the pillow form inside. Finish off and weave in this final end.
- Weave in all remaining ends securely using your yarn needle. Trim any excess yarn.
Final Touches
Give your finished pillow a gentle steam block if needed to even out the stitches and enhance the basketweave texture. Place it on your sofa, armchair, or bed, and enjoy the warm, handcrafted desert oasis you've created!
This Terra Cotta Tunisian Basketweave Throw Pillow is not just a beautiful home decor piece—it's a testament to your crochet skills. The combination of Tunisian knit and purl stitches creates a fabric that's both visually stunning and wonderfully tactile. Perfect for gifting or keeping for yourself, this pillow brings a piece of the desert's warmth into any room.
Happy crocheting, and may your home be filled with the cozy, earthy vibes of your new favorite pillow!