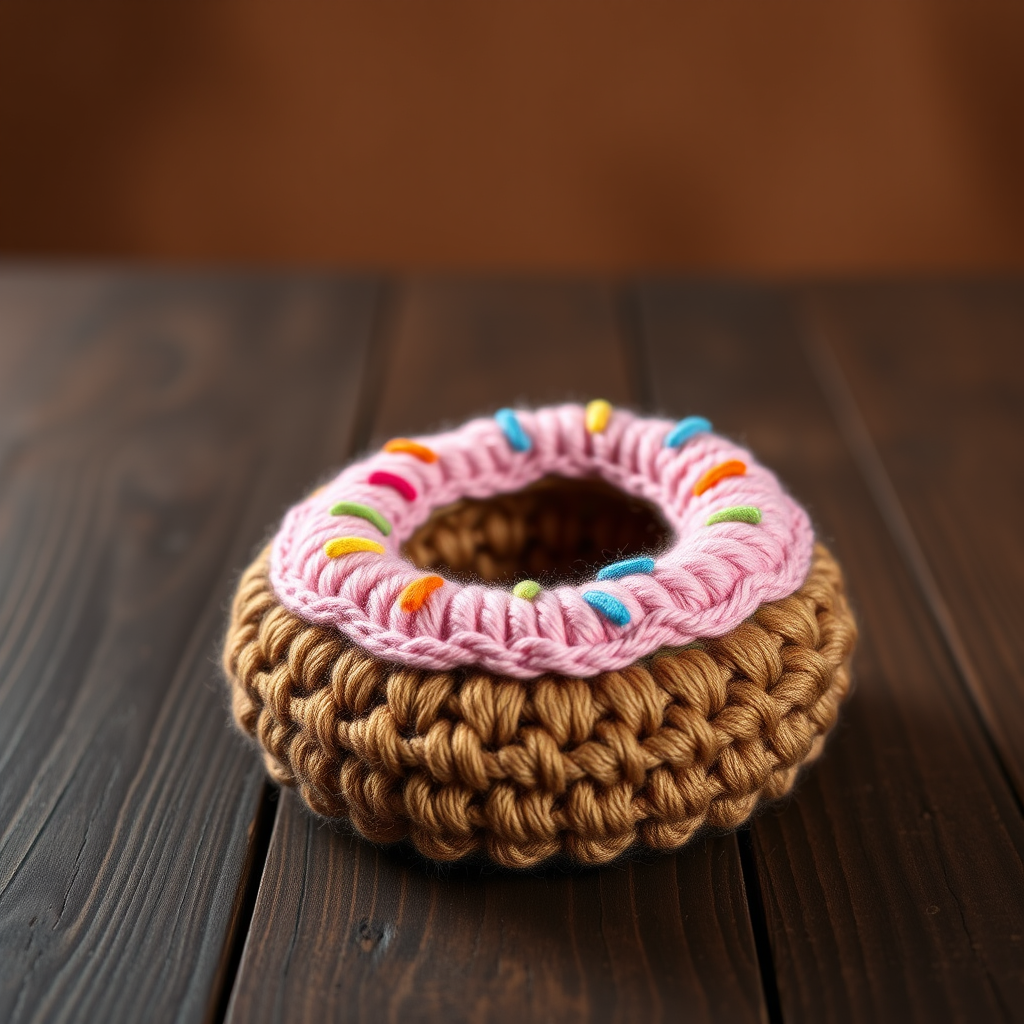
Sun-Kissed Citrus Coaster Set Free Pattern – A Crocheted Summer Orchard

Sun-Kissed Citrus Coaster Set: A Free Crochet Pattern for a Summer Orchard on Your Table
Bring the refreshing zest of summer to your home with this delightful crochet coaster set. Inspired by juicy oranges, sunny lemons, and zesty limes, these coasters are more than just practical—they're a vibrant statement piece for your table. Each coaster features a beautifully textured, layered petal design that mimics the natural segments of citrus fruit, finished with a crisp white rind for a striking, handcrafted look. Whether you're hosting a garden party or simply enjoying a quiet iced tea, this free pattern is perfect for adding a pop of color and a touch of handmade charm to any gathering. Let's get started on creating your own crocheted summer orchard!
Materials Needed
Before you begin, gather the following supplies to ensure a smooth and enjoyable crocheting experience. This project is perfect for using up scrap yarn or trying out new cotton blends.
- Yarn: Worsted weight cotton yarn in your choice of citrus colors. For a complete set, you'll need:
- Orange (for the orange slice)
- Yellow (for the lemon slice)
- Green (for the lime slice)
- White (for the rind and seed details)
- Crochet Hook: US G/6 (4.0 mm) crochet hook
- Yarn Needle: For weaving in ends and embroidering seed details
- Scissors: For cutting yarn
Gauge & Finished Size
Gauge: 4 rounds = 2 inches in diameter using single crochet (sc).
Finished Size: Each coaster measures approximately 4.5 inches across, making them the perfect size for standard drinkware.
Step-by-Step Instructions
Follow these detailed instructions to create one citrus coaster. Repeat the process to make a full set of three or more. The pattern is written for an orange slice, but simply switch the main color yarn for lemon (yellow) or lime (green) to create the other fruits.
Abbreviations
- ch = chain
- sl st = slip stitch
- sc = single crochet
- hdc = half double crochet
- dc = double crochet
- tr = treble crochet
- rnd = round
- st(s) = stitch(es)
Pattern for One Citrus Coaster
Note: Work continuously in rounds, joining with a slip stitch at the end of each round as indicated.
Round 1: The Center
With your main color (orange, yellow, or green), make a magic ring.
Ch 2 (this counts as your first half double crochet). Work 11 hdc into the ring. Pull the tail to close the ring tightly. Join with a sl st to the top of the beginning ch-2. You should have 12 hdc total.
Round 2: Increasing the Base
Ch 2 (counts as first hdc). Work 1 hdc in the same stitch (the base of the ch-2).
Work 2 hdc in each of the remaining 11 stitches around.
Join with a sl st to the top of the beginning ch-2. You should now have 24 hdc.
Round 3: Creating the First Petal Spaces
Ch 1, work 1 sc in the same stitch.
*Ch 3, skip the next stitch, work 1 sc in the next stitch.*
Repeat from * to * around, ending with ch 3, skip the last stitch, and join with a sl st to the first sc. You will have 12 ch-3 spaces.
Round 4: Forming the First Petal Layer
Sl st into the first ch-3 space.
Ch 1. In the same ch-3 space, work the following sequence: (sc, hdc, dc, tr, dc, hdc, sc).
Repeat this sequence in each of the remaining 11 ch-3 spaces around.
Join with a sl st to the first sc. You will have 12 petals.
Round 5: Preparing for the Second Layer
Ch 1, work 1 sc in the same stitch (the base of the first petal).
*Ch 5, skip the entire next petal, work 1 sc in the sc between the petals (the stitch that connects them).*
Repeat from * to * around, ending with ch 5, and join with a sl st to the first sc. You will have 12 ch-5 spaces.
Round 6: Forming the Second Petal Layer
Sl st into the first ch-5 space.
Ch 1. In the same ch-5 space, work the following sequence: (sc, hdc, 3 dc, tr, 3 dc, hdc, sc).
Repeat this sequence in each of the remaining 11 ch-5 spaces around.
Join with a sl st to the first sc. You will have 12 large petals.
Round 7: Preparing for the Final Layer
Ch 1, work 1 sc in the same stitch.
*Ch 7, skip the next large petal, work 1 sc in the sc between the petals.*
Repeat from * to * around, ending with ch 7, and join with a sl st to the first sc. You will have 12 ch-7 spaces.
Round 8: Forming the Final Petal Layer
Sl st into the first ch-7 space.
Ch 1. In the same ch-7 space, work the following sequence: (sc, hdc, 2 dc, 3 tr, 2 dc, hdc, sc).
Repeat this sequence in each of the remaining 11 ch-7 spaces around.
Join with a sl st to the first sc. You will have 12 final petals. This completes the colorful fruit segment portion of the coaster.
Rind Edging
Now we'll add the crisp white rind that frames the fruit beautifully.
Round 9: Creating the Rind Spaces
Switch to your white yarn.
Ch 1, work 1 sc in the same stitch.
*Ch 3, skip the next stitch, work 1 sc in the next stitch.*
Repeat from * to * around, ending with ch 3, and join with a sl st to the first sc. You will have 12 ch-3 spaces.
Round 10: Completing the Rind
Sl st into the first ch-3 space.
Ch 1. In the same ch-3 space, work the following sequence: (sc, hdc, dc, hdc, sc).
Repeat this sequence in each of the remaining 11 ch-3 spaces around.
Join with a sl st to the first sc. Fasten off and weave in all loose ends with your yarn needle.
Seed Details (Optional but Charming)
To give your citrus slices an authentic, juicy look, add small seed details in the center.
- Thread your yarn needle with a small length of white yarn (or darker green for the lime).
- Working in the very center of the coaster (the magic ring area), make 3-4 small, straight stitches radiating outward to mimic citrus seeds.
- For the orange and lemon, use white seeds. For the lime, use a darker green yarn for contrast.
- Secure the yarn on the backside and weave in the ends.
Finishing Touches
To ensure your coasters lay perfectly flat and the petals are beautifully defined, it's recommended to block them.
- Soak the coasters in cool water for a few minutes.
- Gently squeeze out excess water (do not wring).
- Lay them flat on a clean towel or blocking mat.
- Shape them into perfect circles, gently pulling the petals outward to even them out.
- Allow them to dry completely before using or stacking.
And there you have it—a gorgeous, handcrafted set of citrus coasters that will brighten any space. These make wonderful gifts for housewarmings, hostess presents, or a special treat for yourself. Enjoy your crocheted summer orchard!