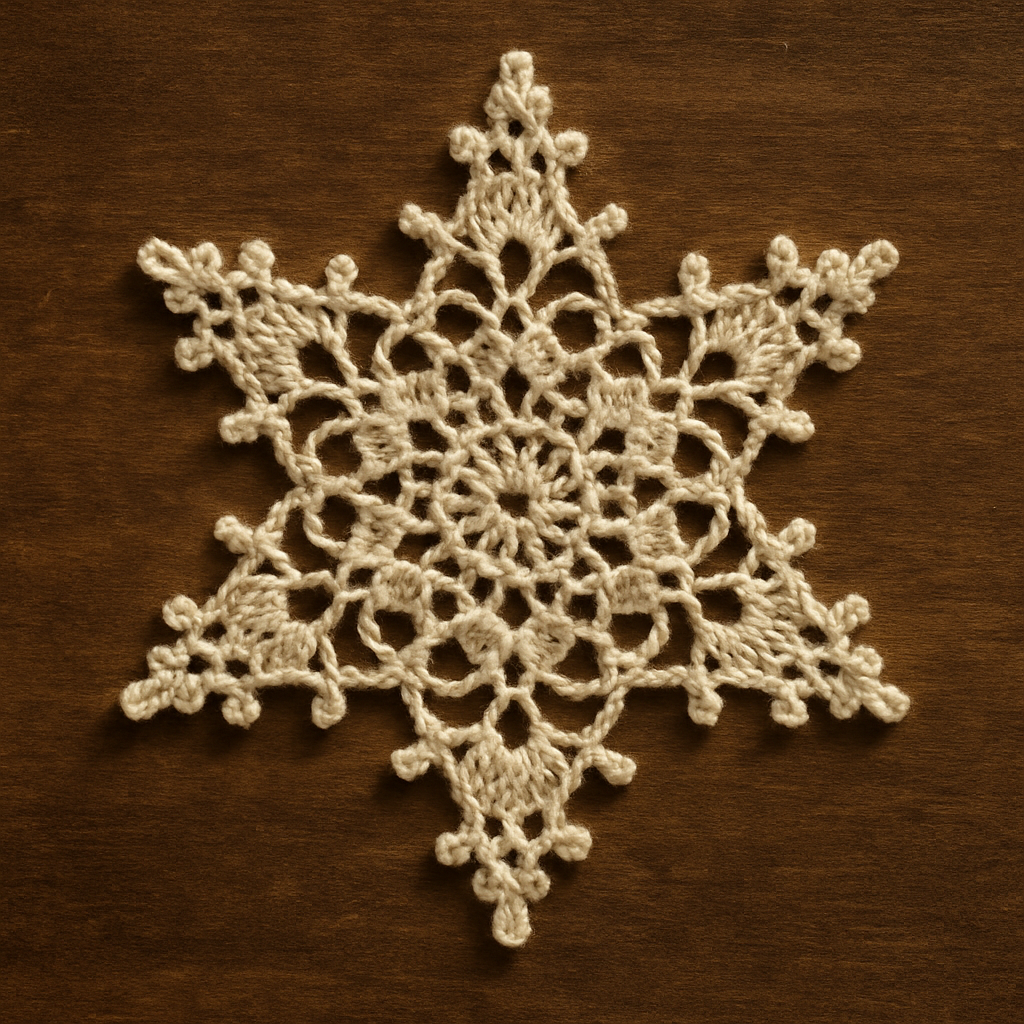
Frosted Pinecone Crochet Ornament Free Pattern – A Nordic Winter Accent
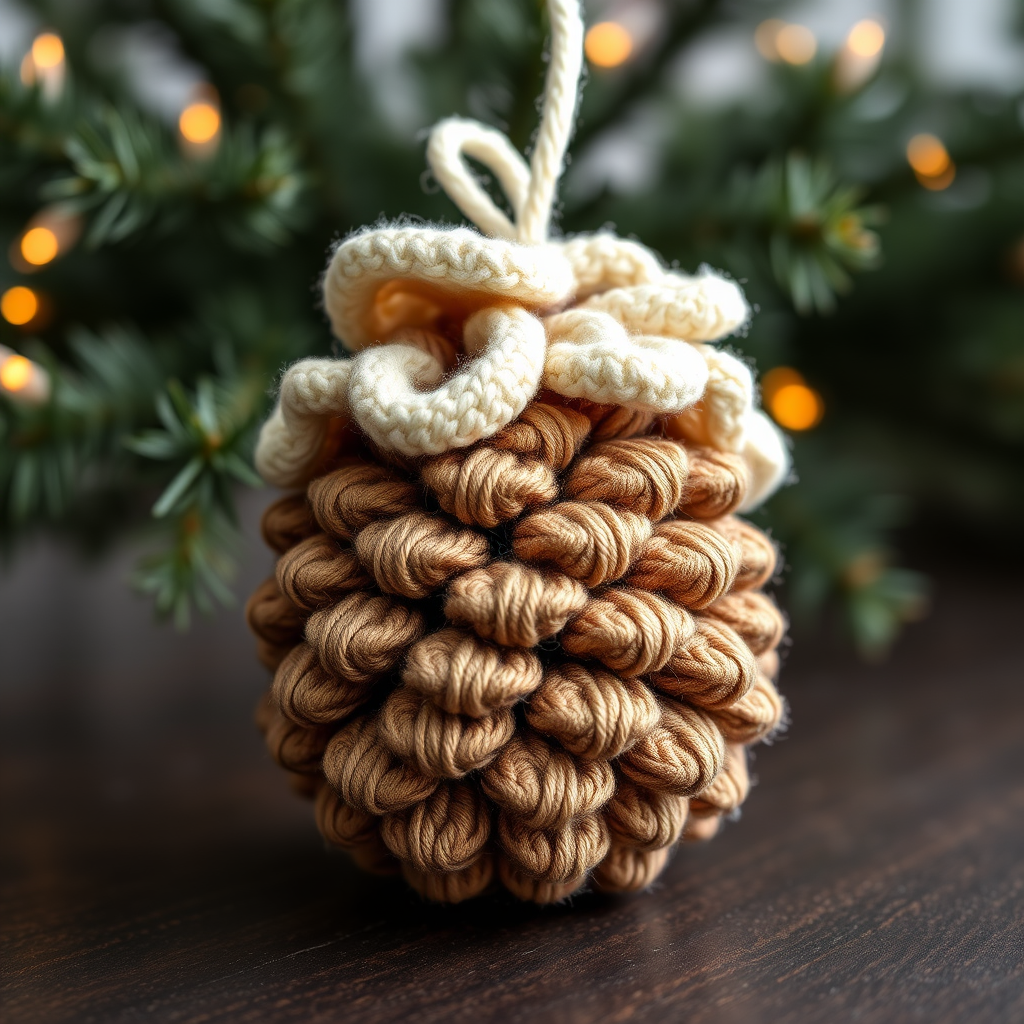
Frosted Pinecone Crochet Ornament Free Pattern – A Nordic Winter Accent
Bring the quiet beauty of a snow-dusted forest to your tree this holiday season with this textured pinecone ornament. Worked in soft, heathered worsted weight yarns, this quick and mindful project adds a handcrafted, woodland charm to any holiday setting. The overlapping scale-like stitches create a realistic pinecone texture, while the cream "snow cap" and frosted embroidery details evoke a cozy, Nordic winter aesthetic. Whether you're a seasoned crocheter or a beginner looking for a satisfying weekend project, this ornament is sure to become a treasured addition to your holiday décor.
Materials Needed
Before you begin, gather the following supplies. This project is portable, quick, and requires minimal materials—perfect for crafting by the fire or on the go.
- Yarn: Worsted weight yarn in two colors:
- Color A (warm brown): e.g., Lion Brand Wool-Ease in "Taupe" (or any worsted weight brown)
- Color B (cream/white): e.g., Lion Brand Wool-Ease in "Fisherman" (or any worsted weight cream)
- Crochet Hook: US Size G/6 (4.0 mm) hook
- Stitch Marker: To track your rounds (a scrap of contrasting yarn works too)
- Yarn Needle: For weaving in ends and sewing pieces together
- Fiberfill: A small amount for stuffing the ornament
- Scissors: For cutting yarn
Note on gauge: Gauge is not critical for this ornament, but aim for a tight fabric to help the pinecone hold its shape. As a reference, 4 single crochet stitches should equal approximately 1 inch in the round.
Step-by-Step Instructions
This ornament is crocheted in continuous spirals, starting from the top and working down. Use a stitch marker to track your rounds—this is essential for keeping your stitch count accurate.
Pinecone Body (using Color A)
Round 1: Make a magic ring, work 6 single crochet (sc) into the ring. (6 stitches)
Round 2: Work 2 sc in each stitch around. (12 stitches)
Round 3: *Sc in next stitch, 2 sc in next stitch* repeat from * to * around. (18 stitches)
Round 4: *Sc in next 2 stitches, 2 sc in next stitch* repeat from * to * around. (24 stitches)
Round 5: *Sc in next 3 stitches, 2 sc in next stitch* repeat from * to * around. (30 stitches)
Round 6: *Sc in next 4 stitches, 2 sc in next stitch* repeat from * to * around. (36 stitches)
Rounds 7-12: Sc in each stitch around. (36 stitches) – This creates the main body of the pinecone.
Creating the Scale-Like Texture
Now you will begin the beautiful, overlapping scale texture that gives this pinecone its realistic look. You will be working in rows of "scales" that overlap each other.
Scale Row 1: *Skip next stitch, work 5 double crochet (dc) in the next stitch, skip next stitch, slip stitch (sl st) in the next stitch* repeat from * to * around. (You will have 6 scales). Do not join—continue directly to the next scale row.
Scale Row 2: *Skip the slip stitch from the previous row, work 5 dc in the skipped stitch from the row below (the stitch between the scales), skip next stitch, sl st in the next slip stitch* repeat from * to * around. This creates the overlapping effect.
Scale Row 3: Repeat Scale Row 2.
Scale Row 4: Repeat Scale Row 2.
Scale Row 5: Repeat Scale Row 2.
After completing Scale Row 5, you will have a beautifully textured pinecone body with overlapping scales.
Decreasing to Close the Bottom
Now you will decrease to close the bottom of the pinecone.
Round 13 (decrease): *Sc in next 4 stitches, sc2tog (single crochet 2 together)* repeat from * to * around. (30 stitches)
Round 14: *Sc in next 3 stitches, sc2tog* repeat from * to * around. (24 stitches)
Round 15: *Sc in next 2 stitches, sc2tog* repeat from * to * around. (18 stitches)
Round 16: *Sc in next stitch, sc2tog* repeat from * to * around. (12 stitches)
Round 17: Sc2tog around. (6 stitches)
Fasten off, leaving a long tail (about 12 inches). Thread the tail through a yarn needle, weave it through the remaining 6 stitches, and pull tight to close the bottom. Weave in the end securely.
Frosted Snow Cap (using Color B)
The snow cap sits on top of the pinecone, adding that perfect Nordic winter touch.
Round 1: Make a magic ring, work 6 sc into the ring. (6 stitches)
Round 2: Work 2 sc in each stitch around. (12 stitches)
Round 3: *Sc in next stitch, 2 sc in next stitch* repeat from * to * around. (18 stitches)
Round 4: *Sc in next 2 stitches, 2 sc in next stitch* repeat from * to * around. (24 stitches)
Round 5: *Sc in next 3 stitches, 2 sc in next stitch* repeat from * to * around. (30 stitches)
Round 6: Sc in each stitch around. (30 stitches)
Round 7: *Sc in next 4 stitches, 2 sc in next stitch* repeat from * to * around. (36 stitches)
Round 8: Sc in each stitch around. (36 stitches)
Fasten off, leaving a long tail (about 12 inches) for sewing.
Assembly
Now it's time to bring your pinecone ornament together.
- Attach the Snow Cap: Place the snow cap on top of the pinecone body, aligning the edges. Using the tail from the snow cap, sew the cap to the pinecone using a whip stitch, going through both layers. Leave a small opening (about 2 inches) for stuffing.
- Stuff the Pinecone: Stuff the pinecone lightly with a small amount of fiberfill. You want it to be plush and dimensional, but not overly firm—the scales should still be visible and defined.
- Close the Opening: Sew the opening closed with the same yarn tail. Weave in the end securely.
- Add the Frosted Effect: For a beautiful frosted look, use a yarn needle and Color B yarn to embroider small, straight stitches randomly over the pinecone scales. These little "snow flecks" will mimic a light dusting of frost and add wonderful texture and visual interest.
- Create the Hanging Loop: Cut a 6-inch piece of Color B yarn. Fold it in half. Using a crochet hook, pull the folded loop through the top center of the snow cap. Pull the two loose ends through the loop and tighten to create a secure hanging loop.
- Weave in All Ends: Carefully weave in any remaining yarn ends using your yarn needle. Trim any excess.
Your Frosted Pinecone Crochet Ornament is complete! Hang it on your tree, add it to a gift package, or use it as a charming decorative accent around your home. The Nordic-inspired design and cozy texture make it a wonderful handmade gift for friends and family. Happy crocheting, and may your holidays be filled with warmth and creativity!