Home Decor
Crochet Elegant Lace Doily Free Pattern
Anonymous
•
June 28, 2026
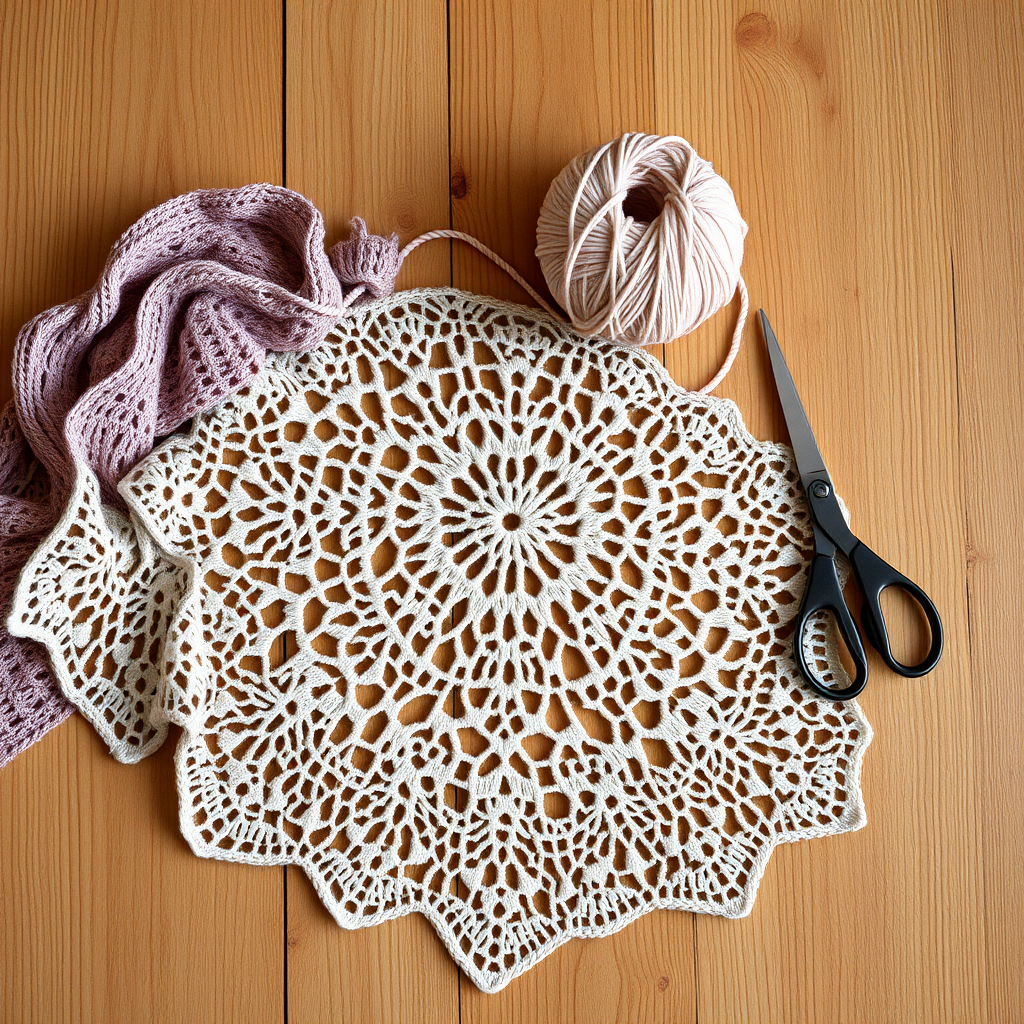
Crochet Elegant Lace Doily Free Pattern
Introduction
Welcome to your next crochet project! This Crochet Elegant Lace Doily pattern is designed to help you create a stunning lace doily that adds a touch of elegance to any home decor. Whether you are a beginner or looking to refine your skills, this detailed pattern will guide you through each step of the process. Let’s get started on crafting a beautiful piece that you can proudly display or gift to a loved one!
Materials Needed
- Yarn: Lightweight cotton yarn
- Hook: 3.5 mm (E) crochet hook
- Gauge: 20 stitches and 10 rows = 4 inches in lace pattern
Step-by-Step Instructions
- Start with a magic ring. This will be the center of your doily. To create a magic ring, wrap the yarn around your fingers to form a loop, then pull a loop of yarn through the ring to start your first stitch.
- Round 1: Chain 3 (this counts as your first double crochet), then work 11 double crochets (dc) into the magic ring. Join the round with a slip stitch (sl st) to the top of the chain 3. You should have a total of 12 dc.
- Round 2: Chain 3, then double crochet in the same stitch. Now, work 2 dc in each stitch around. Join with a slip stitch. You will have 24 dc at the end of this round.
- Round 3: Chain 3, then *dc in the next stitch, 2 dc in the next stitch; repeat from * around. Join with a slip stitch. You will have 36 dc.
- Round 4: Chain 3, then *dc in the next 2 stitches, 2 dc in the next stitch; repeat from * around. Join with a slip stitch. You will have 48 dc.
- Round 5: Chain 3, then *dc in the next 3 stitches, 2 dc in the next stitch; repeat from * around. Join with a slip stitch. You will have 60 dc.
- Round 6: Chain 3, then *dc in the next 4 stitches, 2 dc in the next stitch; repeat from * around. Join with a slip stitch. You will have 72 dc.
- Round 7: Chain 3, then *dc in the next 5 stitches, 2 dc in the next stitch; repeat from * around. Join with a slip stitch. You will have 84 dc.
- Round 8: Chain 3, then *dc in the next 6 stitches, 2 dc in the next stitch; repeat from * around. Join with a slip stitch. You will have 96 dc.
- Round 9: Chain 3, then *dc in the next 7 stitches, 2 dc in the next stitch; repeat from * around. Join with a slip stitch. You will have 108 dc.
- Round 10: Chain 3, then *dc in the next 8 stitches, 2 dc in the next stitch; repeat from * around. Join with a slip stitch. You will have 120 dc.
- Round 11: Chain 3, then *chain 1, skip 1 stitch, dc in the next stitch; repeat from * around. Join with a slip stitch.
- Round 12: Chain 3, then *dc in the next chain-1 space, chain 3; repeat from * around. Join with a slip stitch.
- Round 13: Chain 3, then *dc in the next chain-3 space, chain 2; repeat from * around. Join with a slip stitch.
- Round 14: Chain 3, then *dc in the next chain-2 space, chain 1; repeat from * around. Join with a slip stitch.
- Finish off: Cut the yarn, leaving a long tail. Weave in all ends using a yarn needle to secure your work and give it a polished look.
Congratulations! You have successfully crocheted an elegant lace doily. Enjoy displaying your beautiful creation or gifting it to someone special!


