Amigurumi Patterns
Cozy Woodland Bunny in a Basket Free Pattern
Anonymous
•
July 18, 2026
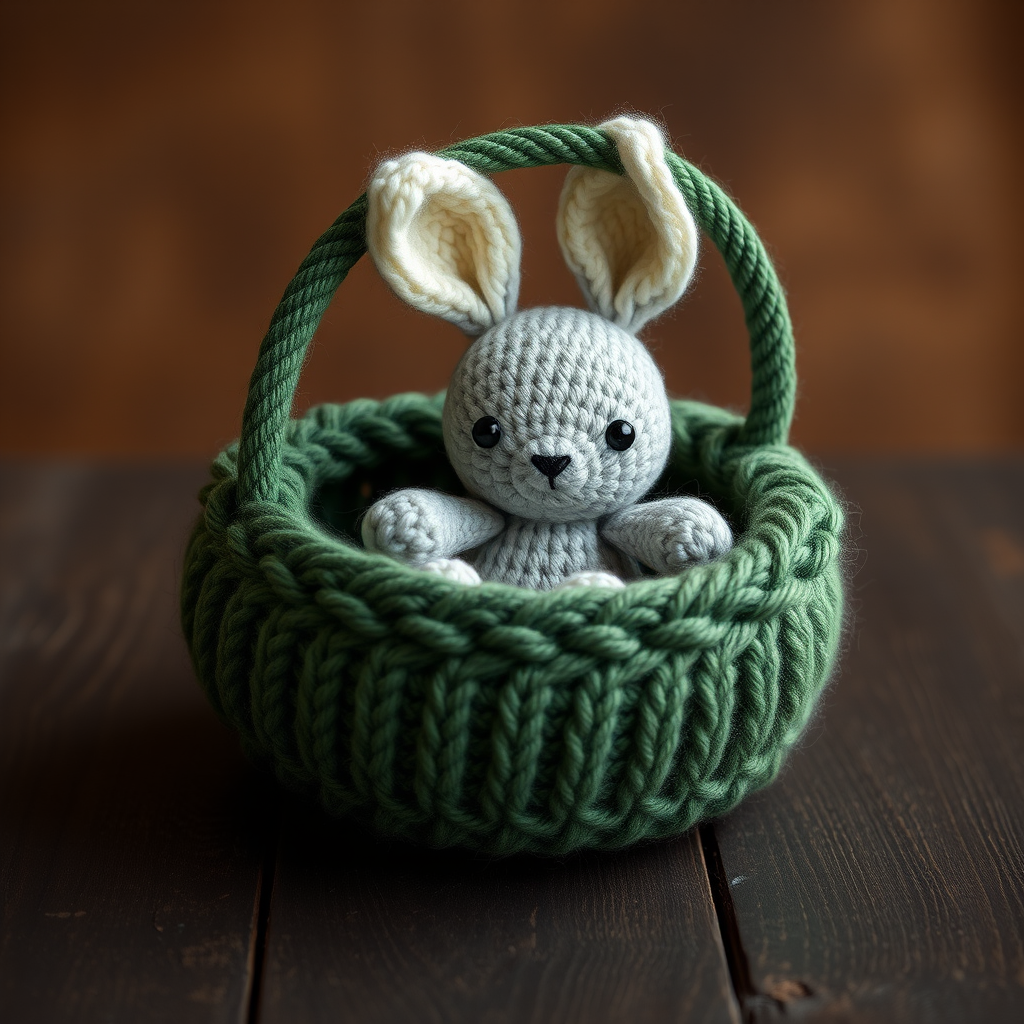
Cozy Woodland Bunny in a Basket Free Pattern
Introduction
Welcome to our delightful knitting adventure! In this tutorial, you will learn how to create a charming woodland scene featuring a knitted bunny nestled in a cozy basket. This project is perfect for beginners and will add a whimsical touch to your home decor or make a delightful gift for loved ones. Let’s gather our materials and get started on this cozy creation!
Materials Needed
- Worsted weight yarn in the following colors:
- Soft gray (for the bunny body)
- Cream (for the bunny ears)
- Forest green (for the basket)
- US Size 6 (4.0 mm) knitting needles
- Fiberfill stuffing
- Black yarn (for embroidering eyes and nose)
- Yarn needle (for sewing and embroidery)
Step-by-Step Instructions
1. Bunny Body
- Using the soft gray yarn, cast on 24 stitches onto your knitting needles.
- Begin knitting in stockinette stitch:
- For stockinette stitch, knit one row, then purl the next row. Repeat this for a total of 20 rows.
- Now, we will start decreasing to shape the bunny:
- On the next row, knit 2 stitches together (K2tog) at the beginning of the row. Repeat this K2tog at the beginning of each row until you have 6 stitches remaining.
- Once you have 6 stitches left, bind off your work.
- Seam the edges of the tube you created to form the bunny body.
- Stuff the bunny body with fiberfill until it is plush and round.
- Gather the top of the bunny body to close it securely.
2. Bunny Ears (make 2)
- Using the cream yarn, cast on 8 stitches.
- Knit in garter stitch for 10 rows:
- For garter stitch, knit every row.
- Now we will decrease for the ears:
- K2tog at the beginning of each row until you have 2 stitches remaining.
- Bind off the remaining stitches and set aside.
- Sew the ears to the top of the bunny's head securely.
3. Basket Base
- With the forest green yarn, cast on 36 stitches.
- Knit in garter stitch for 12 rows.
- Bind off your work and seam the short edges together to form a ring, creating the base of the basket.
4. Basket Handle
- Using the forest green yarn, cast on 6 stitches.
- Knit in i-cord for 20 rows:
- To create an i-cord, knit the stitches, then slide them back to the left needle without turning your work. Repeat this process.
- Once you have completed the i-cord, attach each end securely to the basket base.
5. Assembly
- Carefully place the bunny inside the basket.
- To secure the bunny, use a few stitches to attach it to the basket.
- Using black yarn, embroider the bunny's eyes and nose to add a charming touch.
Congratulations! You have successfully created your very own Cozy Woodland Bunny in a Basket. This adorable piece is sure to bring joy to your home or make a thoughtful gift. Happy knitting!


