Crochet Patterns
Chunky Knit Drawstring Pouch Pattern
Anonymous
•
June 20, 2026

Chunky Knit Drawstring Pouch Pattern
Introduction
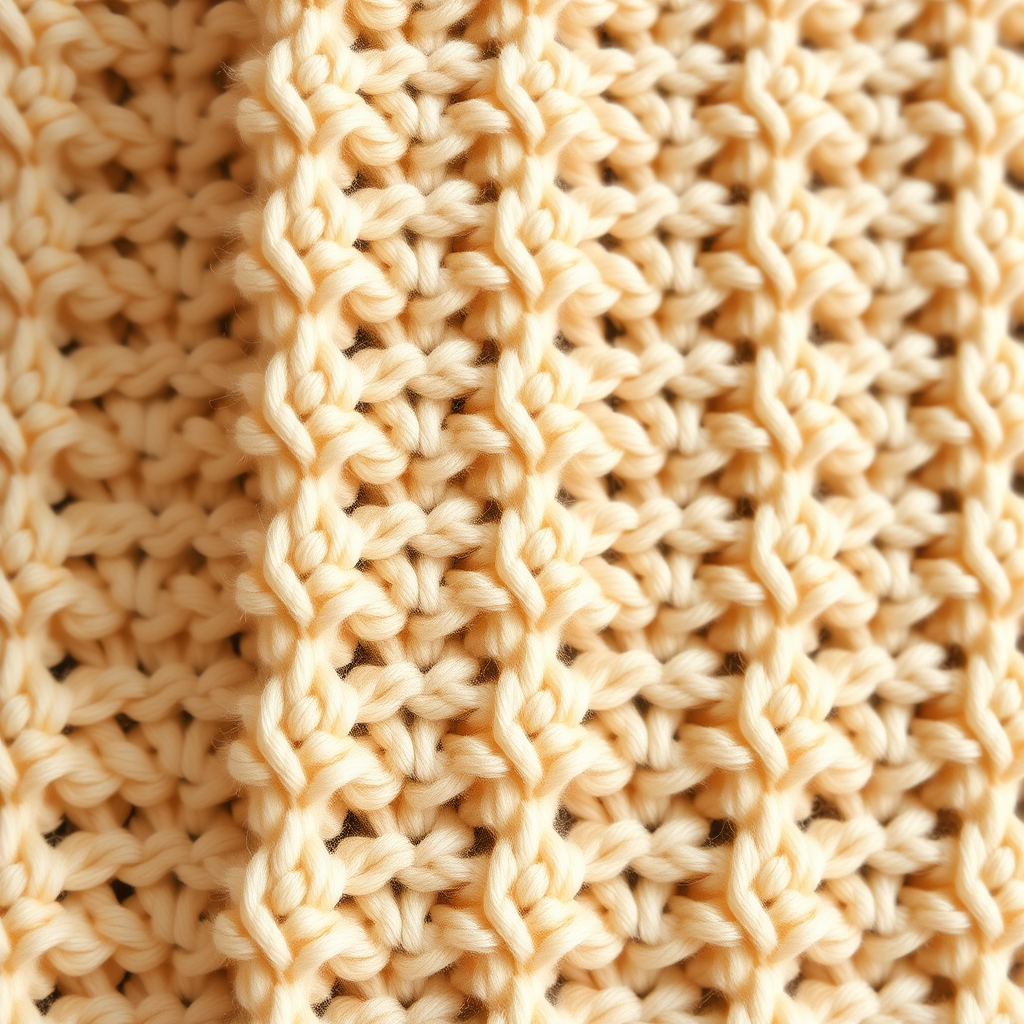
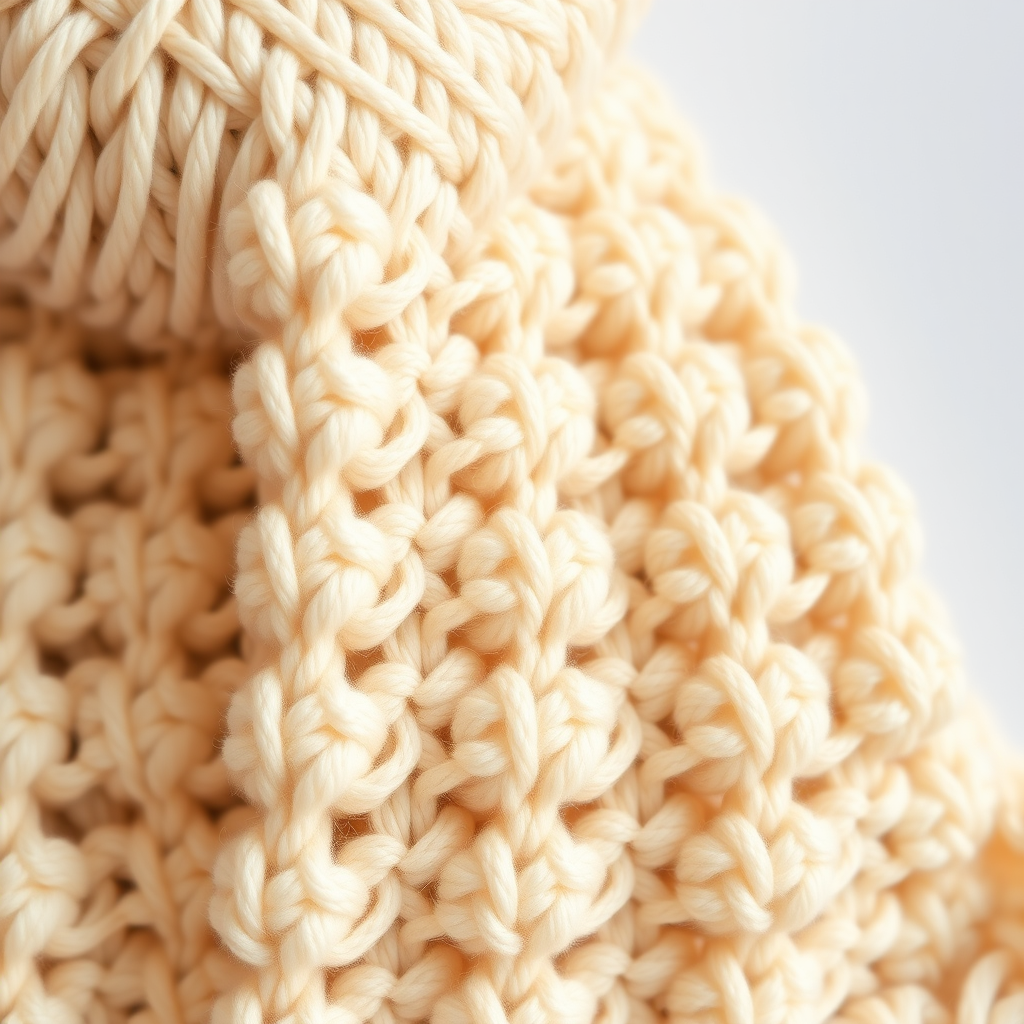
Welcome to our Chunky Knit Drawstring Pouch Pattern! This cozy, textured pouch is not only a practical storage solution for your small treasures but also a beautiful decorative piece for your home. Using super bulky yarn and basic knitting techniques, this project is perfect for beginners looking to enhance their knitting skills. Let’s get started on creating your very own handmade pouch!
Materials Needed
- Yarn: Super bulky yarn
- Needles: US 15 (10 mm) knitting needles
- Gauge: 8 stitches and 12 rows = 4 inches in stockinette stitch
- Scissors: For cutting yarn
- Tapestry needle: For weaving in ends
Step-by-Step Instructions
- Cast On: Begin by using the long-tail cast-on method to cast on 30 stitches onto your US 15 (10 mm) knitting needles. Ensure your stitches are not too tight, as this will affect the elasticity of your pouch.
- Work in Stockinette Stitch: For the next 5 inches, alternate between knitting one row and purling the next. This creates a smooth stockinette stitch fabric. Remember to count your rows to ensure you reach the desired length.
- Switch to 1x1 Rib Pattern: After completing 5 inches in stockinette stitch, you will now switch to a 1x1 rib pattern. For this, knit 1 stitch, then purl 1 stitch, and repeat this pattern across the row. Continue this for 2 inches. The ribbing will create a casing for the drawstring.
- Bind Off: Once you have completed the ribbing, bind off your stitches loosely in the same rib pattern (knit 1, purl 1). This will help maintain the elasticity of the top of your pouch.
- Seam the Sides: Fold your knitted piece in half with the right sides facing each other. Using a mattress stitch, seam the sides together. This stitch will create an invisible seam, giving your pouch a neat finish. Be sure to pull the yarn gently to avoid puckering.
- Turn Right Side Out: After seaming, carefully turn your pouch right side out. You should see the textured body and ribbed top of your pouch.
- Create the Drawstring: Cut a length of yarn (approximately 24 inches) and thread it through the ribbed casing at the top of the pouch. Use a tapestry needle if necessary. Once threaded, knot the ends of the yarn to secure it in place.
- Close the Pouch: To close your pouch, pull on the drawstring until the top gathers. Adjust the tightness to your preference, and your cozy drawstring pouch is ready to use!
Congratulations on completing your Chunky Knit Drawstring Pouch! This simple yet stylish project is a great way to practice your knitting skills while creating something functional and beautiful. Happy knitting!
Also Check Out: We think you'd love this beautiful pattern on our sister site: Chunky Crochet Tote Bag Pattern
Also Check Out: We think you'd love this beautiful pattern on our sister site: Golden Cable Knit Blanket Pattern
Also Check Out: We think you'd love this beautiful pattern on our sister site: Elegant Crochet Lace Crop Top Pattern
Also Check Out: We think you'd love this beautiful pattern on our sister site: Cozy Crocheted Textured Blanket